
Image Anonymization
9.1 / 10
868ms
100%
100%
How to start using Image Anonymization API with Rapid API
The Image Anonymization API automatically identifies faces and car license plates, offering coordinates for these objects within an image to create bounding boxes around them. Subsequently, it applies strong blurring to the detected objects within the defined bounding box borders.
Acquiring the key through Rapid API
Step 1. Logging in to Rapid API
To begin, navigate to the login page of Rapid API at https://rapidapi.com/auth/login and enter your account credentials.

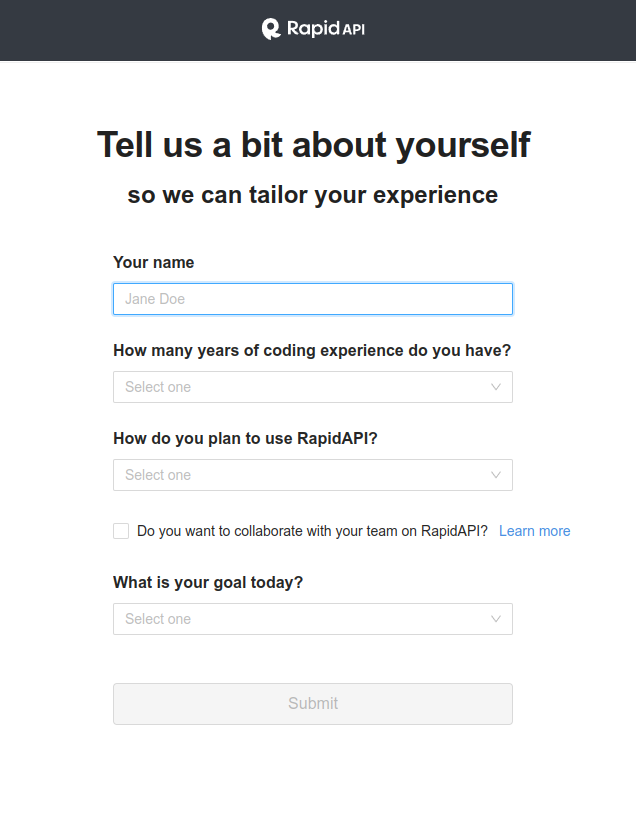
If you are a first-time user of Rapid API, it will prompt you to provide some information about yourself.
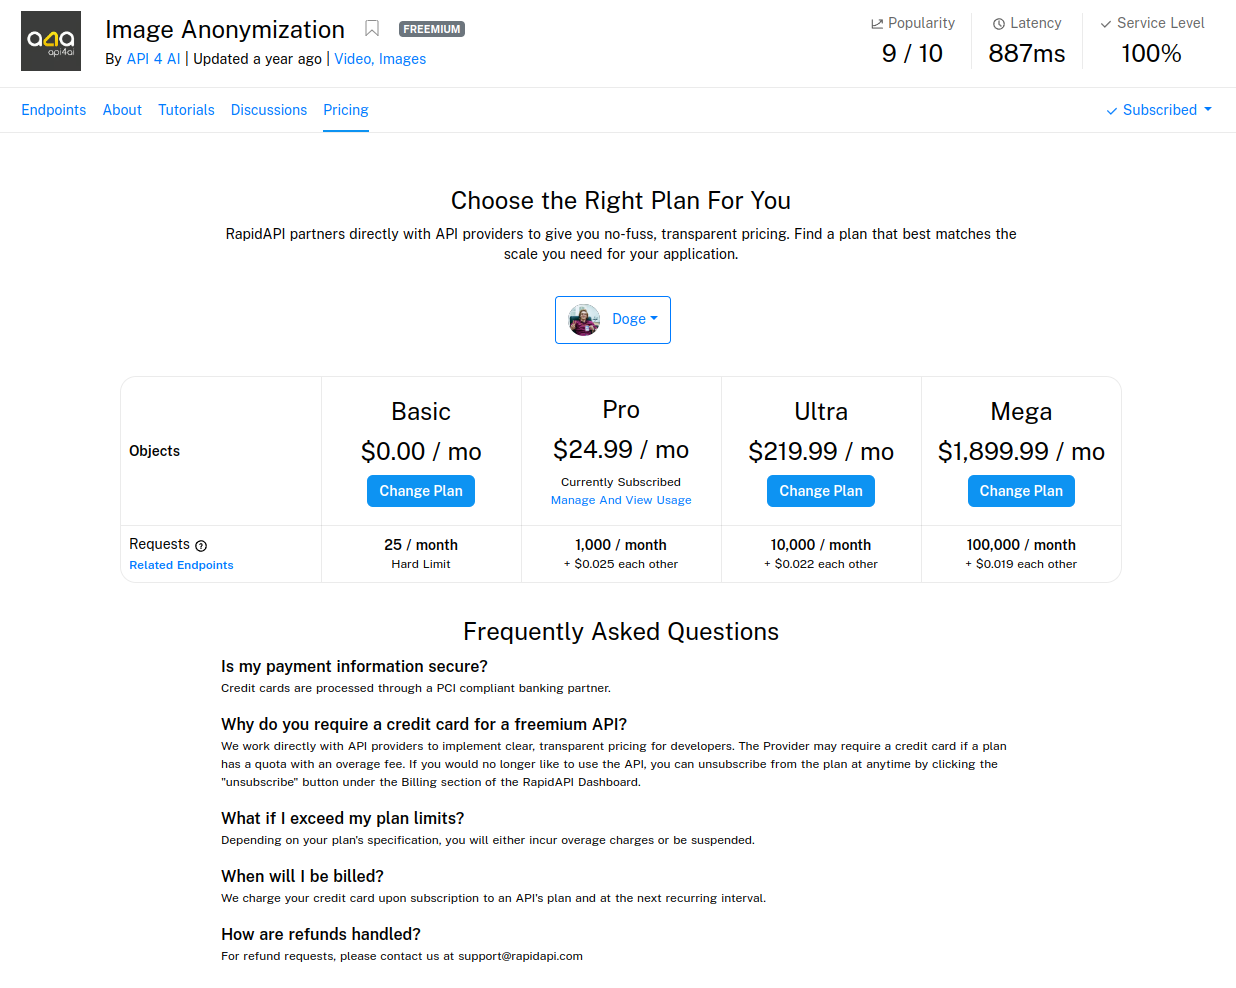
Step 2. Subscribing to Image Anonymization API
Next, visit the Image Anonymization API pricing page at https://rapidapi.com/api4ai-api4ai-default/api/image-anonymization/pricing. Choose the subscription plan that best suits your requirements.
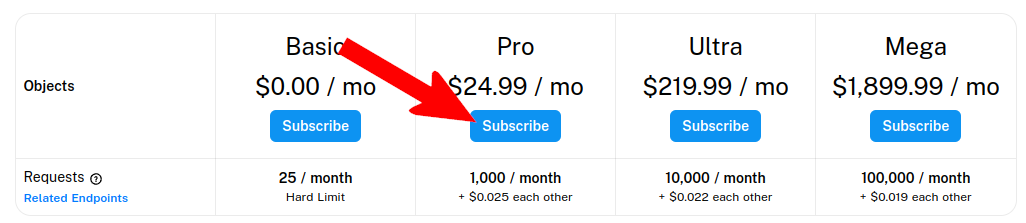
Once you have selected a plan, click on the subscribe button. You will receive a confirmation message stating “Subscription Created Successfully.”

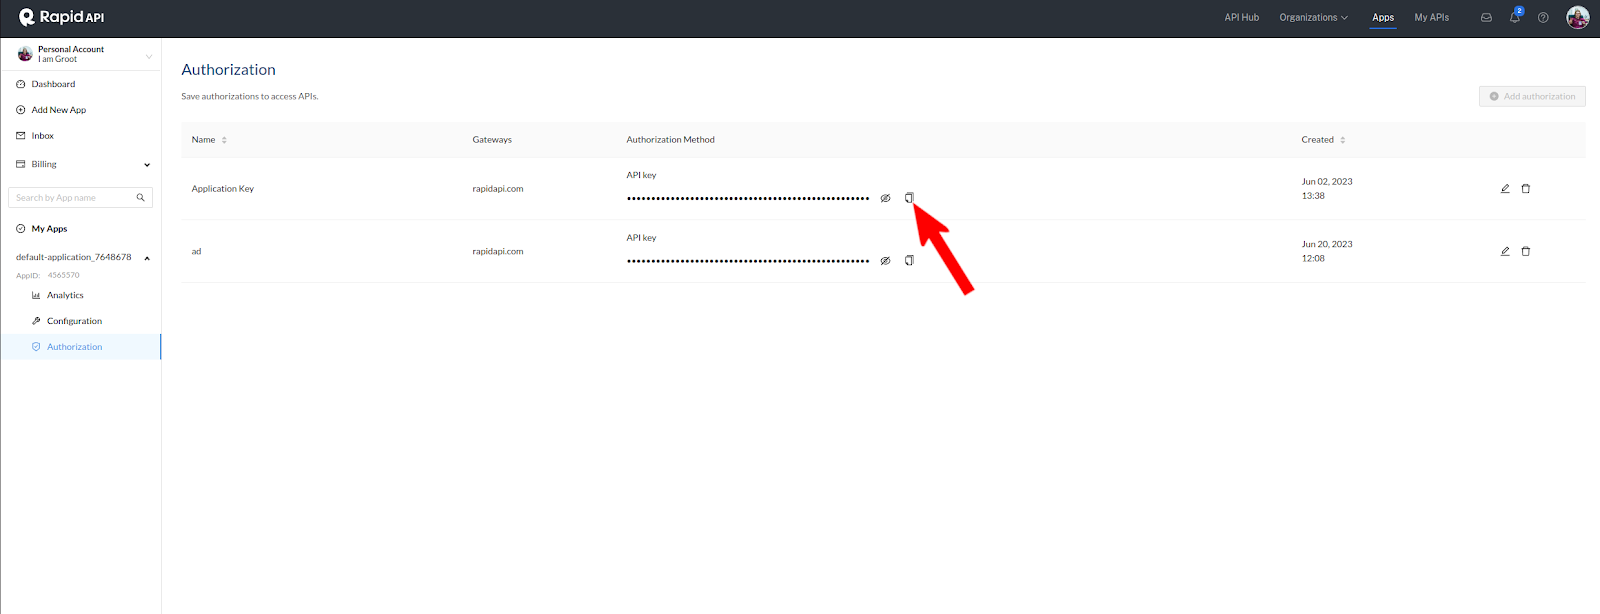
Step 3. Retrieving the API Key from the Dashboard
Access your Rapid API dashboard by either clicking on “Manage And View Usage” under your subscribed plan or visiting https://rapidapi.com/developer/dashboard.
Expand one of your applications within the dashboard and click on the “Authorization” tab.

You will find a list of authorization keys. Simply copy one of them, and voilà! You now have your Image Anonymization API key.
Step 4. Test API
To evaluate the functionality of the API, execute the provided Python code snippet.
It is important to remember to replace API_KEY with your actual API key before running the code.
import base64
import json
import sys

import requests
from requests.adapters import Retry, HTTPAdapter

API_URL = 'https://image-anonymization.p.rapidapi.com'
API_KEY = 'YOUR_RAPIDAPI_KEY'  # Place your API key here

if __name__ == '__main__':
    # We strongly recommend you use exponential backoff.
    error_statuses = (408, 409, 429, 500, 502, 503, 504)
    s = requests.Session()
    retries = Retry(backoff_factor=1.5, status_forcelist=error_statuses)

    s.mount('https://', HTTPAdapter(max_retries=retries))

    url = f'{API_URL}/v1/results'
    with open('img.jpg', 'rb') as f:
        api_res = s.post(url, headers={'X-RapidAPI-Key': API_KEY},
                         files={'image': f}, timeout=20)
    api_res_json = api_res.json()

    # Handle processing failure.
    if (api_res.status_code != 200 or
            api_res_json['results'][0]['status']['code'] == 'failure'):
        print('Image processing failed.')
        sys.exit(1)

    response_entities = api_res_json['results'][0]['entities']
    image_format = response_entities[0]['format'].lower()

    path_to_image = f'result.{image_format}'
    with open(path_to_image, 'wb') as img:
        img.write(base64.b64decode(response_entities[0]['image']))

    objects_pretty = json.dumps(response_entities[1]['objects'], indent=2)
    print(f'? Hidden objects:\n{objects_pretty}\n')

    print(f'? The "{path_to_image}" image is saved to the current directory.')
More code examples
Our repository with code example have more example for different languages.
Visit it at https://gitlab.com/api4ai/examples/img-anonymization or proceed to code examples using direct links:
Conclusion
If your product involves handling sensitive data like human faces and license plates, the Image Anonymization API becomes an indispensable tool. It enables swift data processing while ensuring that the information cannot be exploited to compromise individual and corporate security and privacy.