Learn RapidAPI Testing
In this guide, you will learn about what RapidAPI Testing is and how you can use it to create and manage tests for your APIs.
Getting started
To create a new test, you will need to add an API to RapidAPI. You will need to create an account first.
Visit the RapidAPI Testing dashboard to see all your APIs.
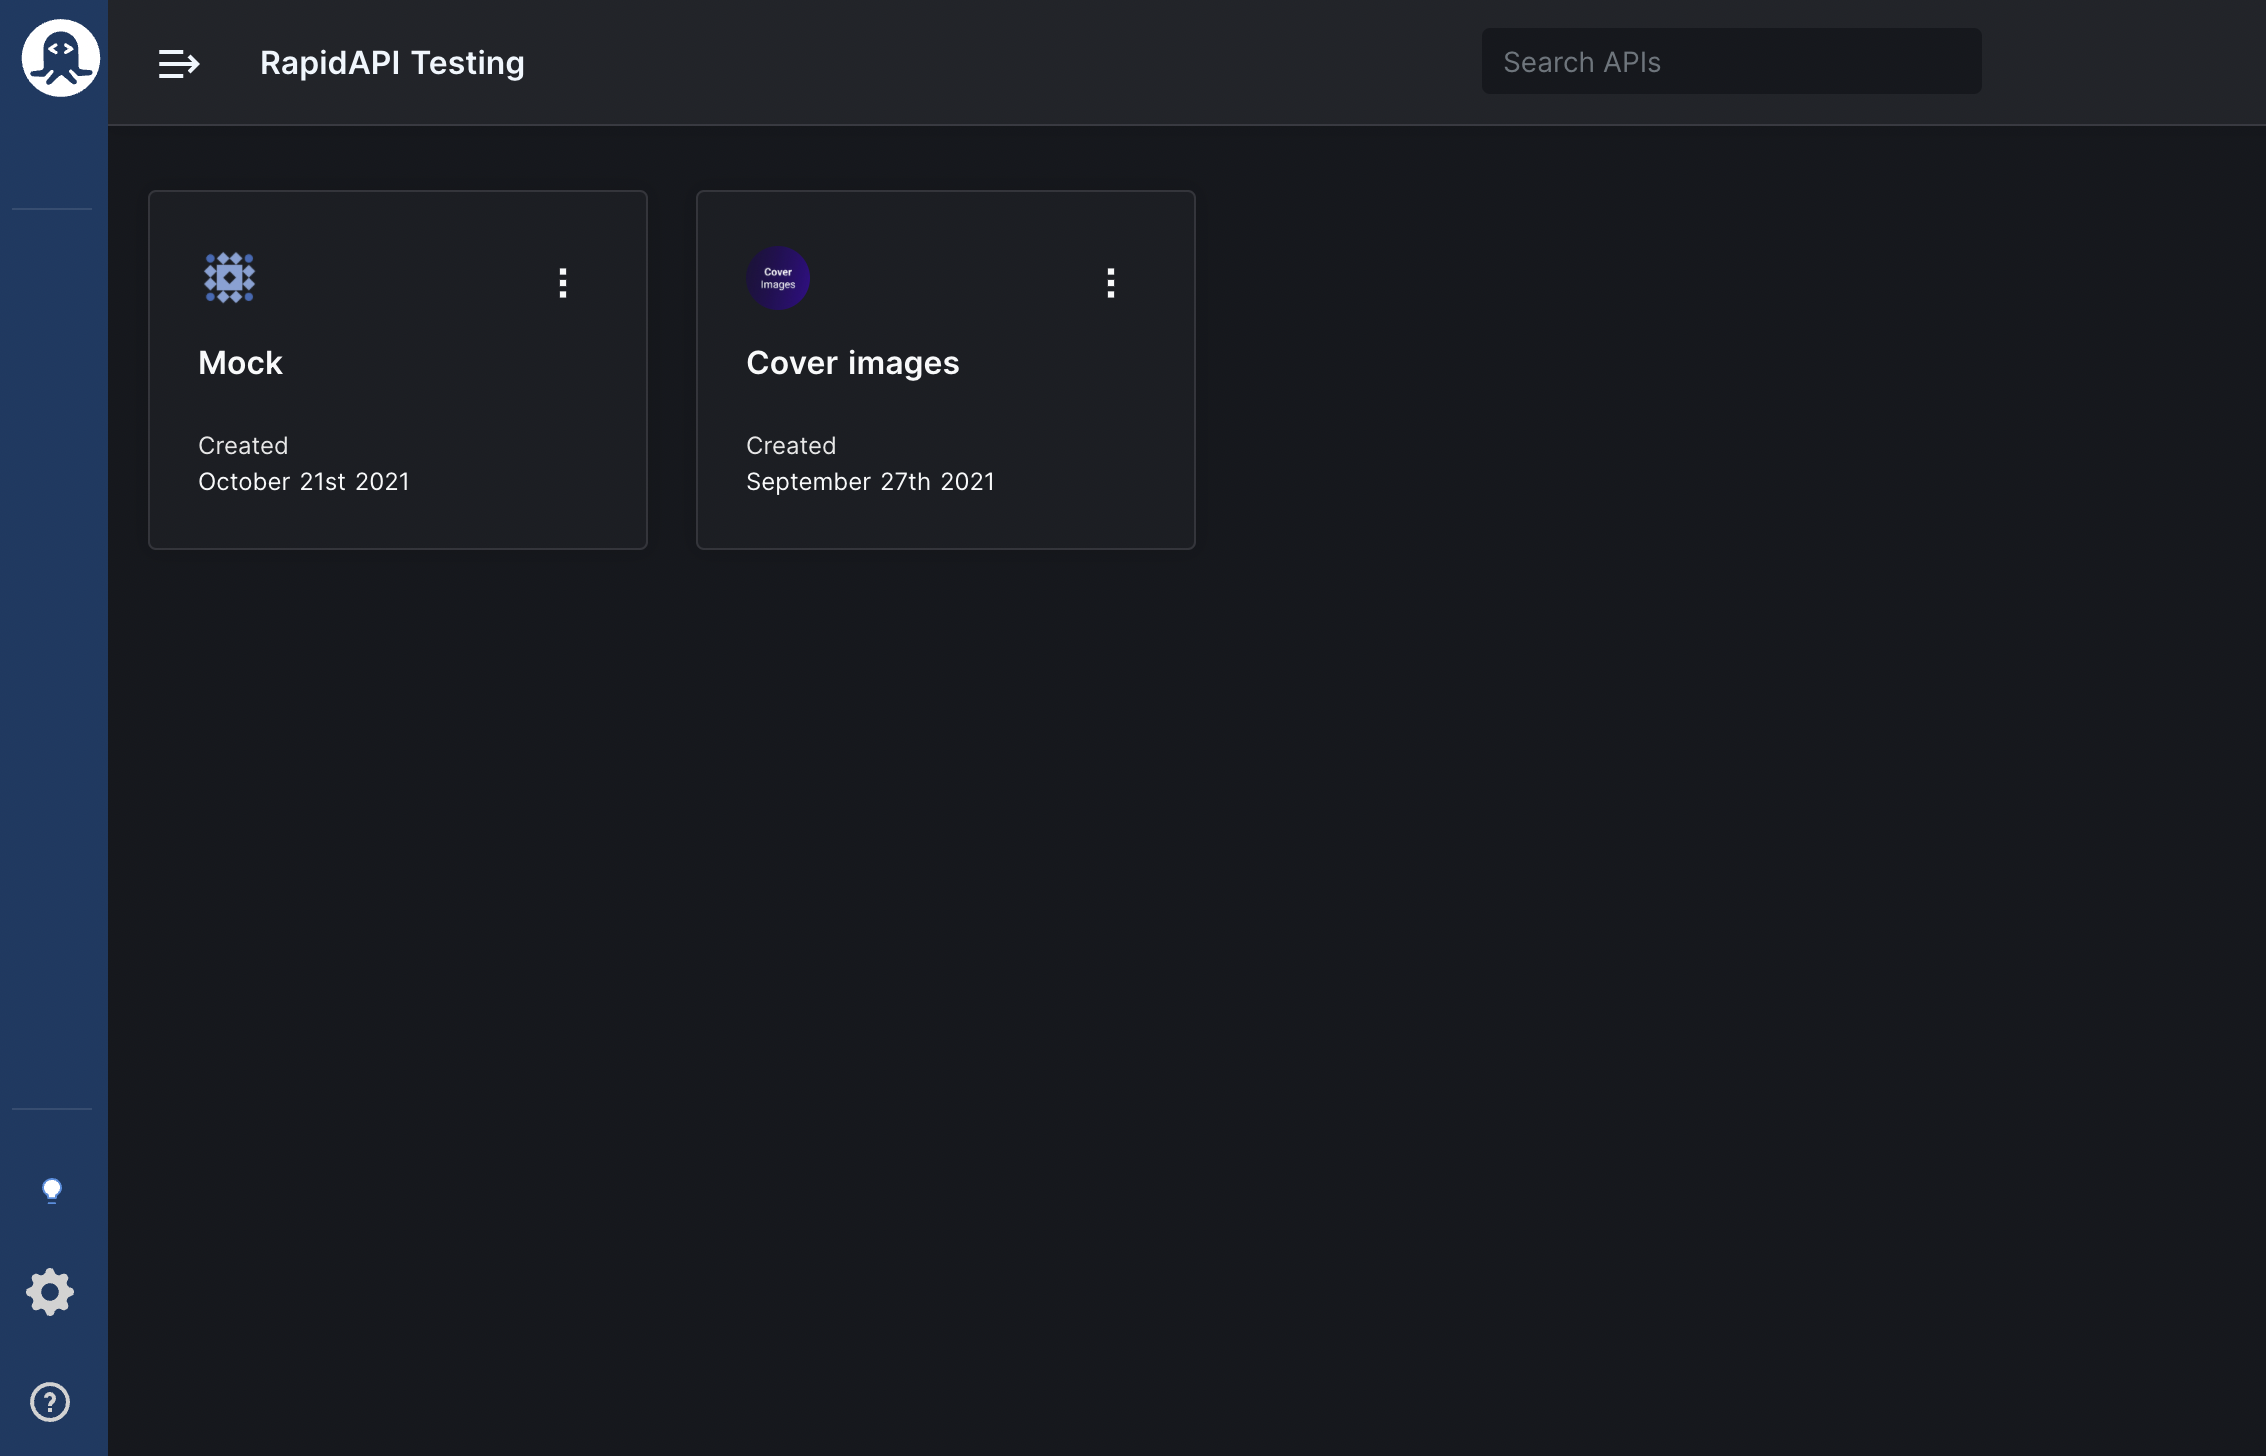
Select the API that you want to test by clicking on it.
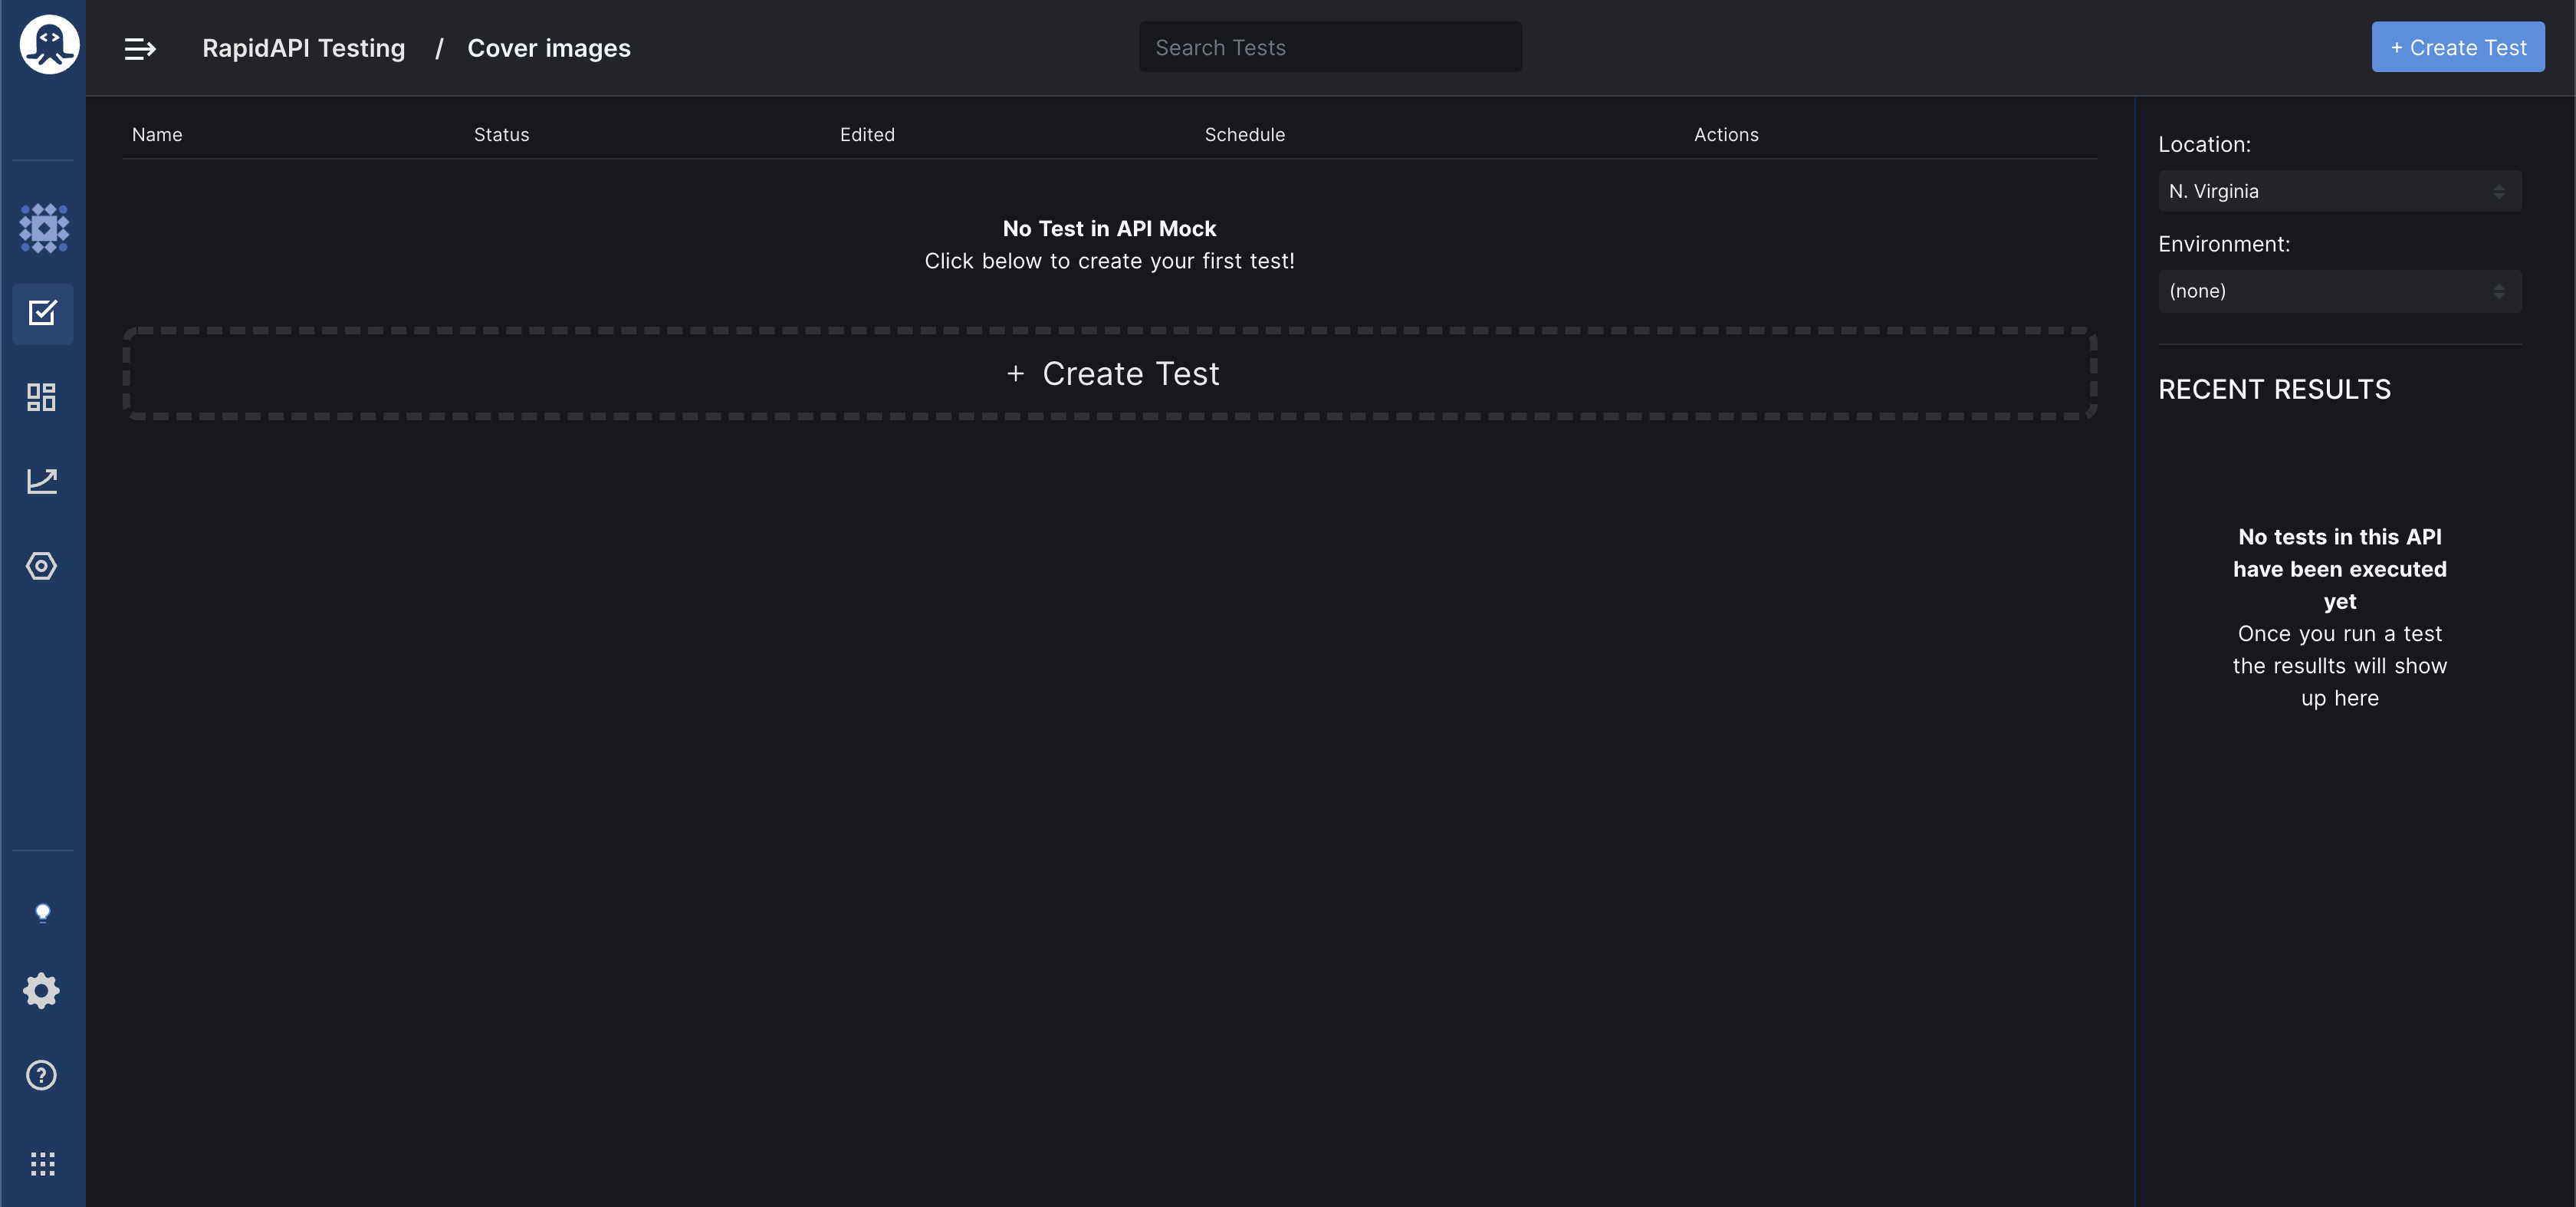
Click on the "Create Test" button and add a name to your test. You will be redirected to the page from where you can create the tests.
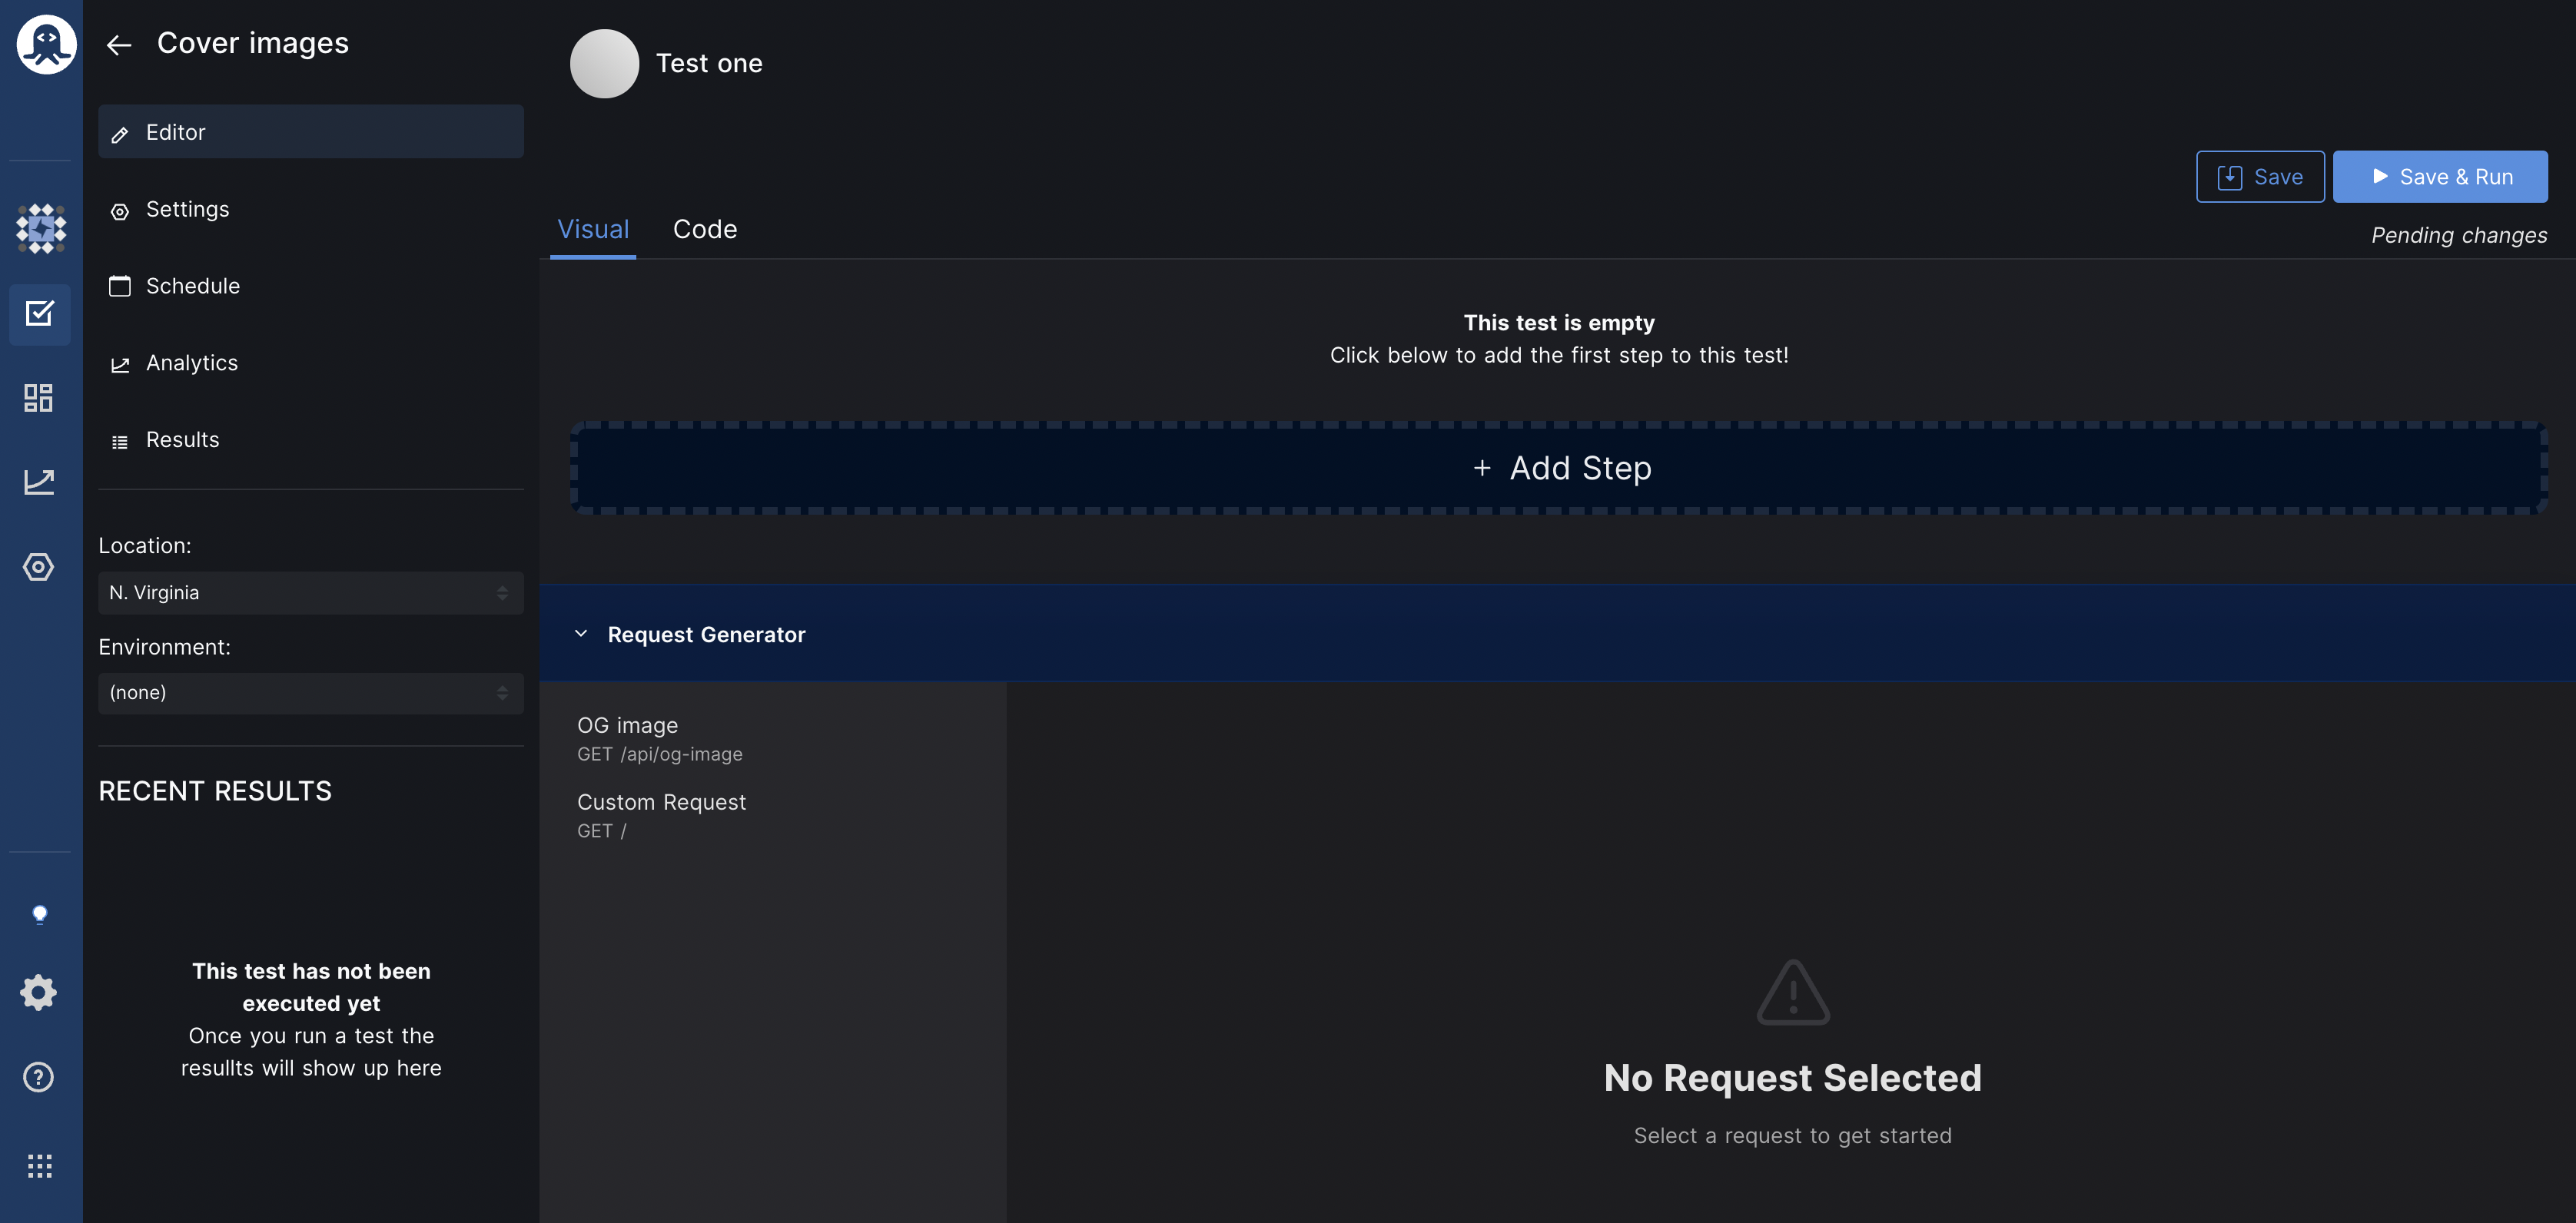
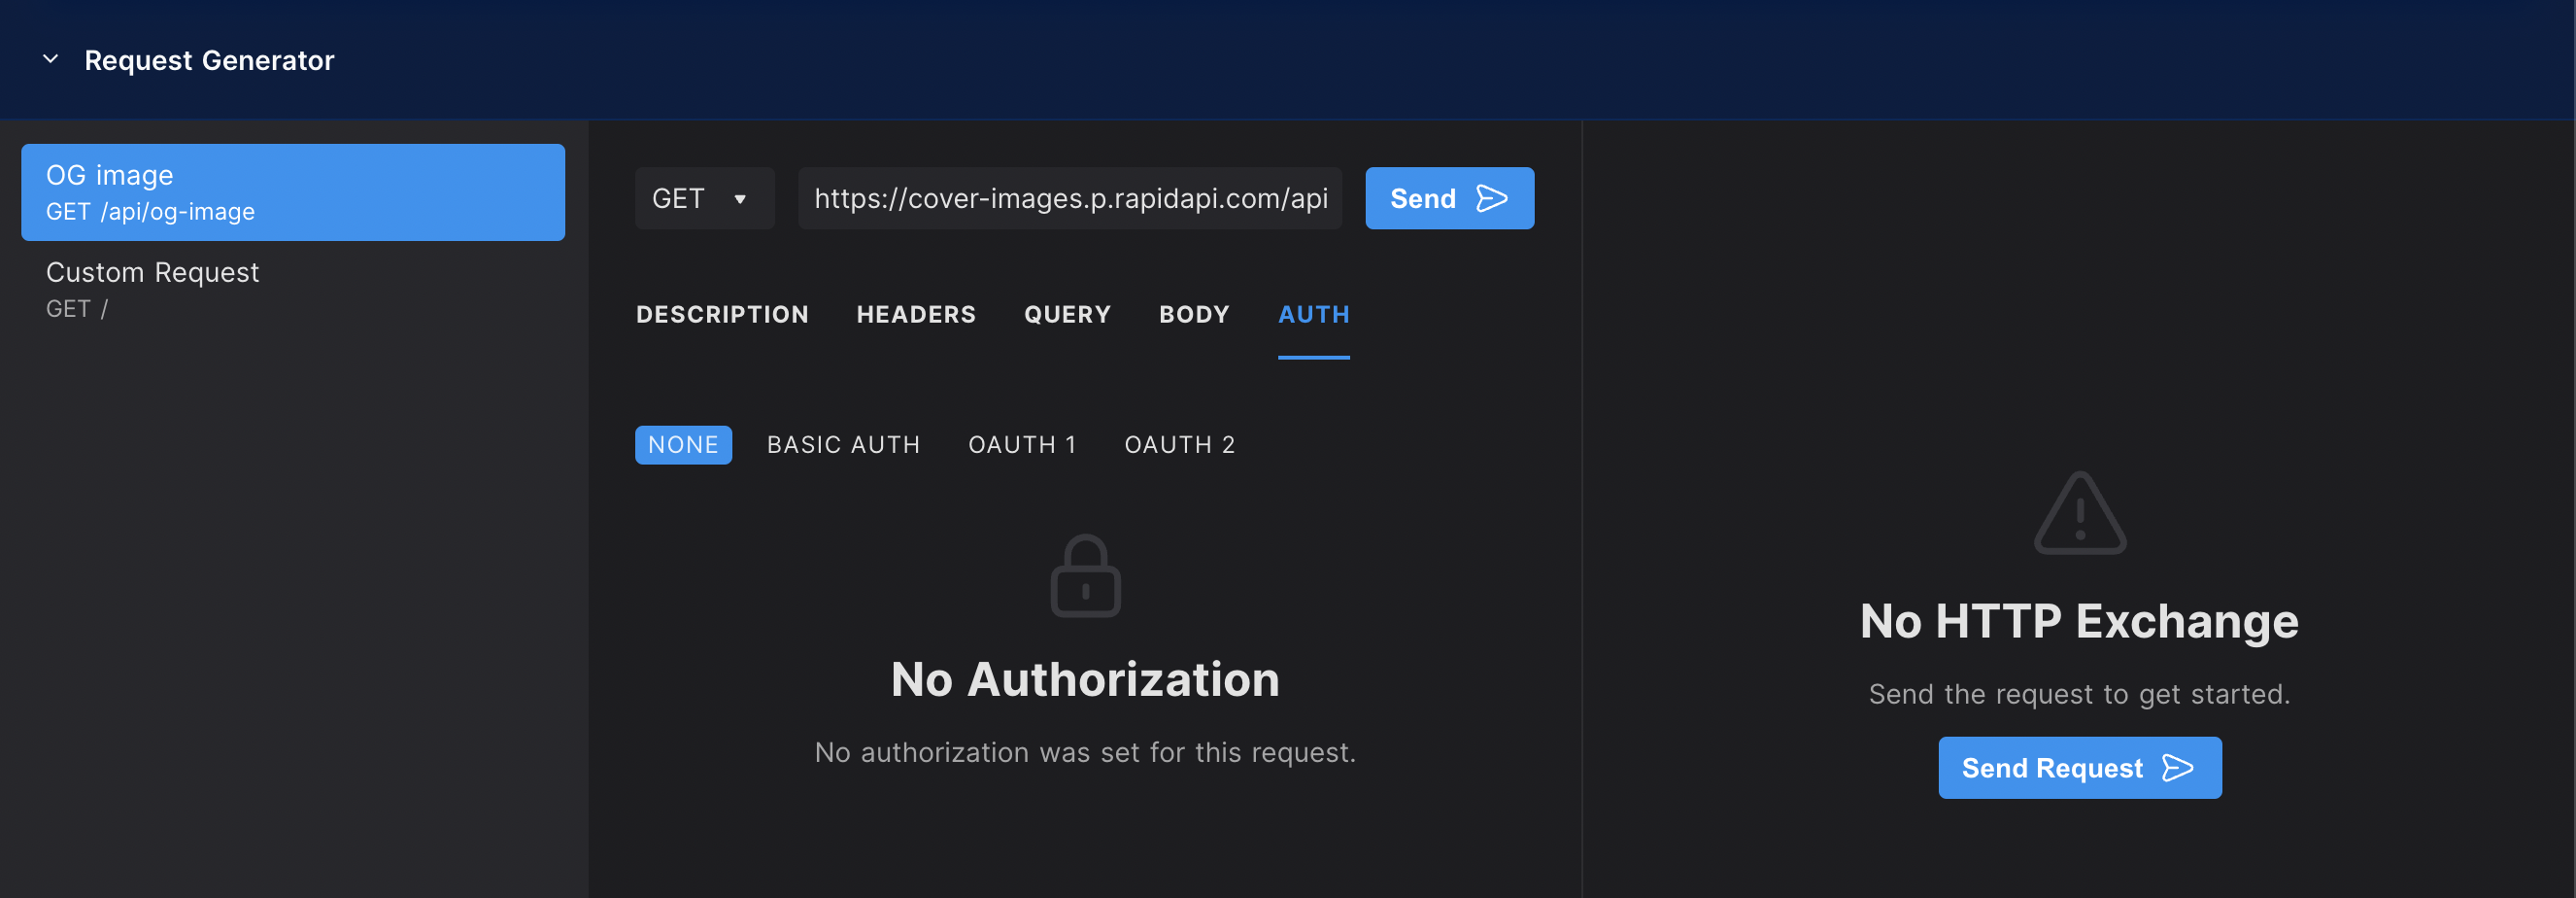
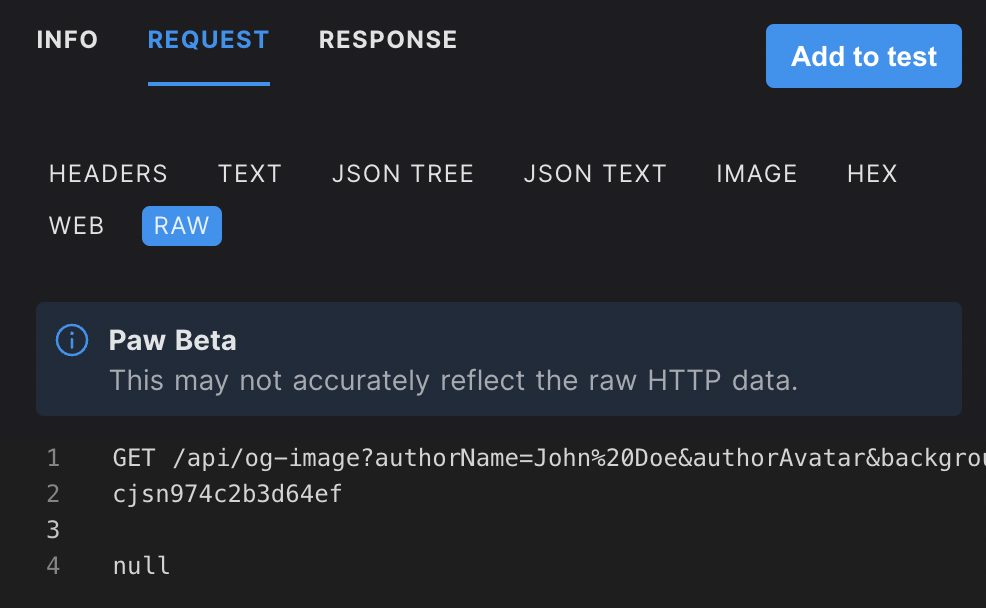
Select an endpoint that you want to test and click on the "Send Request" button.
Click on the "Add to test" button to add the response to the test.
You can select the assertions that should be included in the test. Once you are done selecting the assertions, click on the "OK" button.
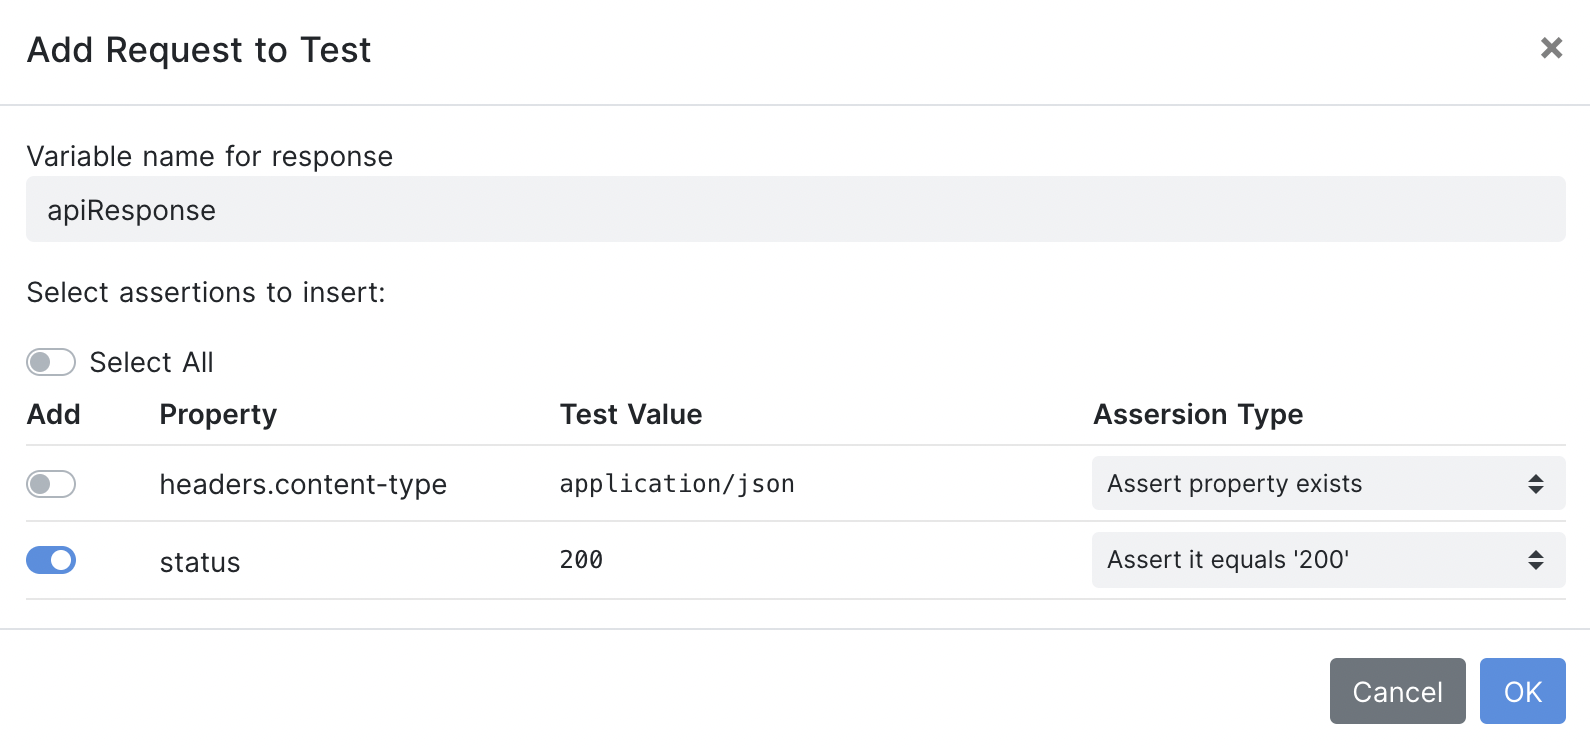
You will be able to view the assertions now.
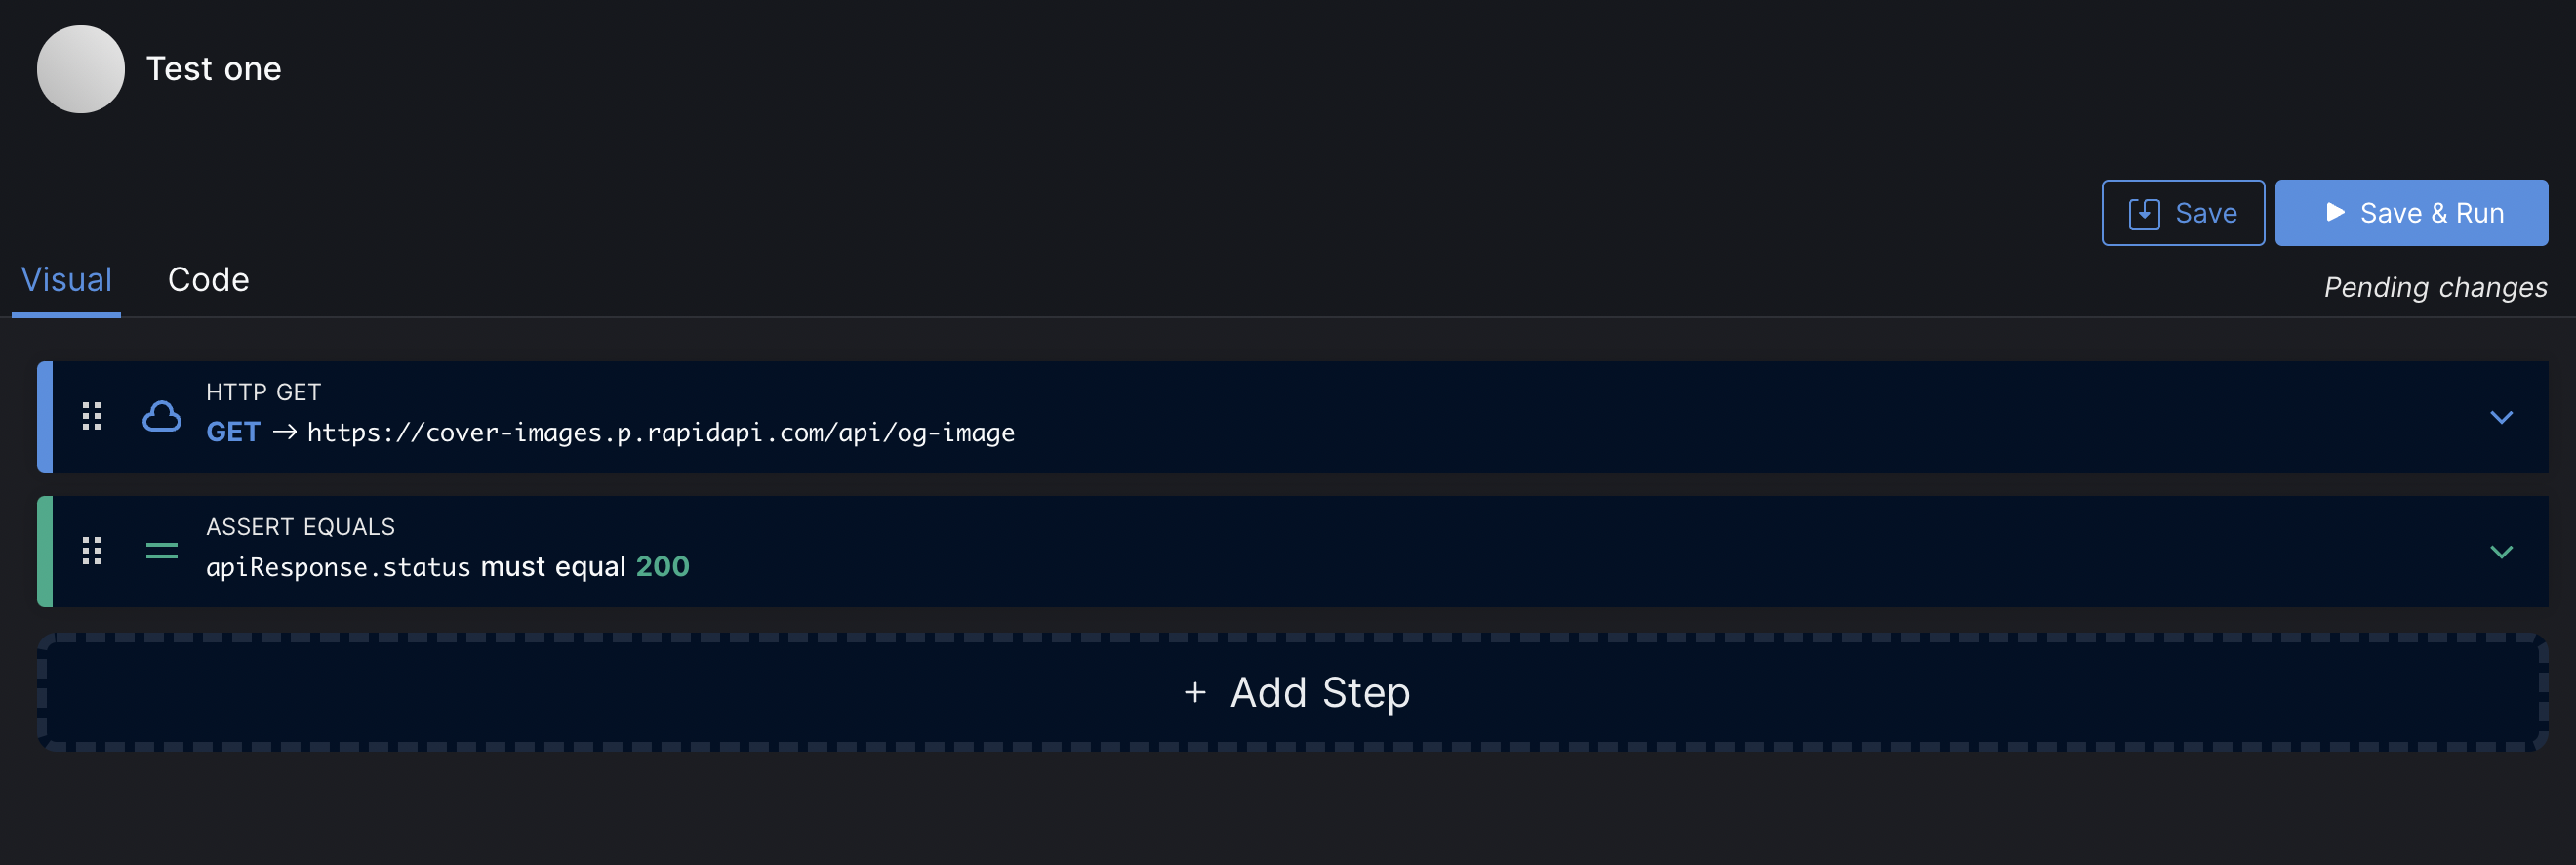
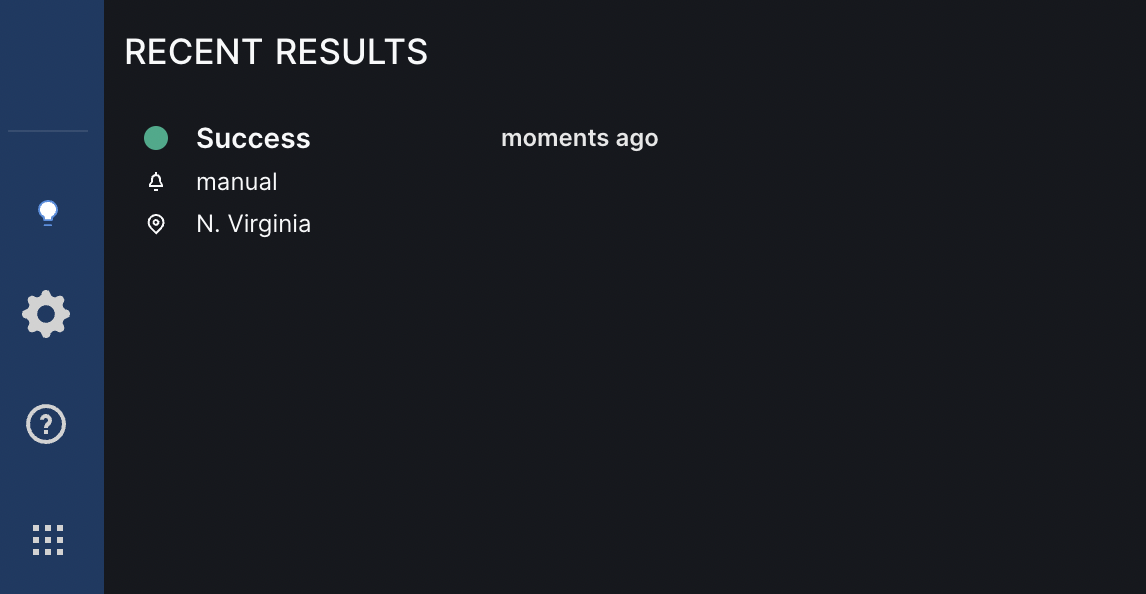
Click on the "Save & Run" button to run the assertions. You should be able to view the latest assertion inside the "RECENT RESULTS" tab.
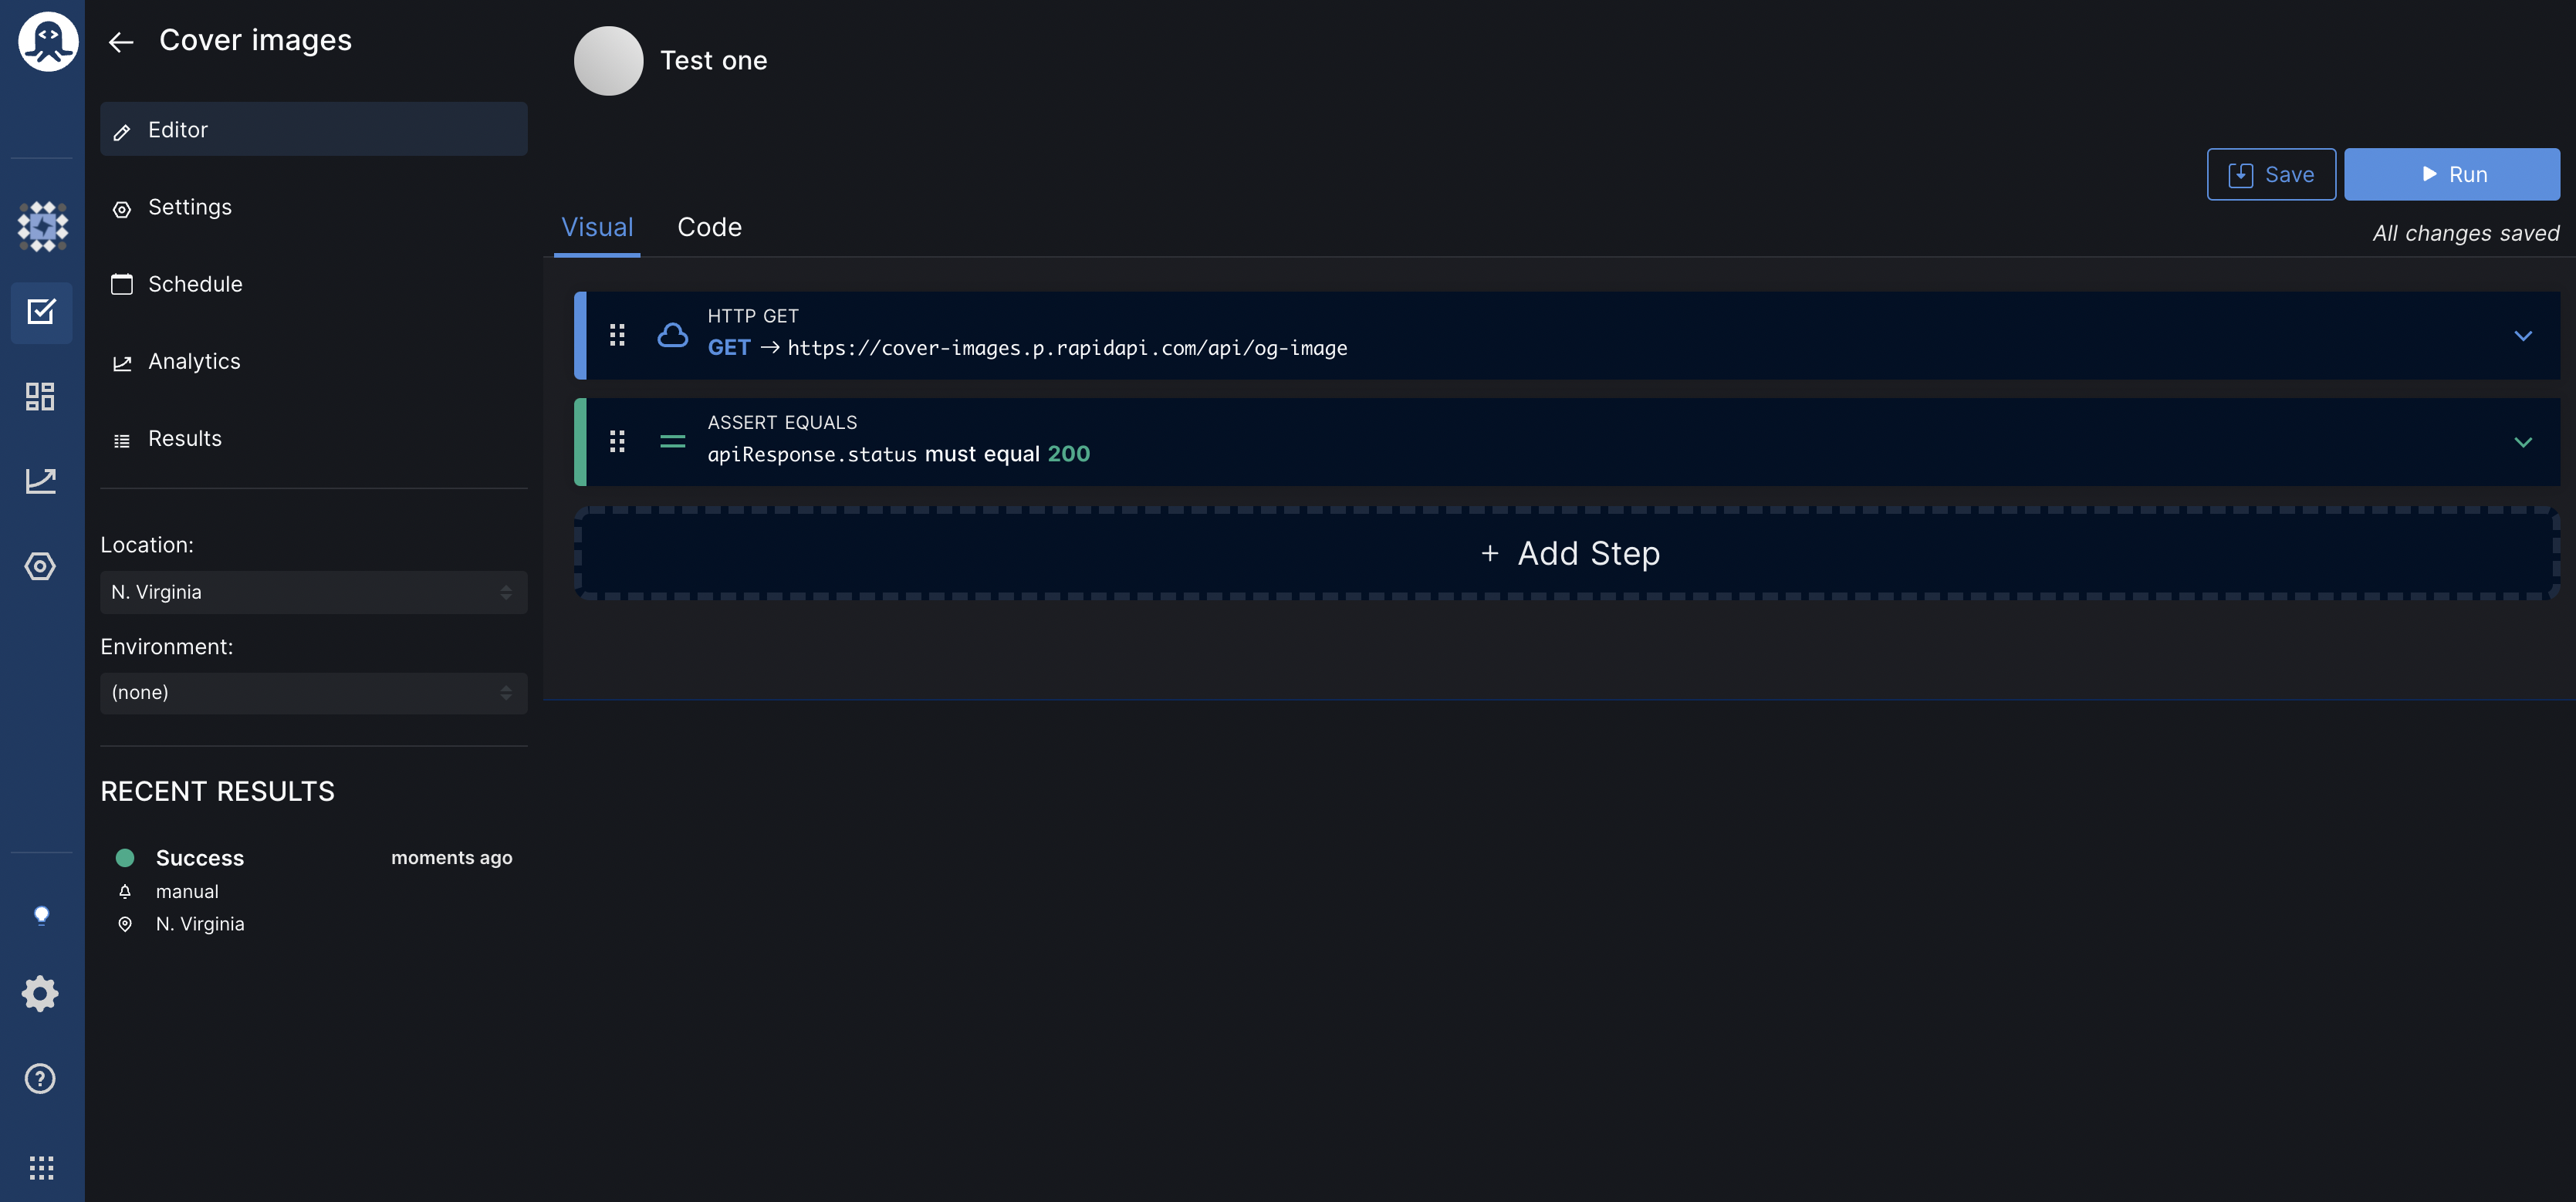
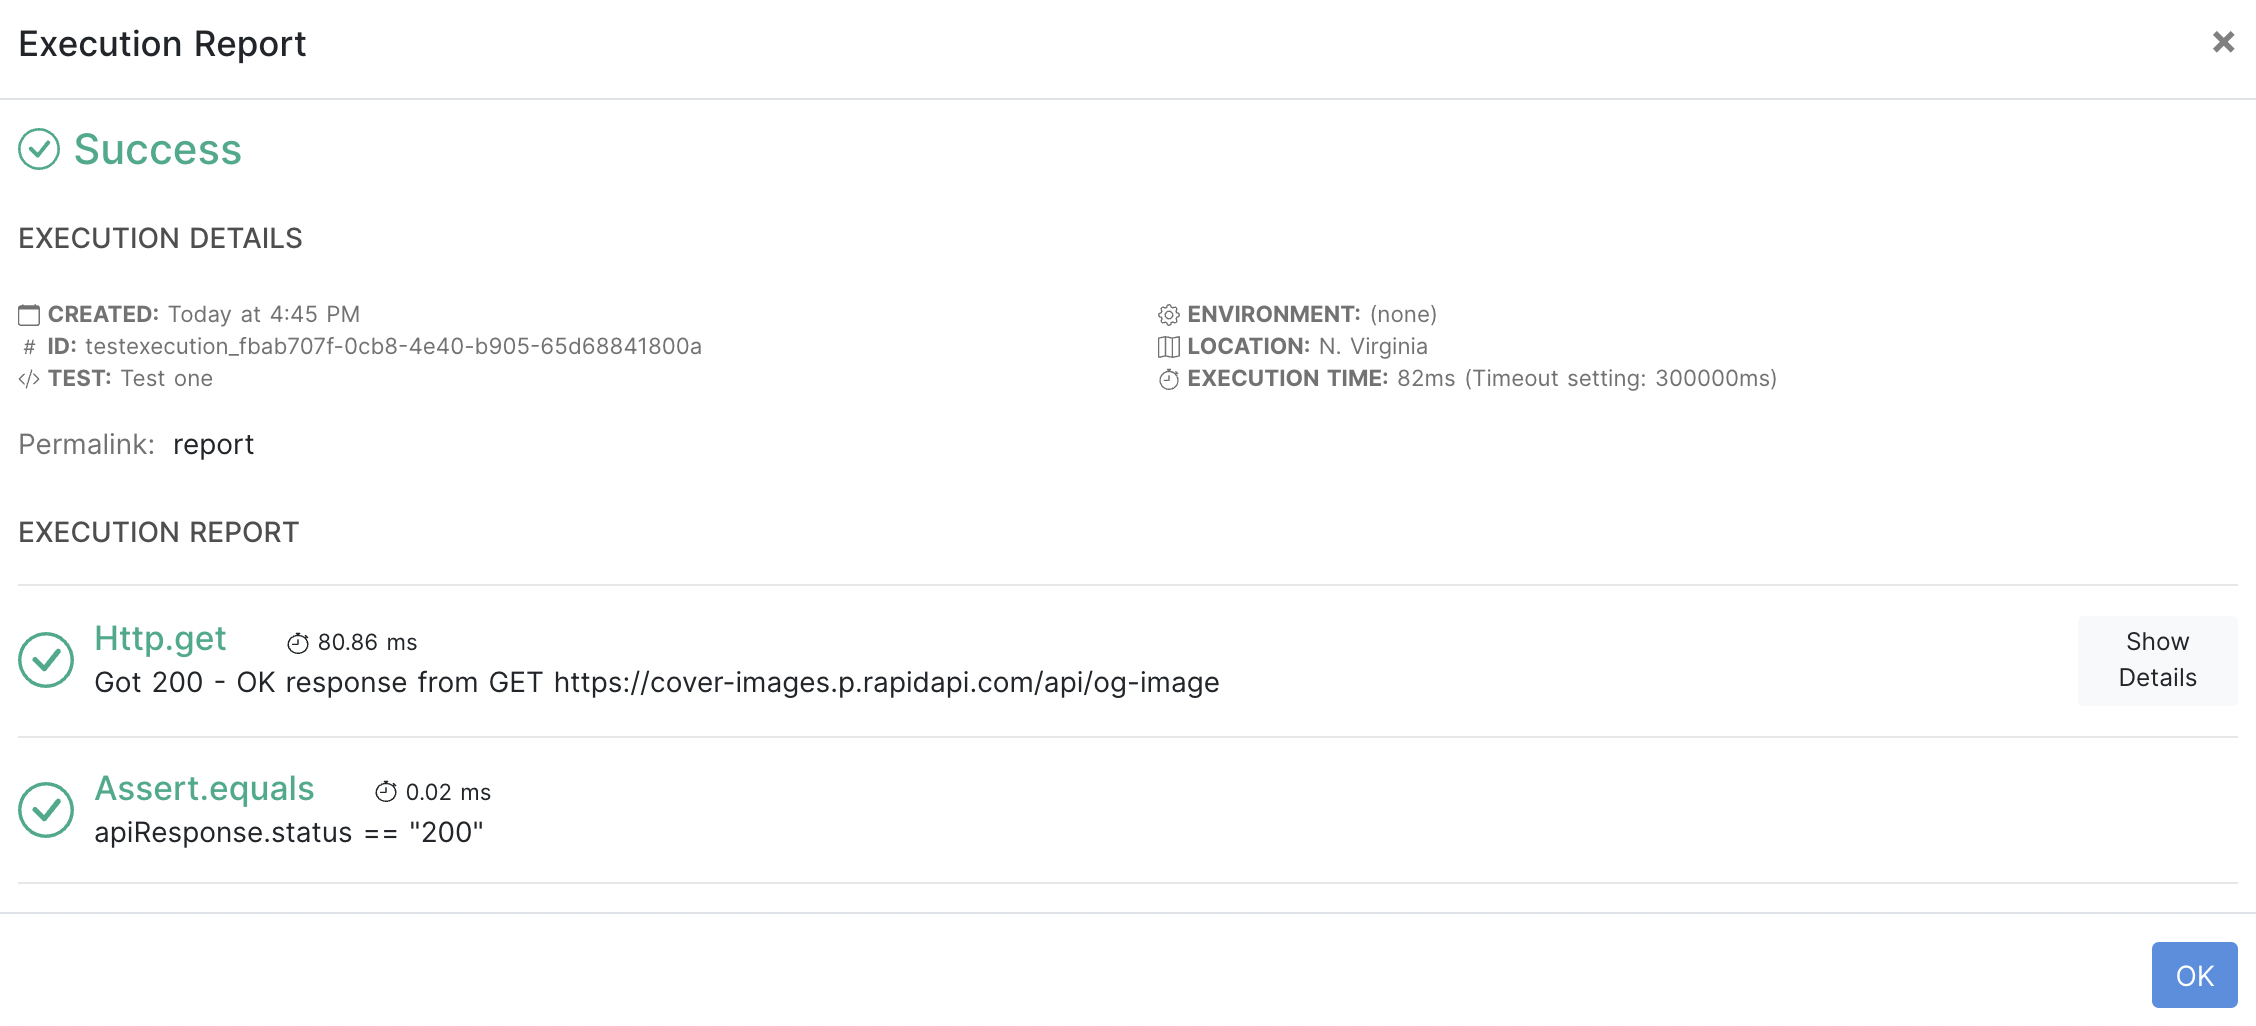
If oy click on the result, you will be able to view the details.
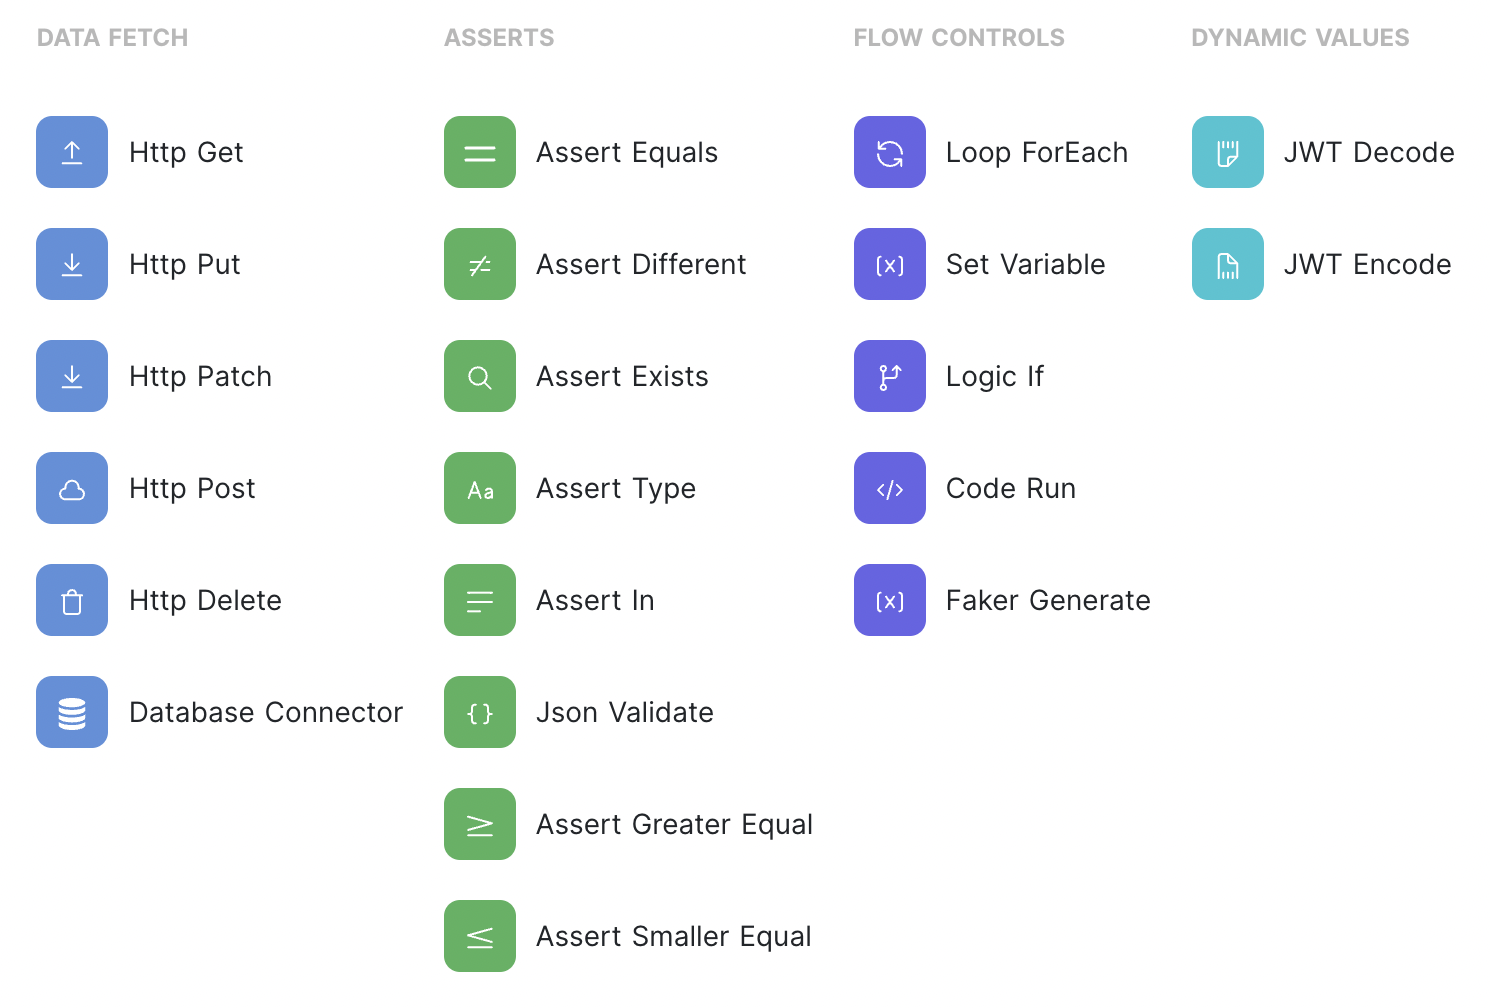
RapidAPI offers a selection of action presets from which you can choose to add to your tests.
Scheduling tests
You can also schedule your tests to run at regular intervals. To schedule tests, click on the "Schedule" link on the sidebar.
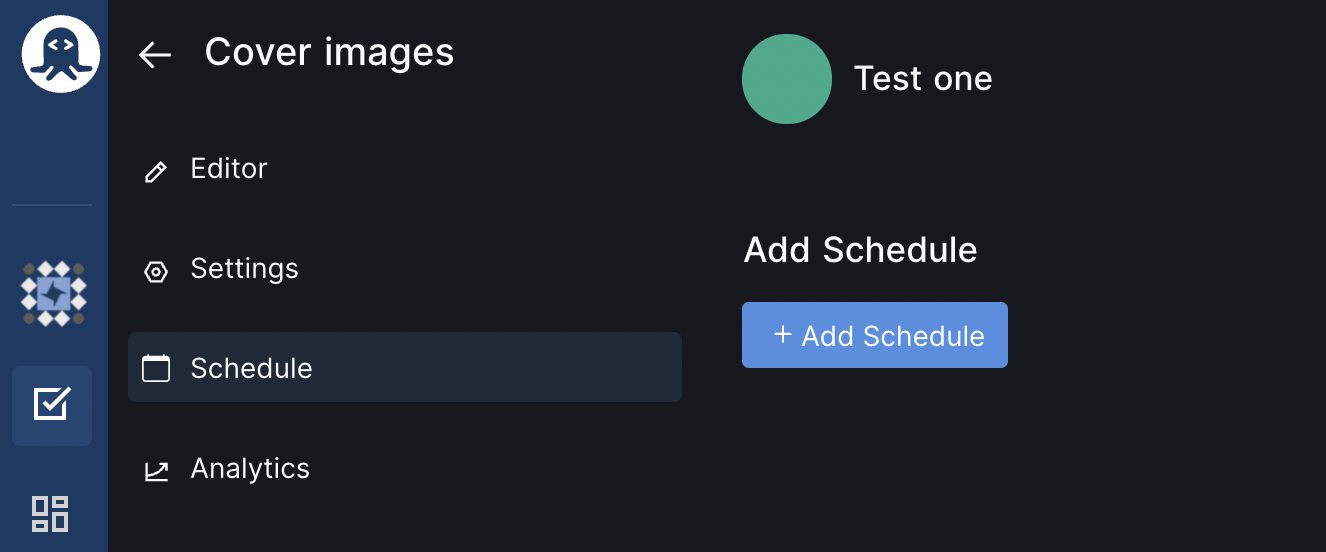
Next, click on the "Add Schedule" button and select the Frequency, Environment, and Locations where the tests should run.

Click the "Submit" button to schedule the tests. Once the tests run is complete, it will show up in the "RECENT RESULTS" tab.
Monitoring your tests
From the "Analytics" tab, you can view a snapshot of all runs of your test. This will give you a quick overview of the number of successful and failed runs for a particular test.

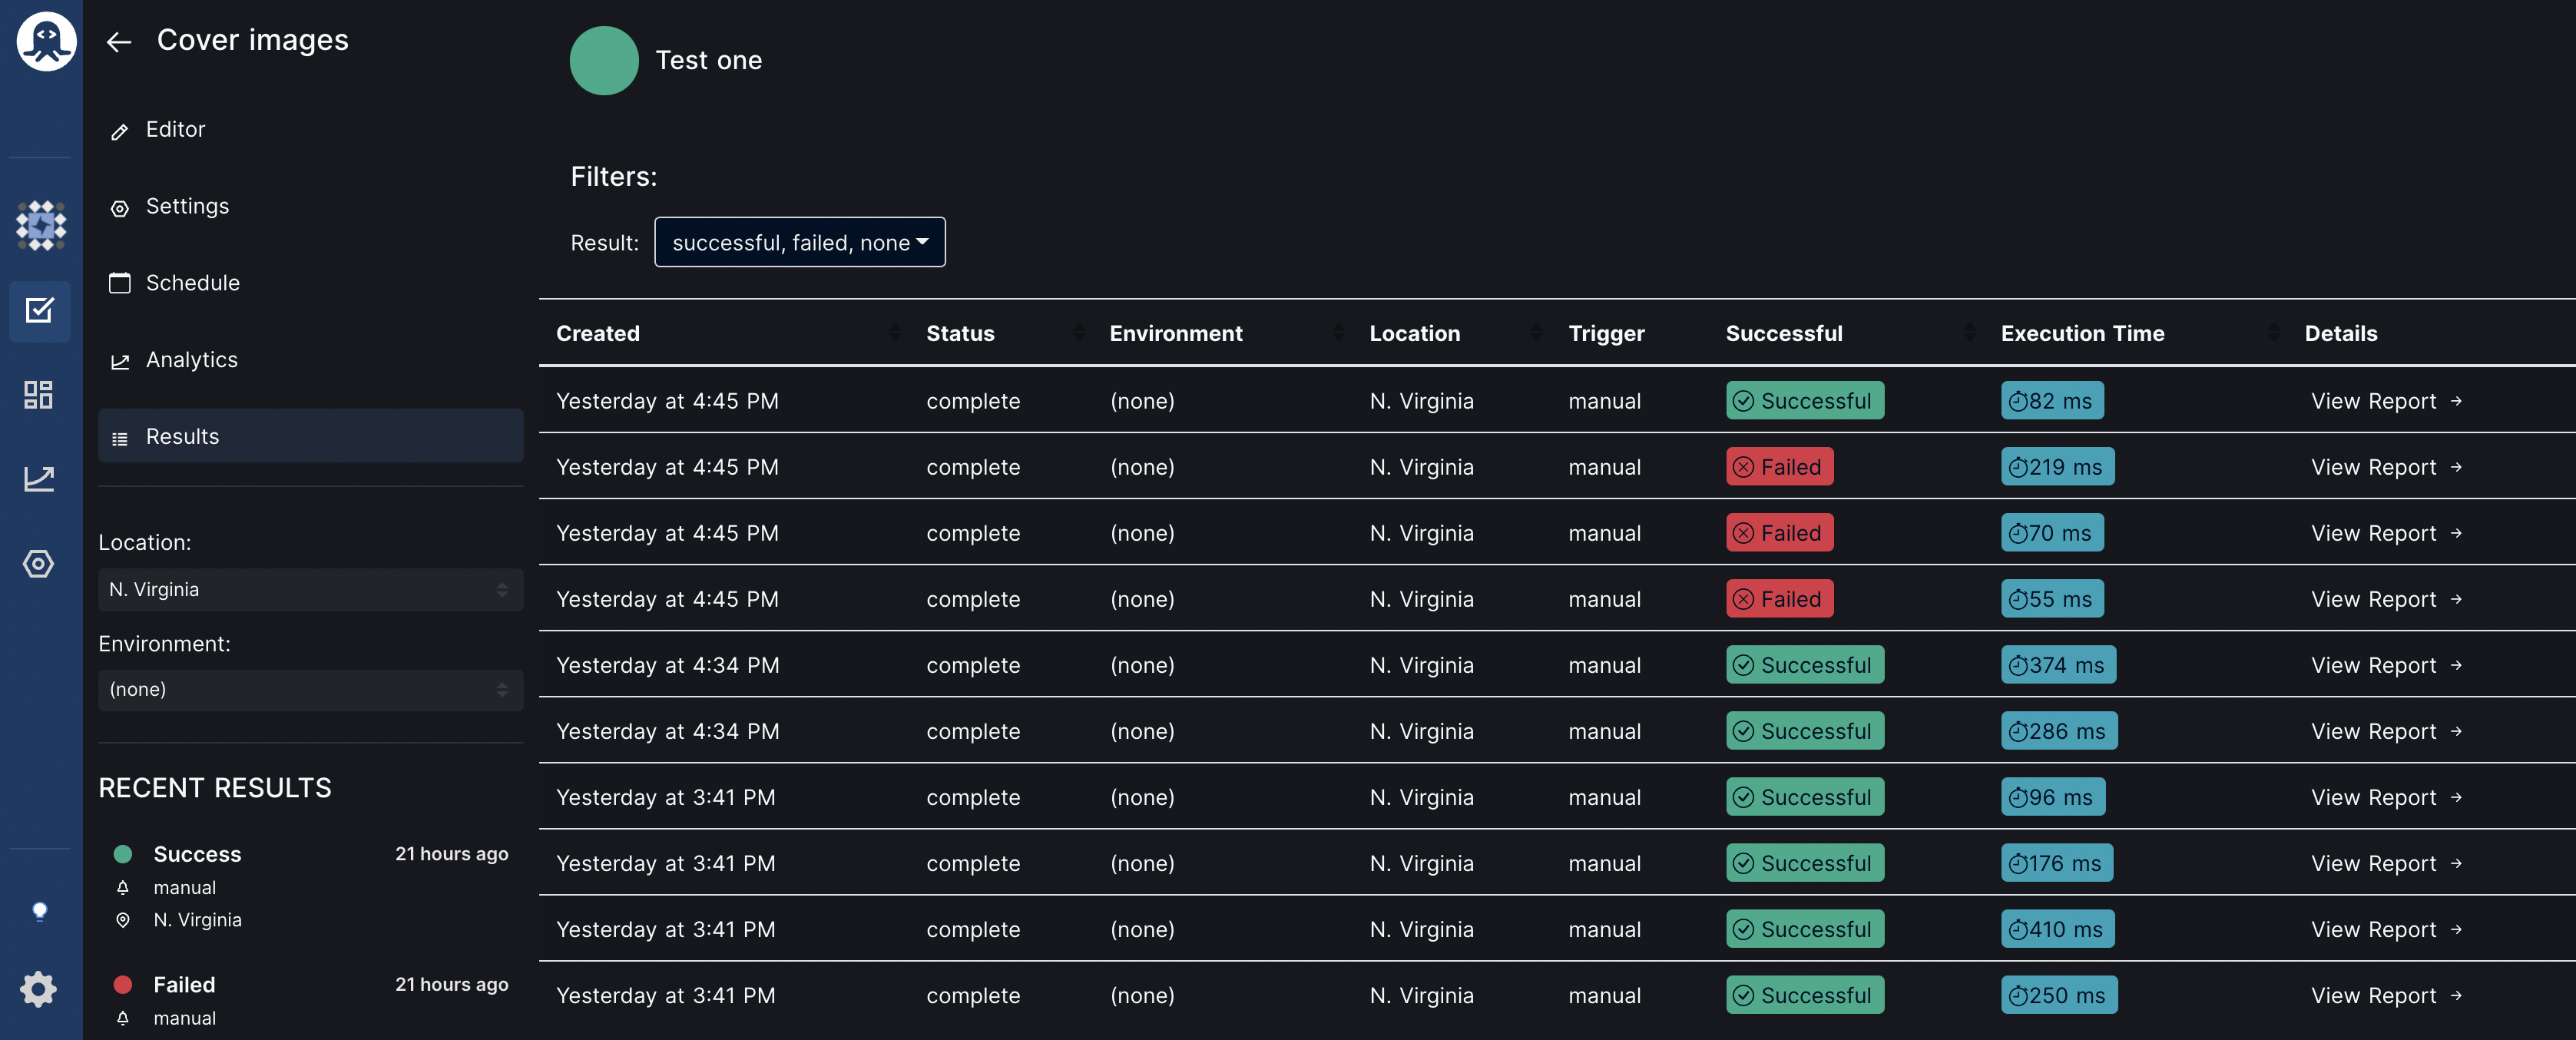
You can also sort and filter the results of all the runs for your test from the "Results" tab. You can sort and filter between successful and failed test runs.
RapidAPI Client
You will need to create an account before you can use RapidAPI Client.
Creating a project
Once you sign up for RapidAPI Client, click on the "Create New Project" button to create a new project.

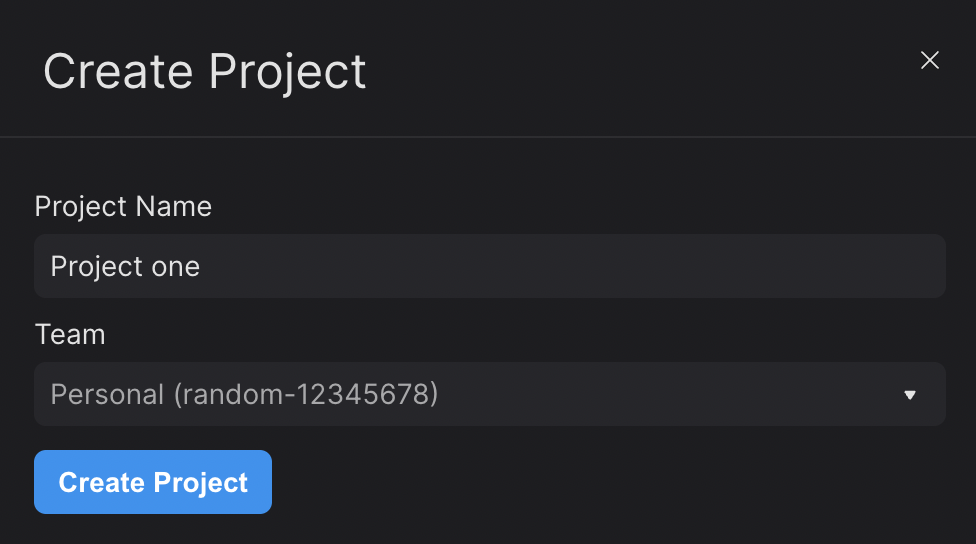
Enter the "Project Name", select team, and click on the "Create Project" button to create a new project in RapidAPI Client.
Creating a new request
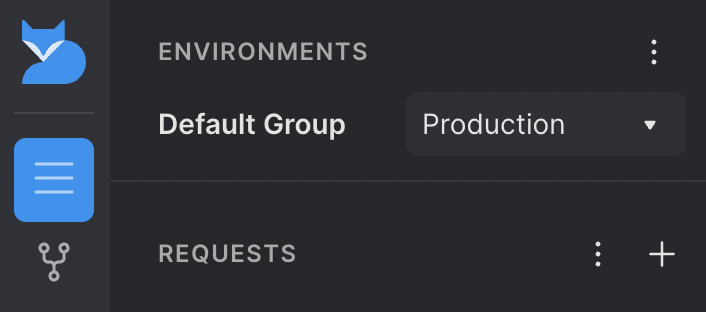
Once you are in your new project, click on the "+" (plus) icon to create a new request.
Enter the request URL and click on the "Send" button to send a new request. Once your request is completed, you will see the response on the right.
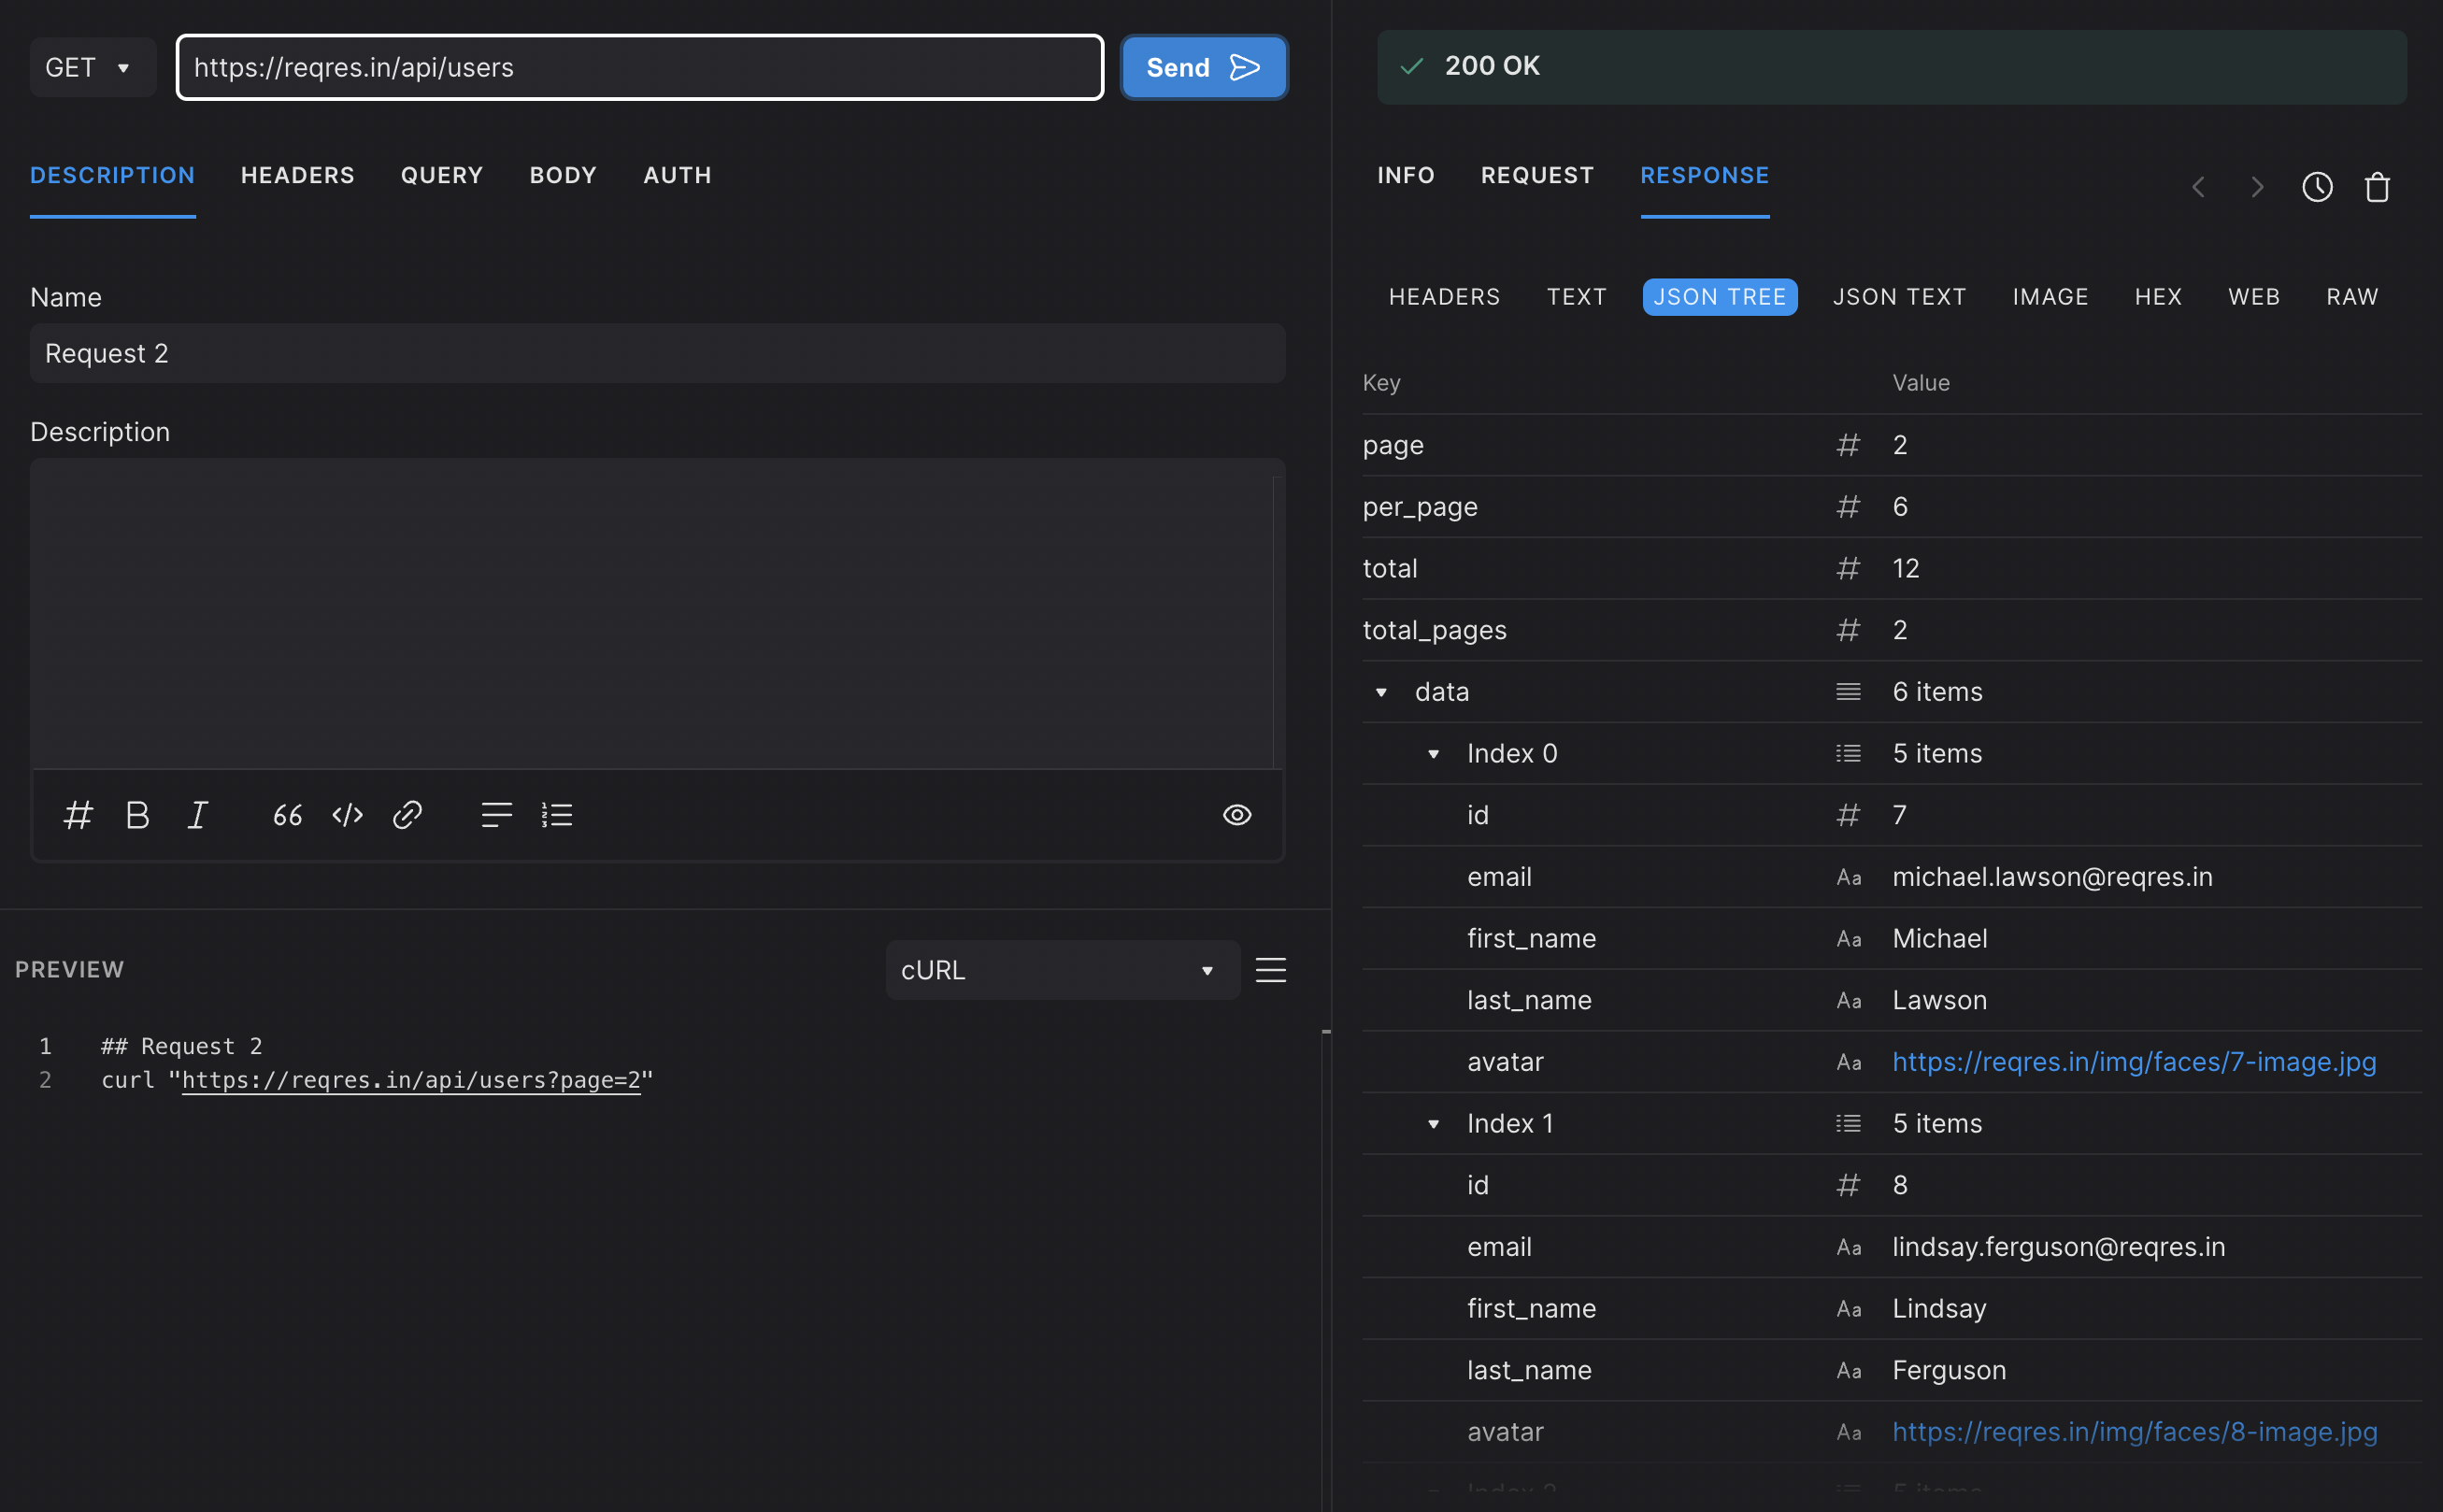
The GET, HEAD, POST, PUT, PATCH, DELETE, TRACE, and OPTIONS HTTP methods are supported by RapidAPI Client.
You can also add headers to your request as per your requirements.
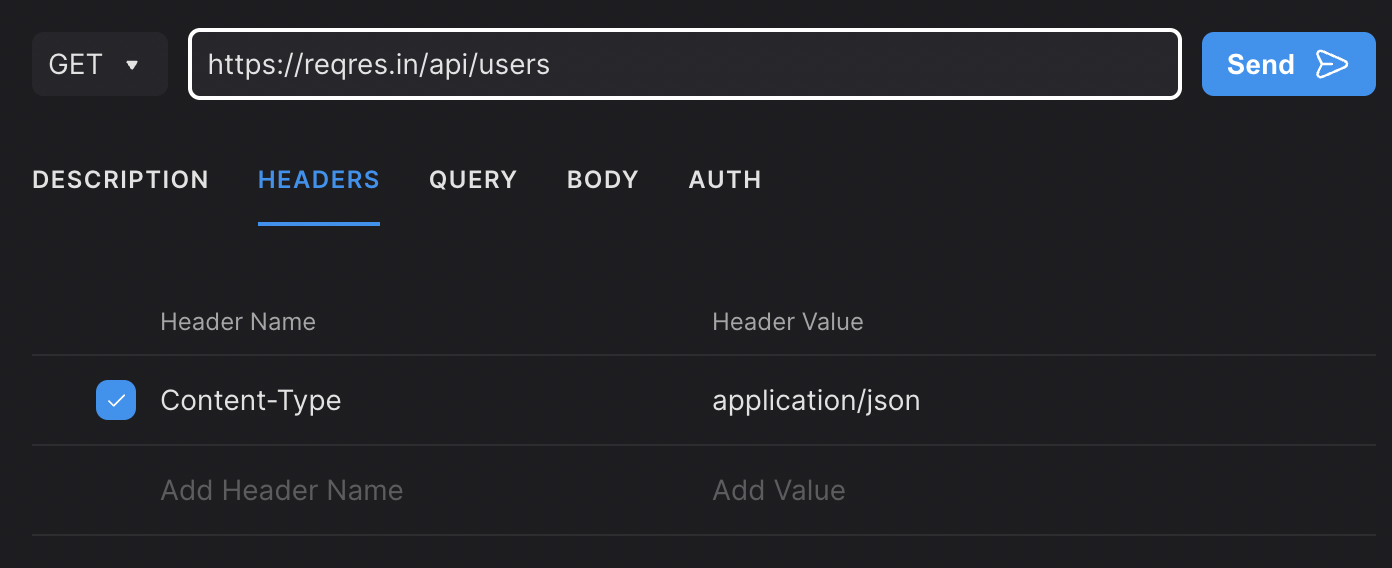
Like headers, you can also send query parameters, body, and authentication headers along with your request.
RapidAPI Client generates code snippets for your request so that you can copy and paste them into your code, enhancing the development experience.
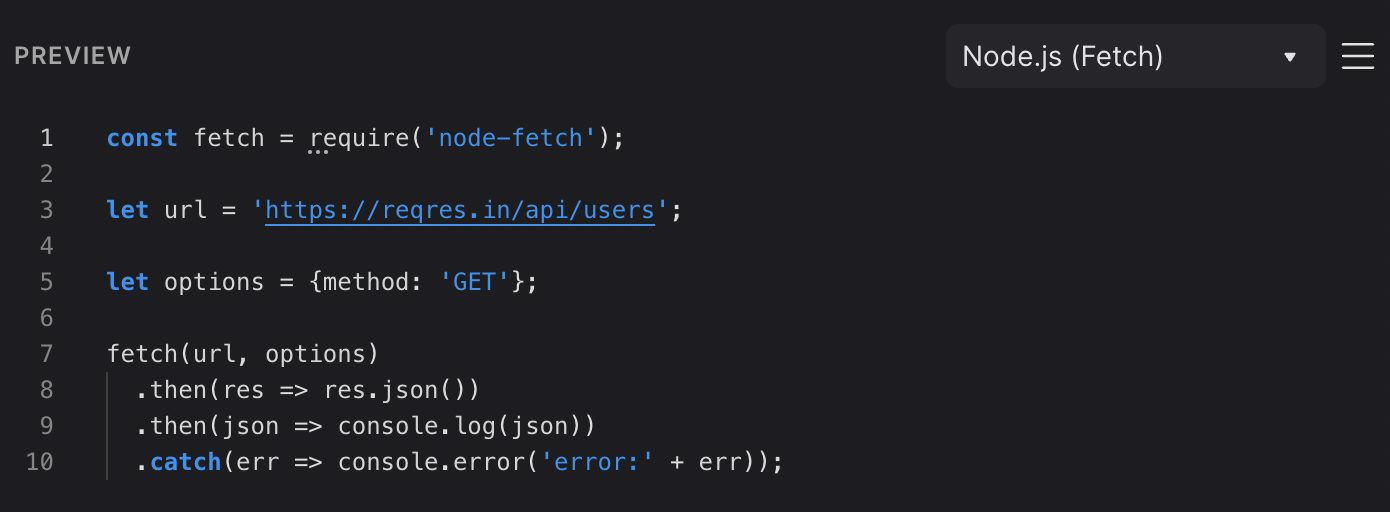
The code snippet updates as you modify your request.