Have you ever thought of ways to earn a passive income? If you are a developer, there are several ways you can do it. One way is to build APIs and make money from them. But the question is how you can easily monetize your APIs. And the answer is in two words, i.e., RapidAPI Hub.
RapidAPI Hub is home to over 35000+ APIs of 45 different categories. If you don’t have an account, you would first have to sign up on the website to use the APIs. Afterward, a unique API Key will be generated for you. With this API key, you will have access to all APIs. You can also publish your APIs and monetize them to earn a passive income.
In this piece, we will learn how to build a simple REST API in Node.js, deploy it on Heroku and then publish it on RapidAPI Hub. So without any further ado, let’s jump in!
Building An API
Let’s go ahead and start building a REST API using Node.js and Express.js. We will do it in steps to make it easier to follow.
→ STEP #1
You can skip this step if you have already installed Node.js on your computer. If you haven’t, you can download the latest version from here. Afterward, install it on your computer and then restart it.
→ STEP #2
Now create a directory on your computer and open it in your preferred code editor. Create a package.json file inside this directory and copy-paste the following code there:
json
If you don’t want to add all this, you can run the following command in the terminal:
sh
You can write your API name as a value to the name key.
→ STEP #3
We need to install Express.js in this project. For this, open your terminal inside this directory and run the following command:
sh
We also need to make the API publicly accessible, and to achieve it, let’s go ahead and install the CORS package.
sh
You can run your Node.js server via the node command, but the drawback is that you would have to restart the server whenever there is a change in the server files. What we can do is use nodemon instead. It will run the server without the previously mentioned drawback.
sh
Once done, update your package.json file to add the script key. It will take an object as its value. Inside the object, you will define the commands and what they do. Add the server key in this object with the value nodemon index.js.
Here is an updated package.json file that you can refer to just in case:
json
→ STEP #4
Now create a file called index.js in your project directory and import express and cors inside it.
js
Now create an express application by adding the following code in the index.js file:
js
We need to introduce a middleware, so our server recognizes the incoming request objects as JSON objects. For that, add the following piece of code in index.js file:
js
We also need to make the API publicly accessible, so your users do not need to run into a cross-origin error. For this, add the following middleware in your index.js file:
js
Lastly, we need to listen for a connection to know that our server is running. You can do this by adding the following lines of code in your index.js file:
js
After all this, the index.js file will look something like this:
js
→ STEP #5
Create a folder called routes in the root directory and inside this folder, create a file called greet.js. Inside the file, copy-paste the following code:
js
I am importing packages at the top of the file and creating a router using the express package. Afterward, I have written four functions of router to handle the GET, POST, PUT, and DELETE requests. In each of these functions, I am passing a callback function as the second parameter to send a response to the client.
Lastly, I am exporting the router I have just created from this file.
→ STEP #6
Import this file inside the index.js file using the following code:
js
Now register this route in your application like this:
js
The functions inside the greet.js file will run when the client requests the /greet endpoint. For instance, https://api/greet.
The code in the index.js file will look like this in the end:
js
We have successfully developed an API.
Deploying The API
Let’s look at how you can deploy your API on Heroku.
→ STEP #1
For this, go ahead and login on Heroku’s website. Click on New from the top right corner and choose Create new app.
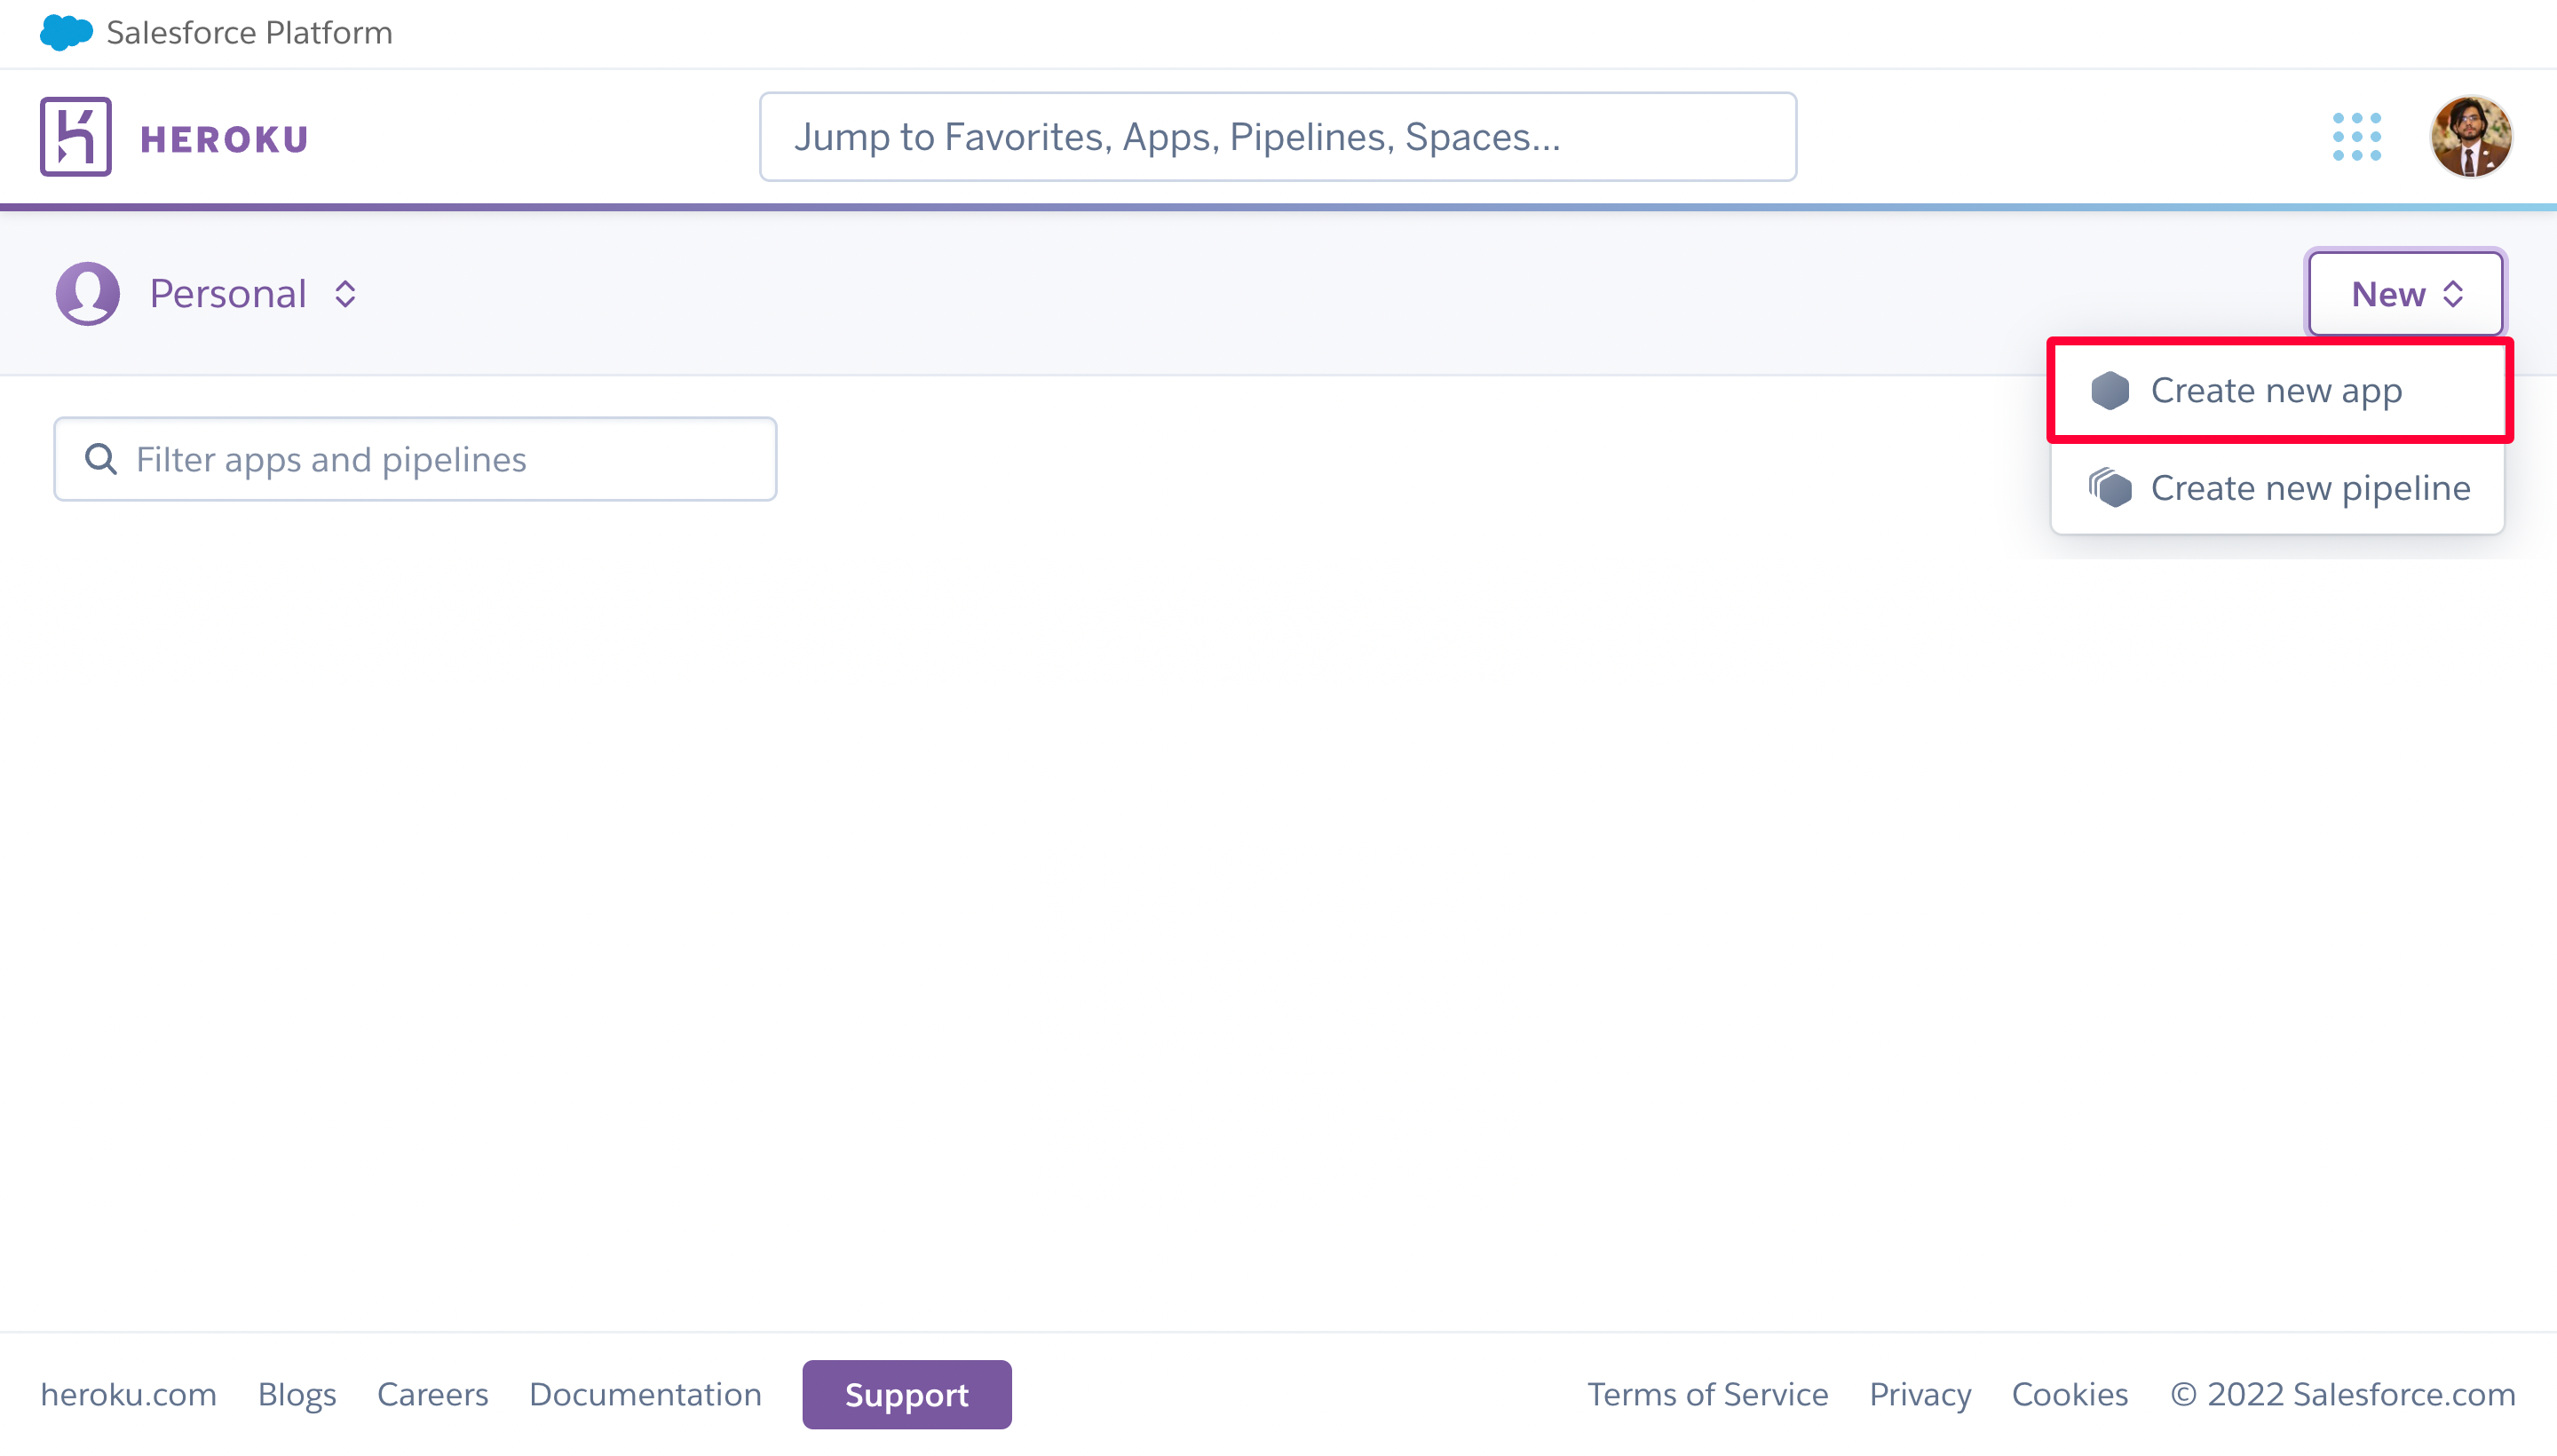
Give your API a name. Let’s go with greeting-api. Click on the Create app button.
→ STEP #2
Now first install Heroki CLI on your computer. Then open your terminal and run the following command:
sh
It will take a minute to sign in. Once you are done, initialize an empty git repository in your API project by running the following command:
sh
Once you have initialized git in the project, go ahead and stage all files using the following command:
sh
Now commit all these staged files by running the following commands:
sh
Now copy-paste the following command in your terminal, make appropriate changes, and run it:
sh
Replace <app-name> with the name of your Heroku app.
After this, run the following command in your terminal:
sh
Now go back to your Heroku app dashboard. You will see that your API has been deployed.

Click on the Open app button at the top, and it will open your API.
Congratulations! You have successfully deployed your API.
Publishing API on RapidAPI Hub
Let’s publish the API we have just created on RapidAPI Hub.
→ STEP #1
Create an account on RapidAPI Hub if you haven’t already. For this, click here and sign up either by providing a username, work email, and password or using your Google, GitHub, or Facebook account.

→ STEP #2
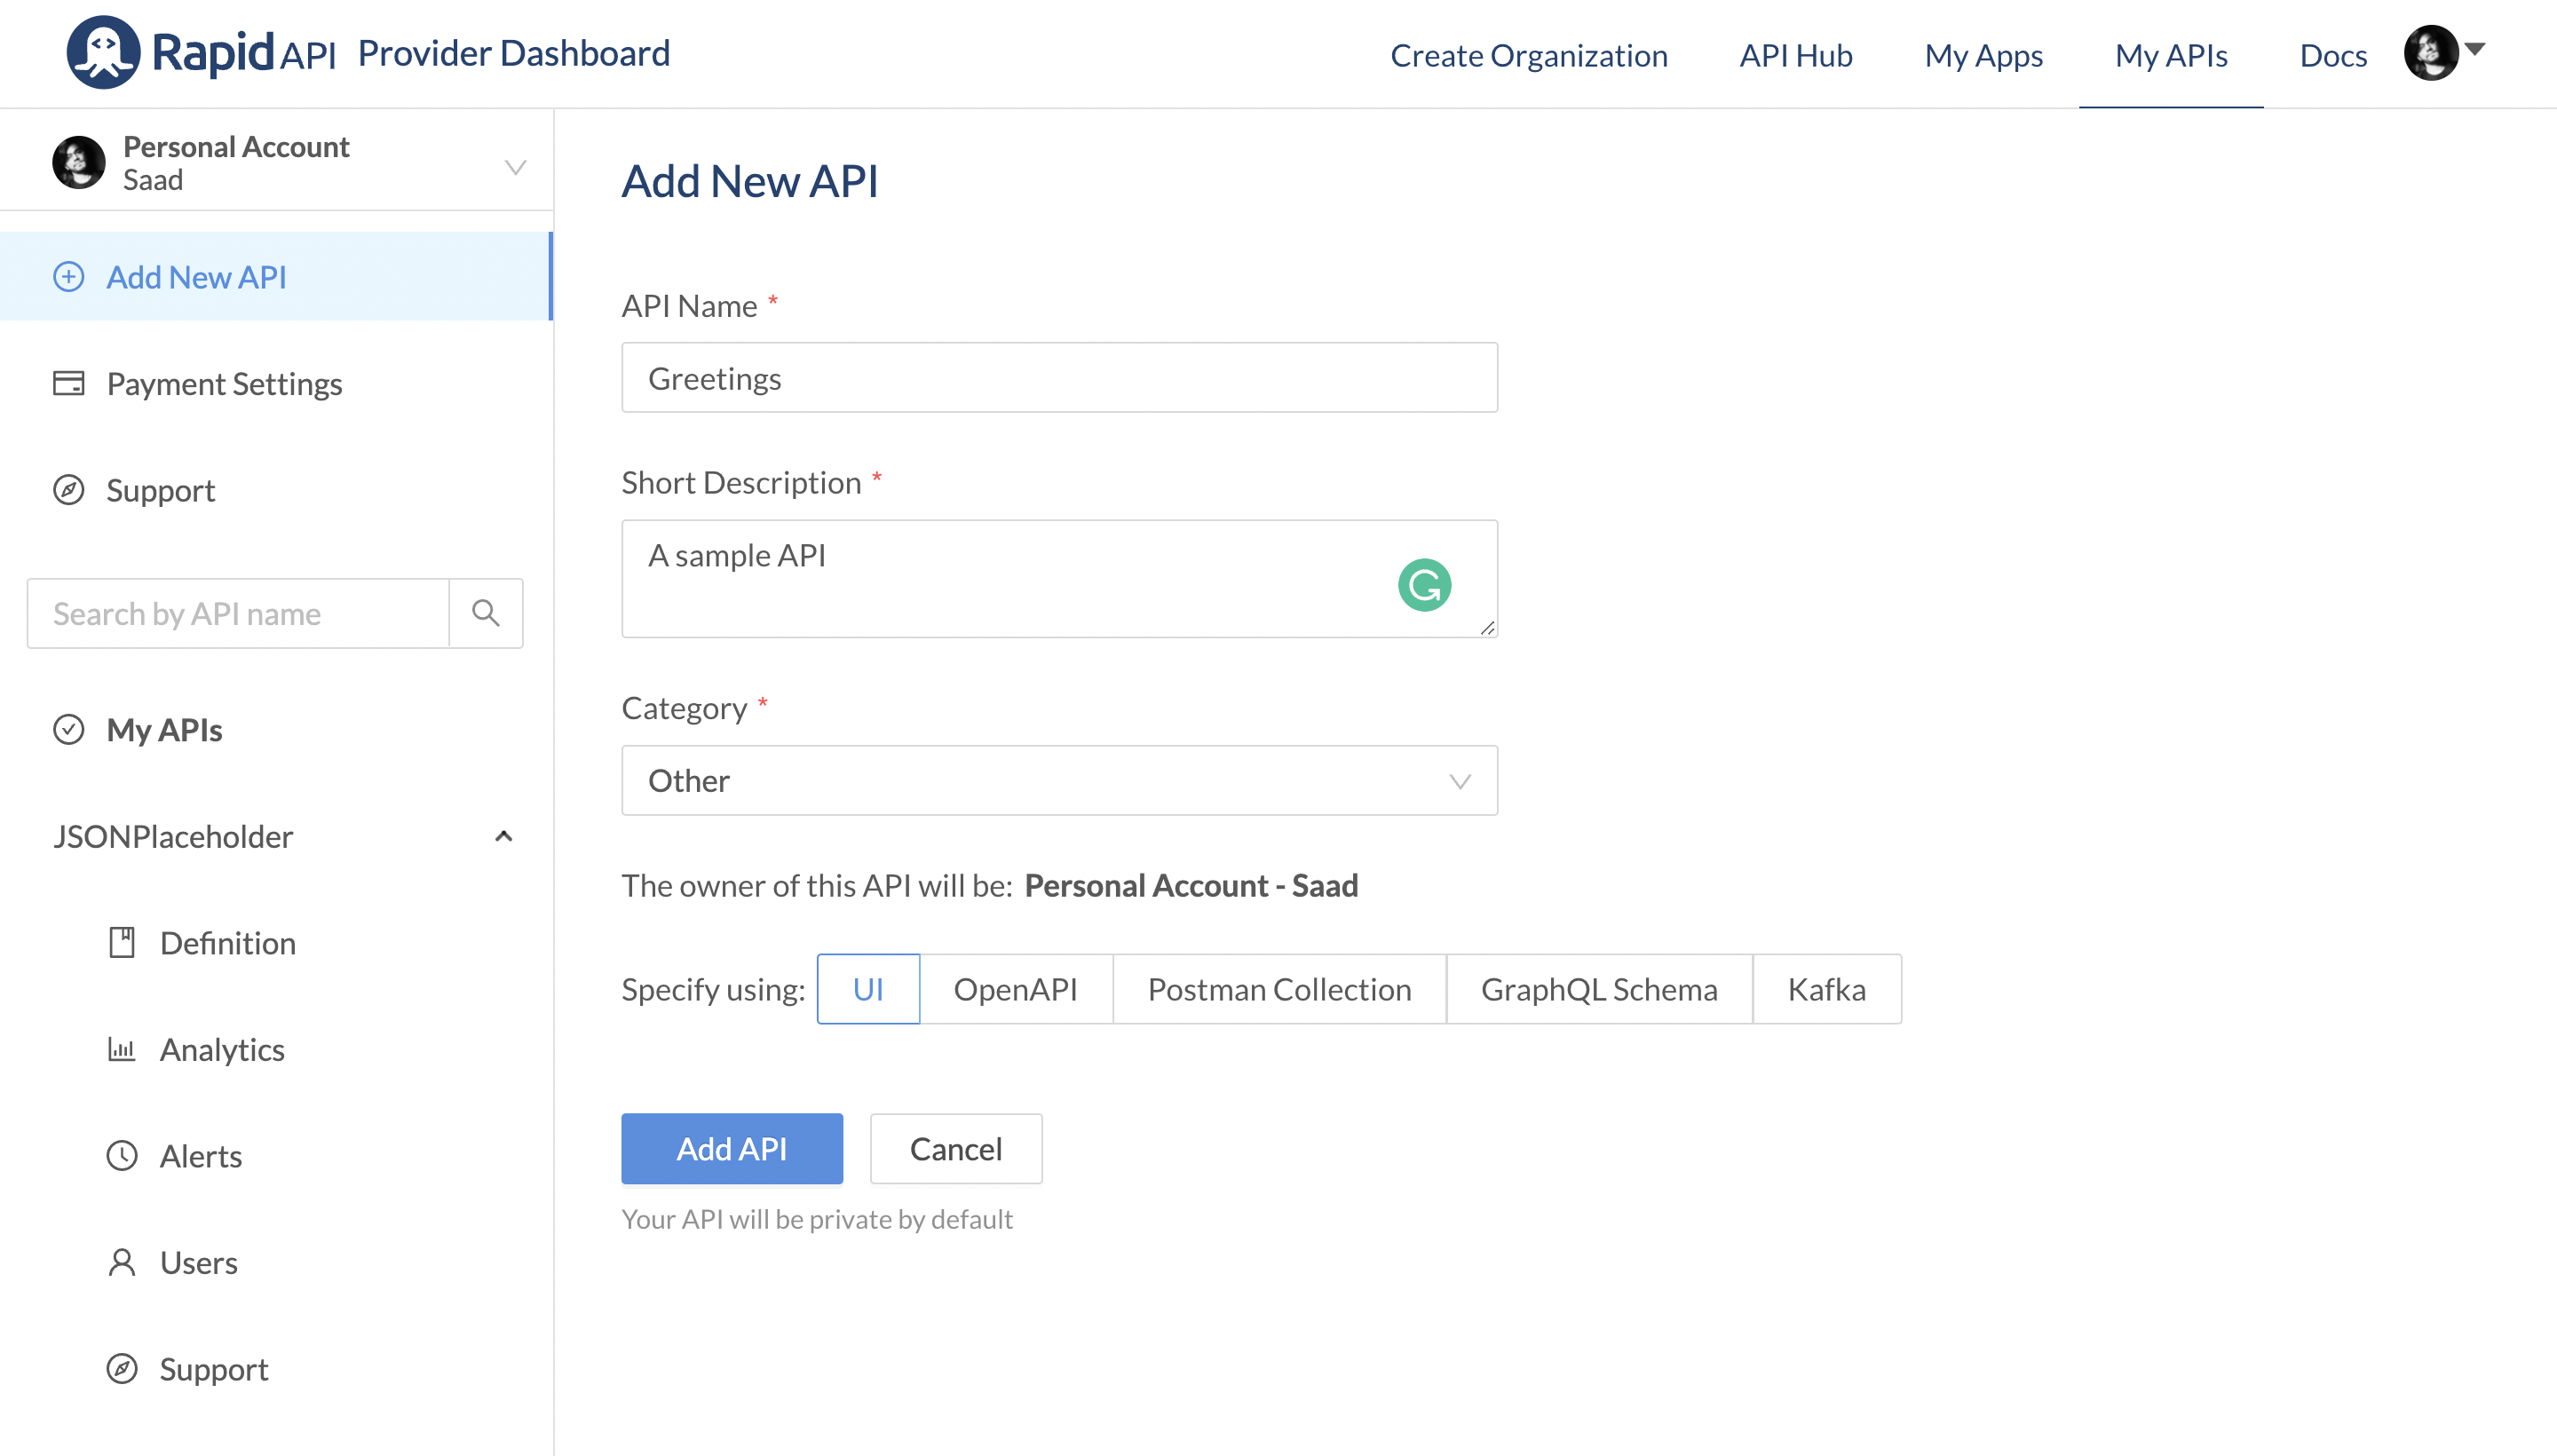
Once you have successfully signed up and logged in, click My APIs on the navigation bar. It will take you to a page where you can add new APIs. Start by giving your API a name, a brief description, and choosing its category from the dropdown menu. Once you are done, click on the Add API button.
It will take a second, and then the API you have just created will be under the My APIs category from the sidebar.
→ STEP #3
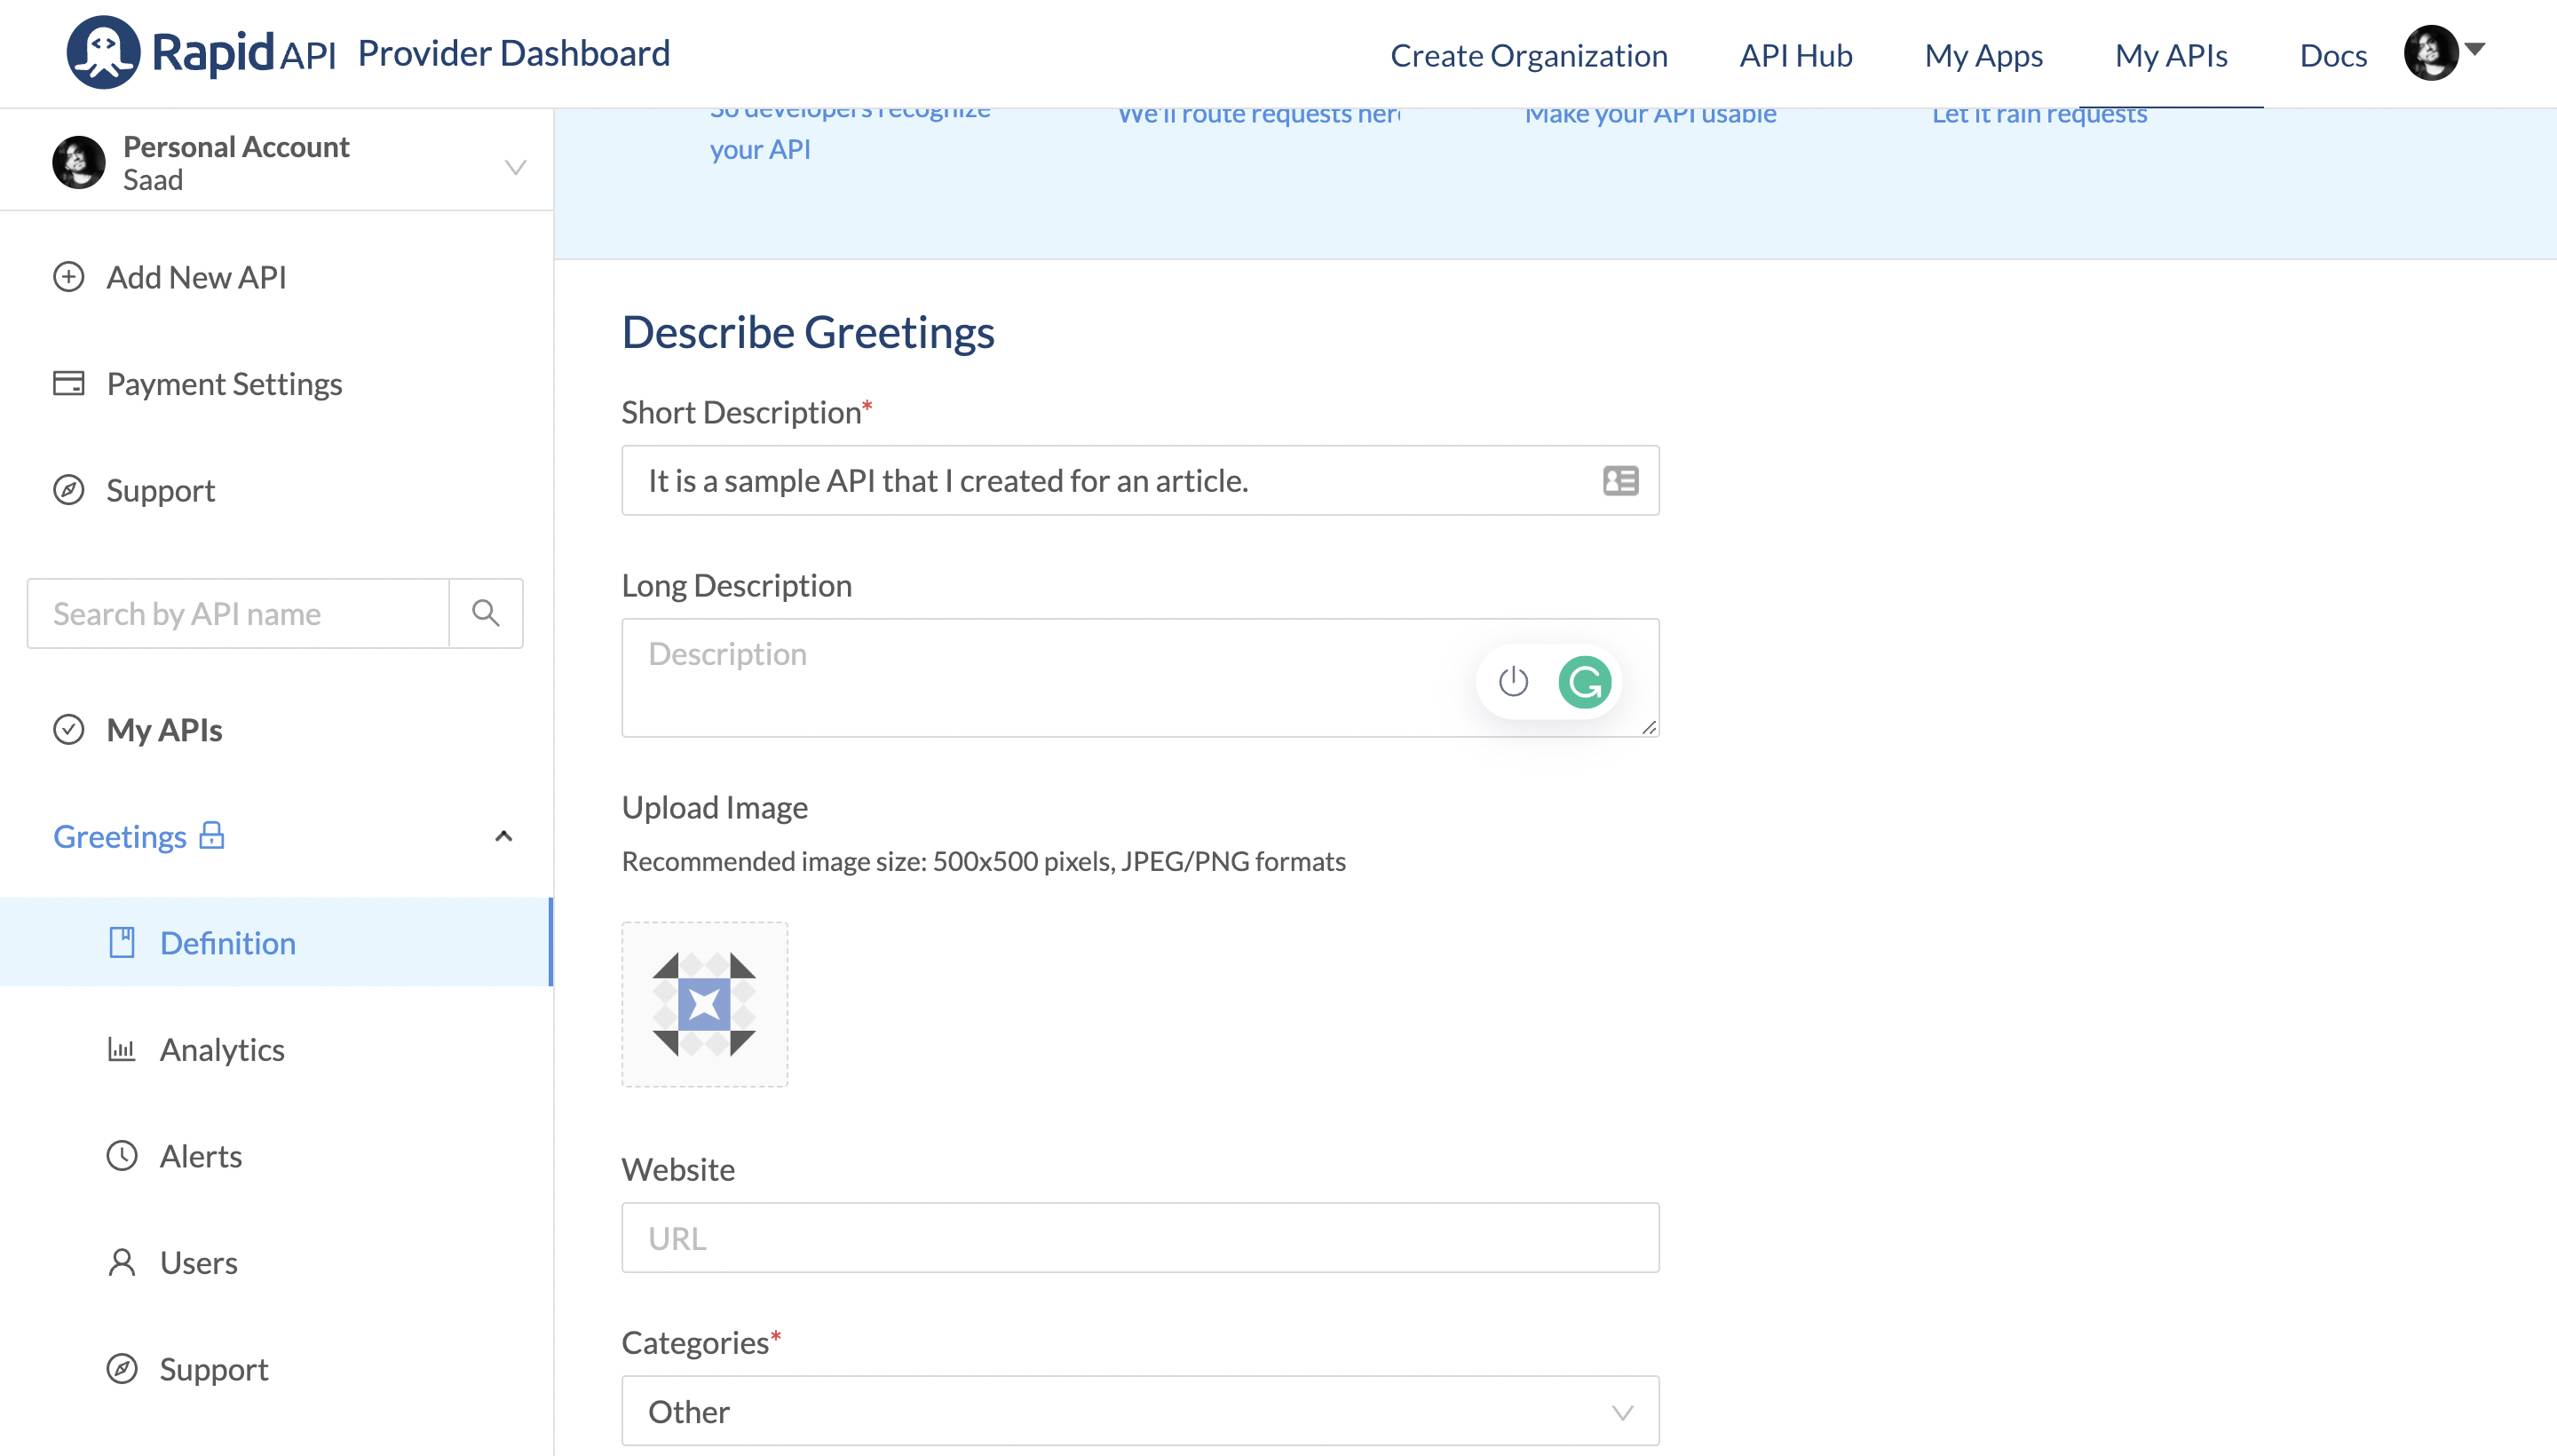
Click on the Definition under your API on the sidebar. You will see different fields here related to adding a long description, an image to represent your API, the API's website, and whether you want to add the terms and conditions. Fill in all the details and then click on Save.
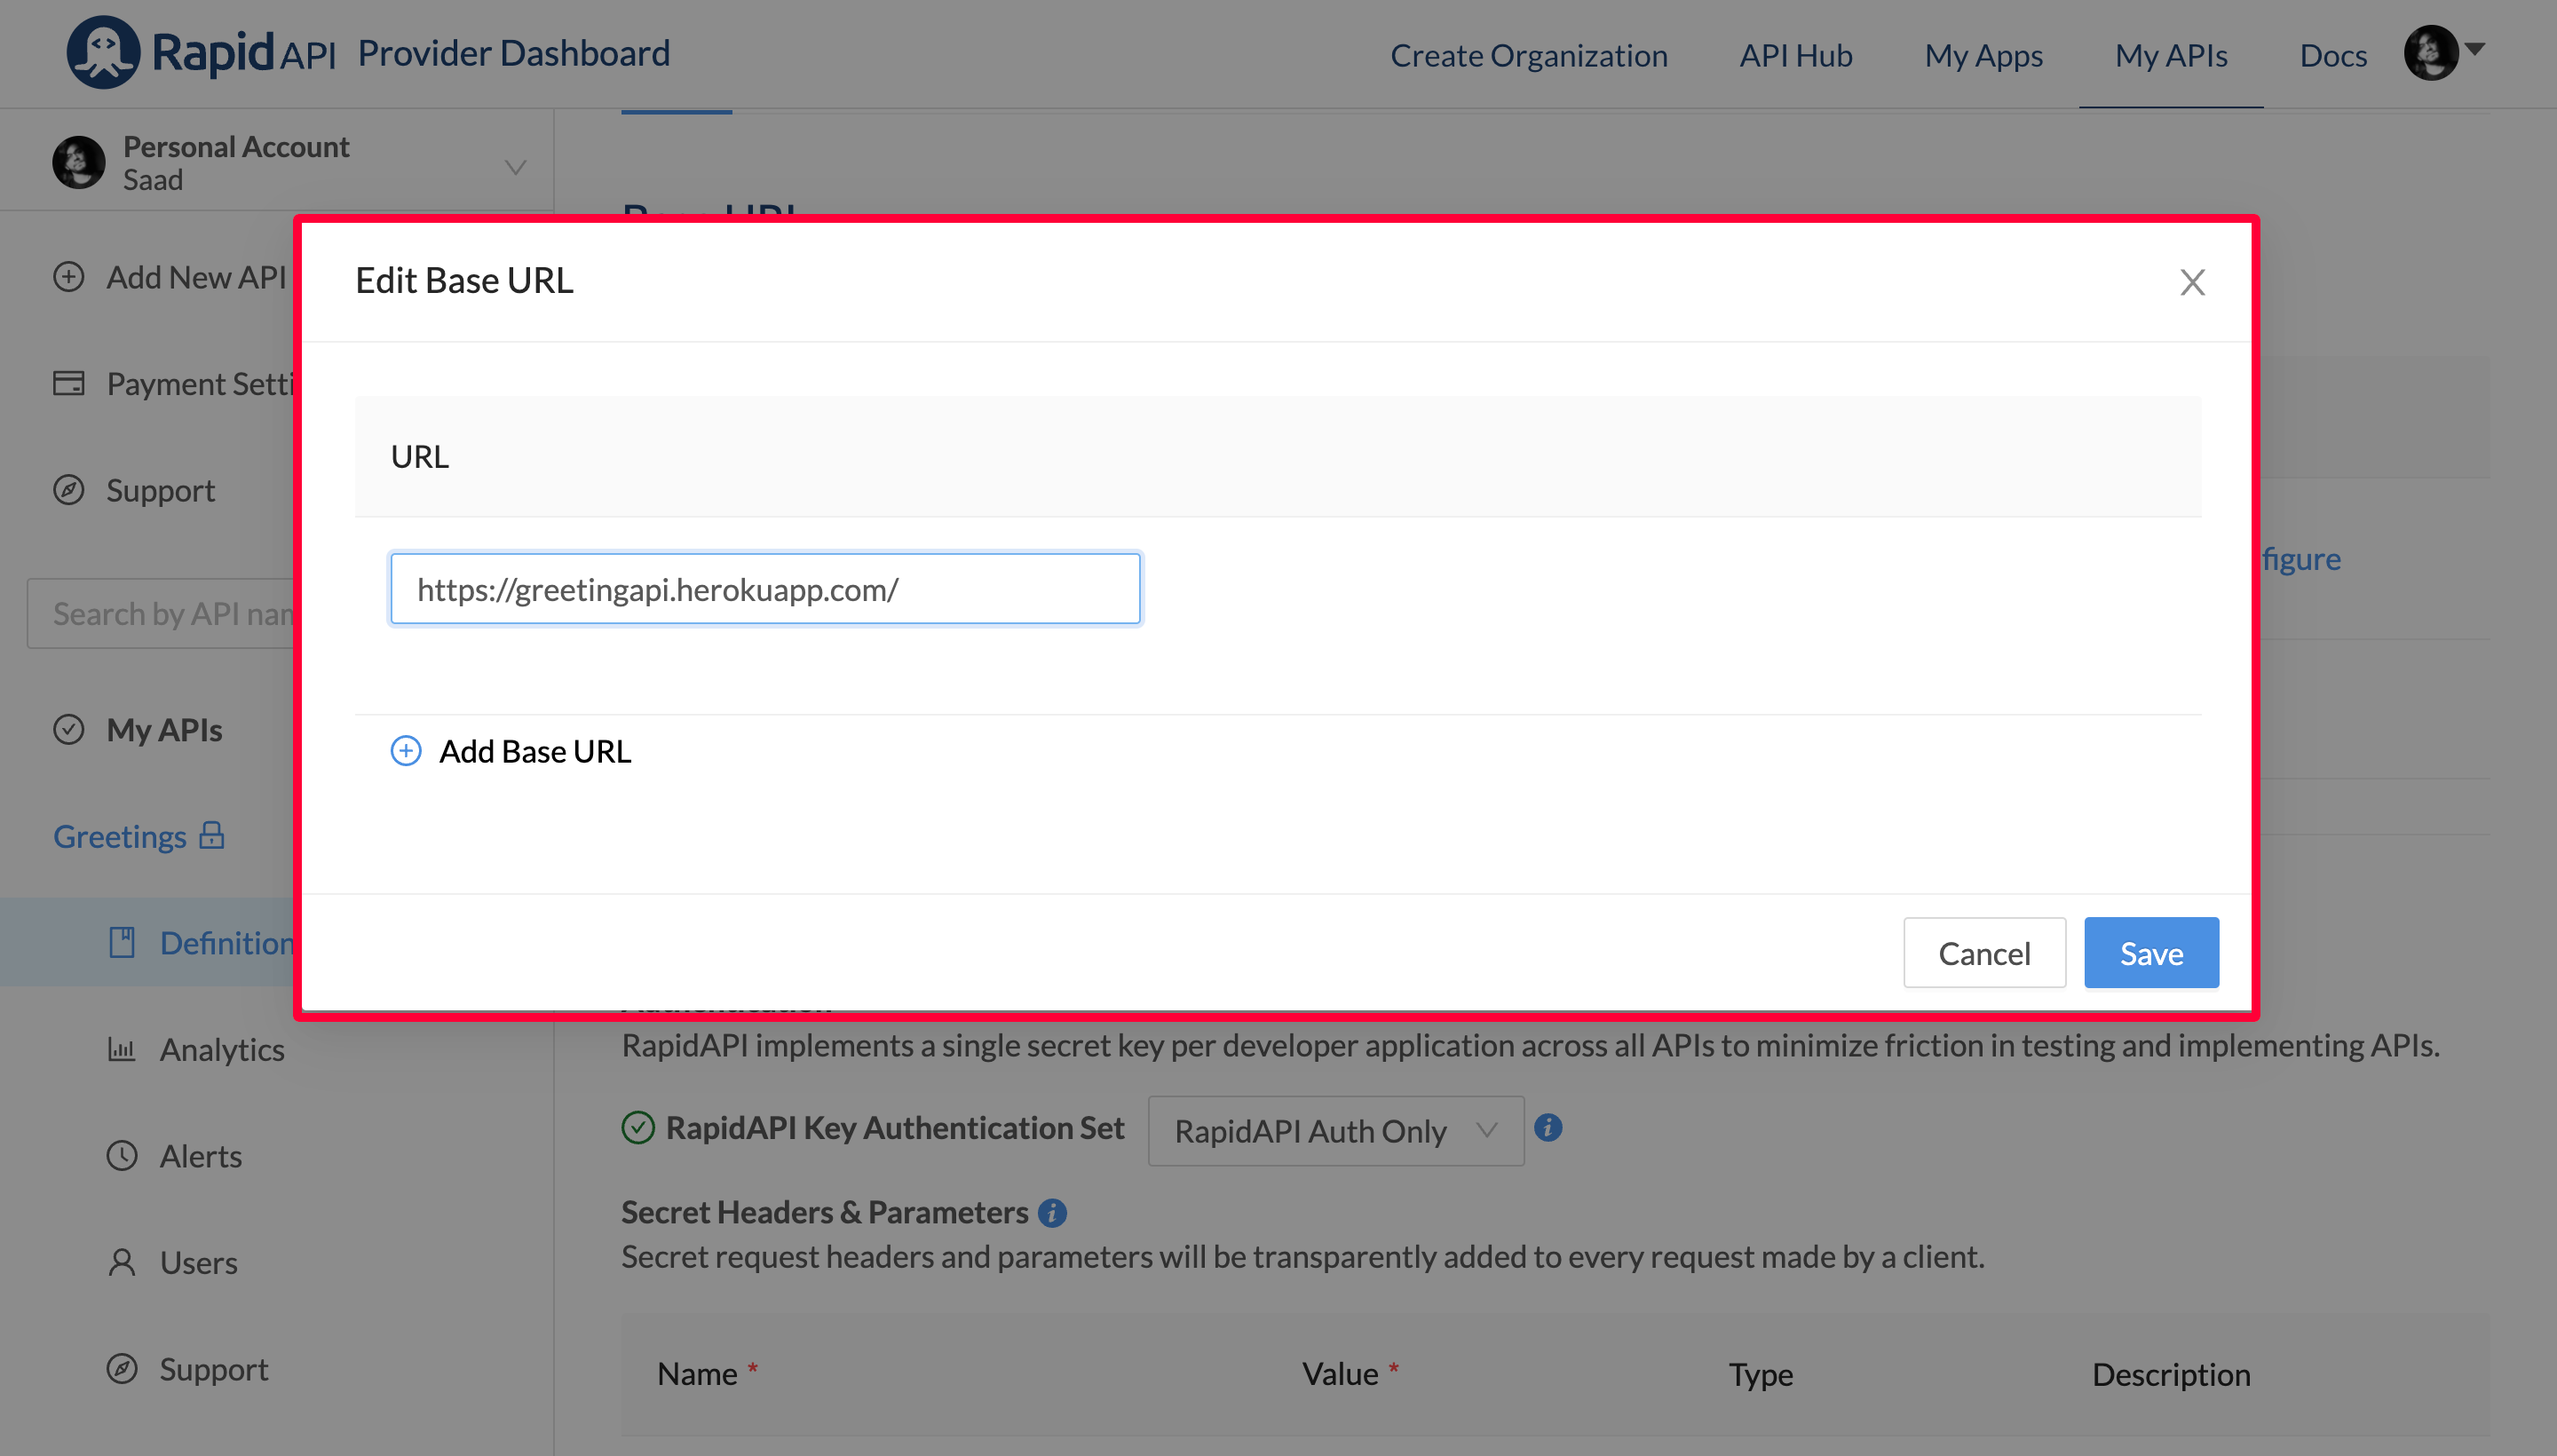
Now click on Add a base URL at the top for adding the API base URL. It will change the UI where you will have the' Configure' button under the Base URL category. Go ahead and click on it. It will open a popup where you have an input box to add the base URL of your API.
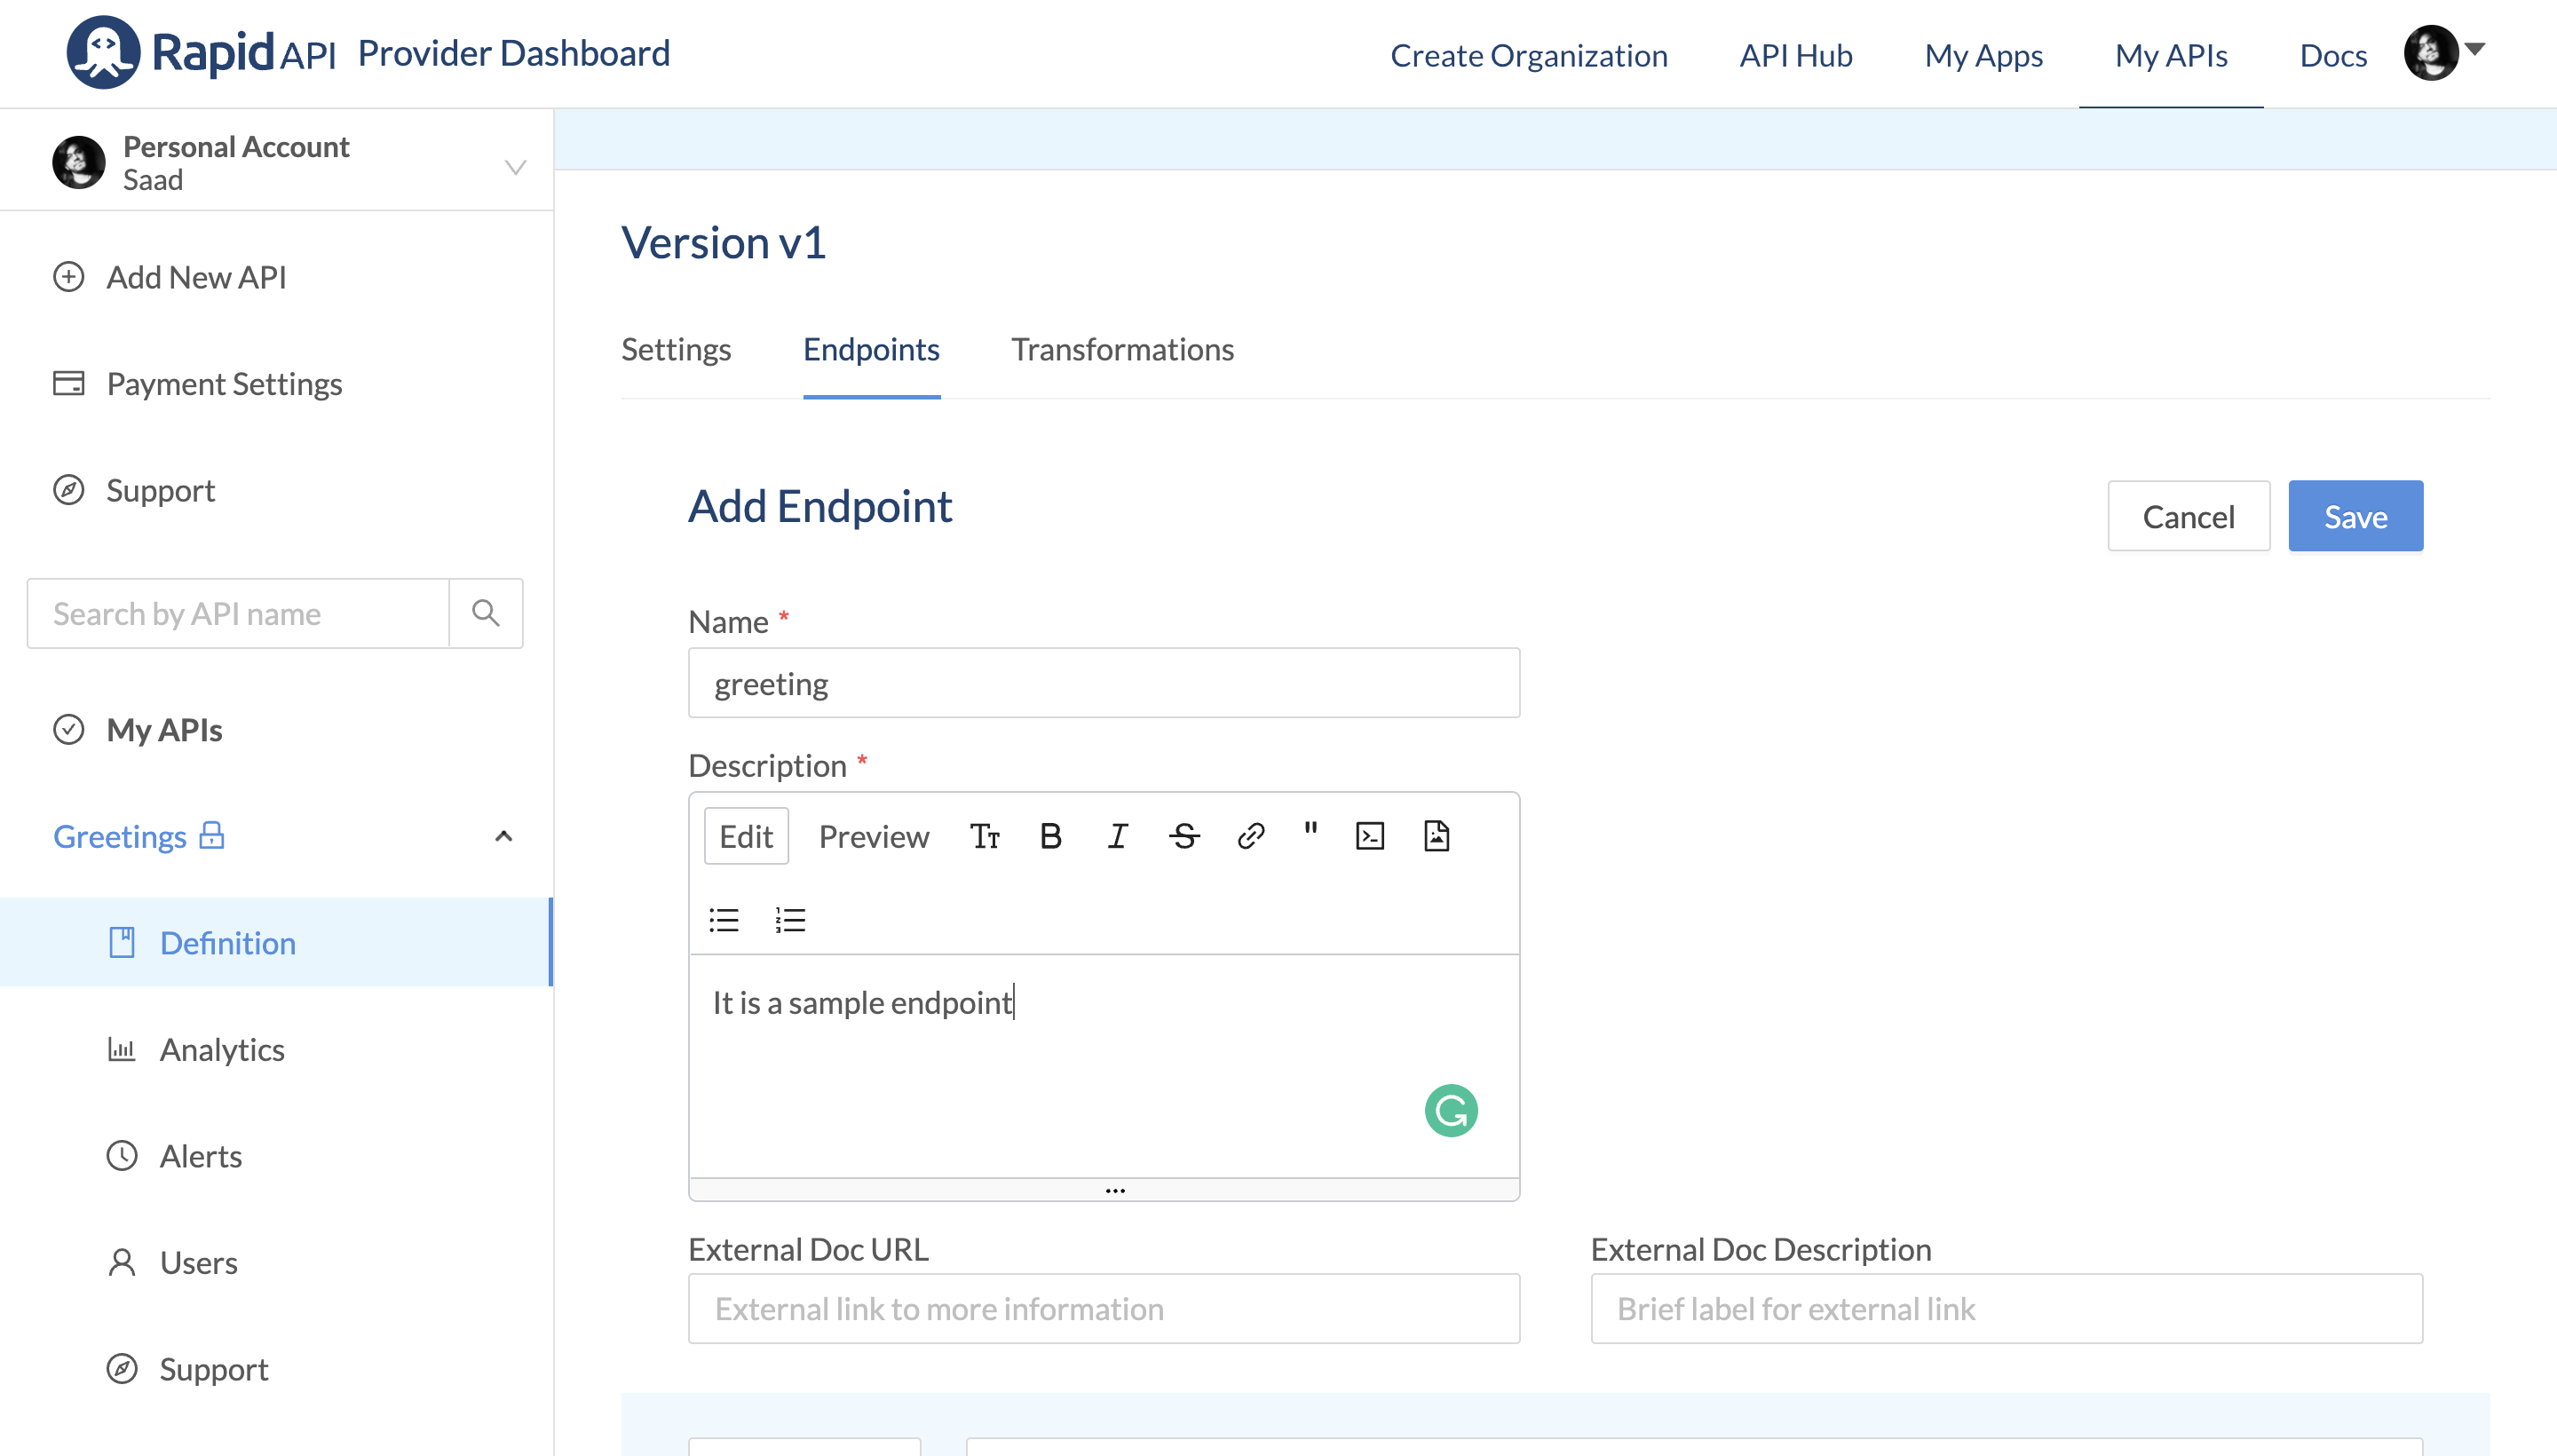
Once you are done, click on Add some endpoints at the top and click on Create REST Endpoint.

Fill in all the required information like the endpoint's name, a brief description, the HTTP method used with the endpoint, and the endpoint itself. Once you are done, press Save.
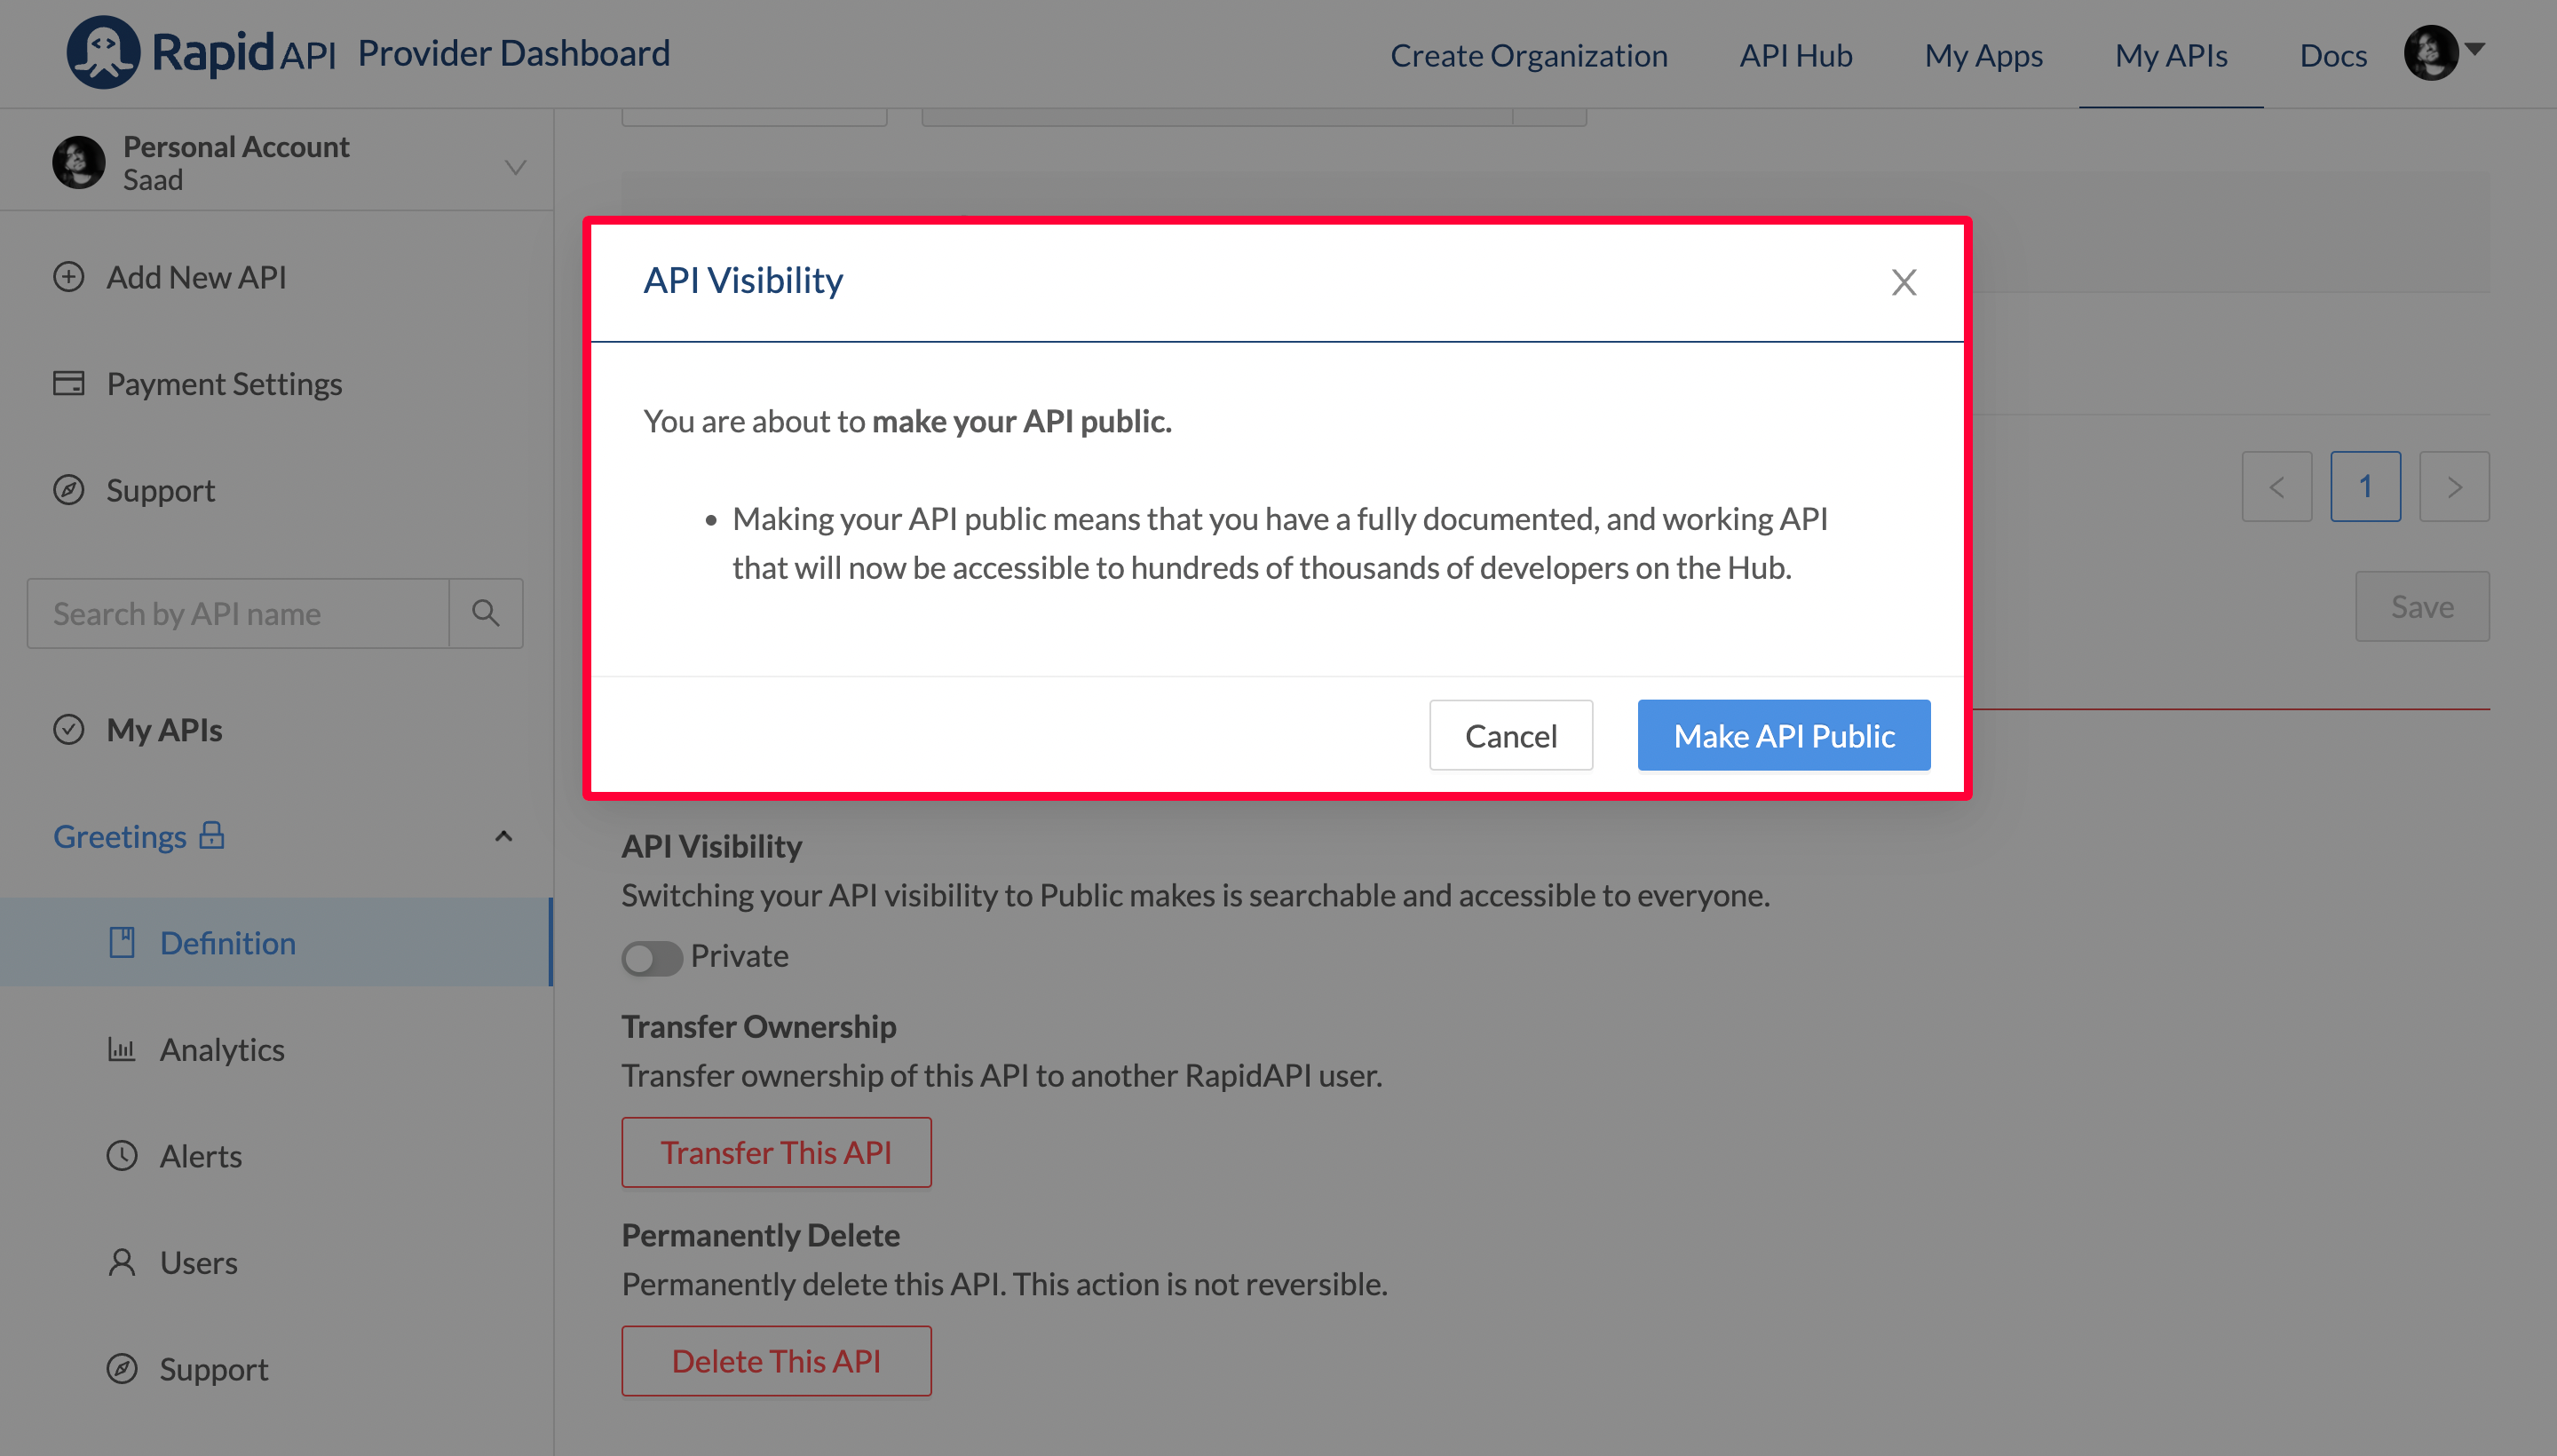
Once you are done, click on the Make your API public at the top and toggle the switch under the API Visibility section to make the API public.
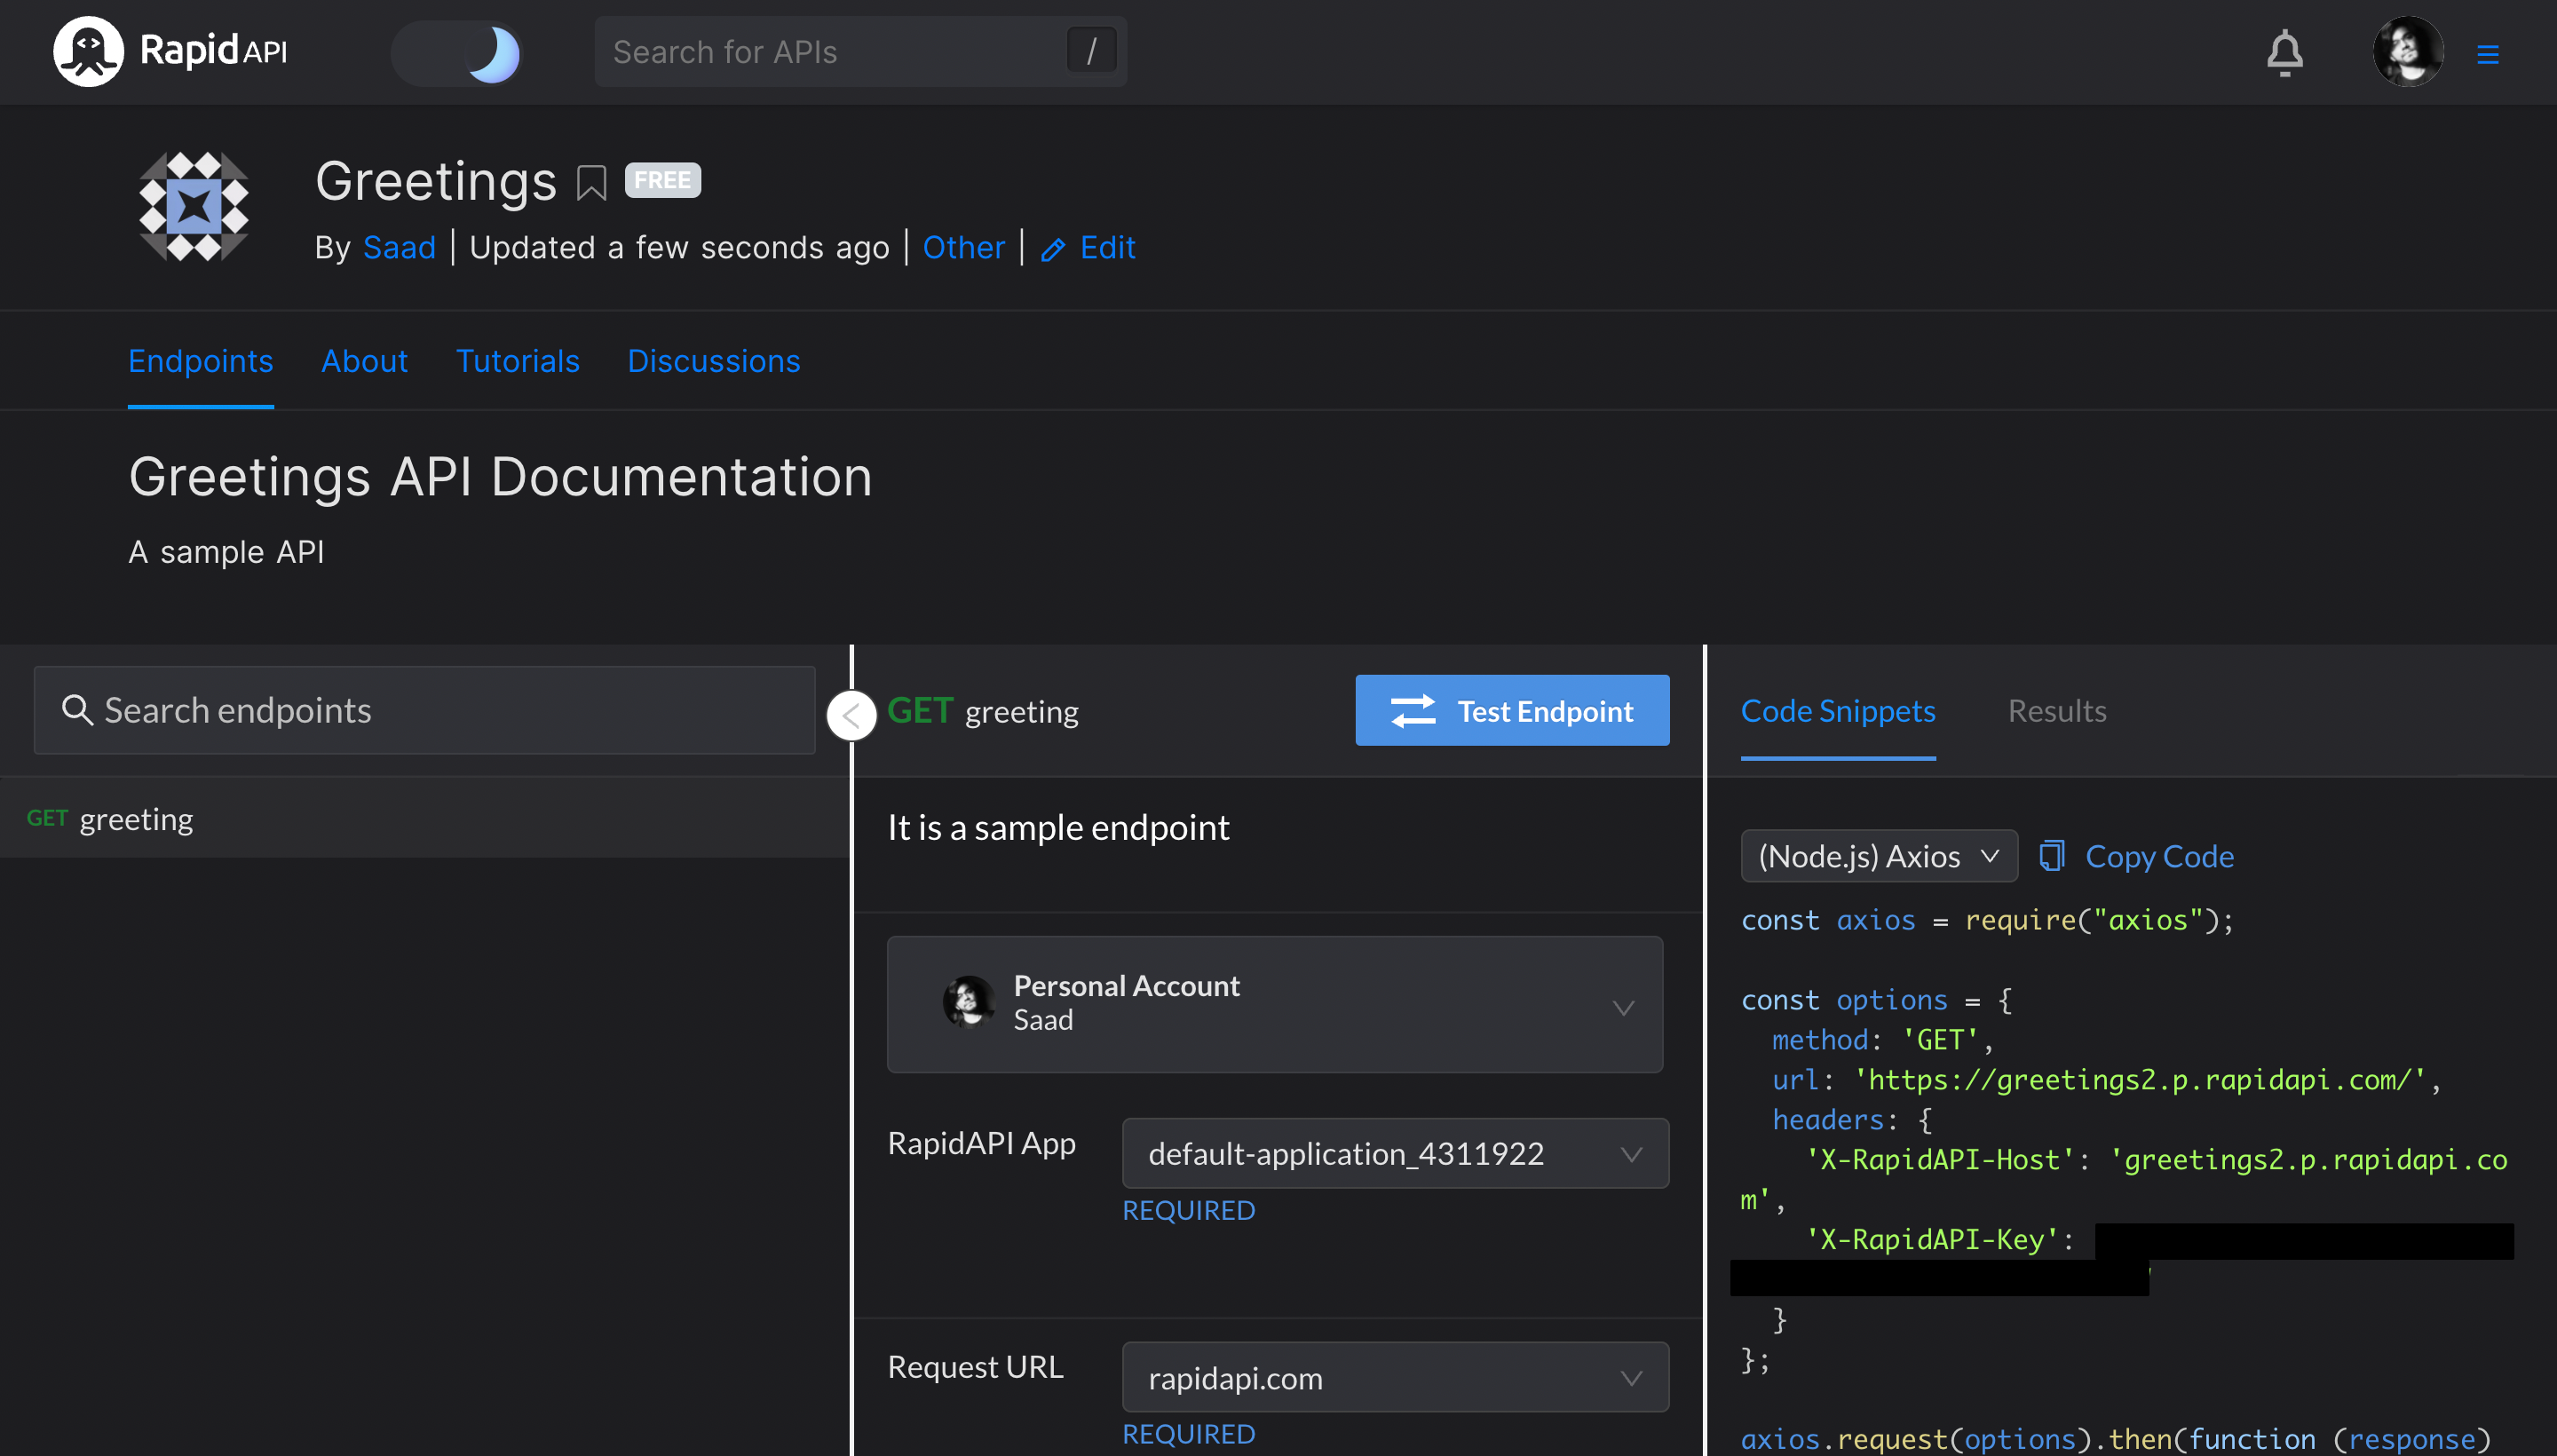
Now scroll to the top and click on the View in Hub to see how your API looks on RapidAPI Hub.
→ STEP #4
You can also monetize your API. To do this, go back to your API dashboard and click on Plans and Pricing at the top.
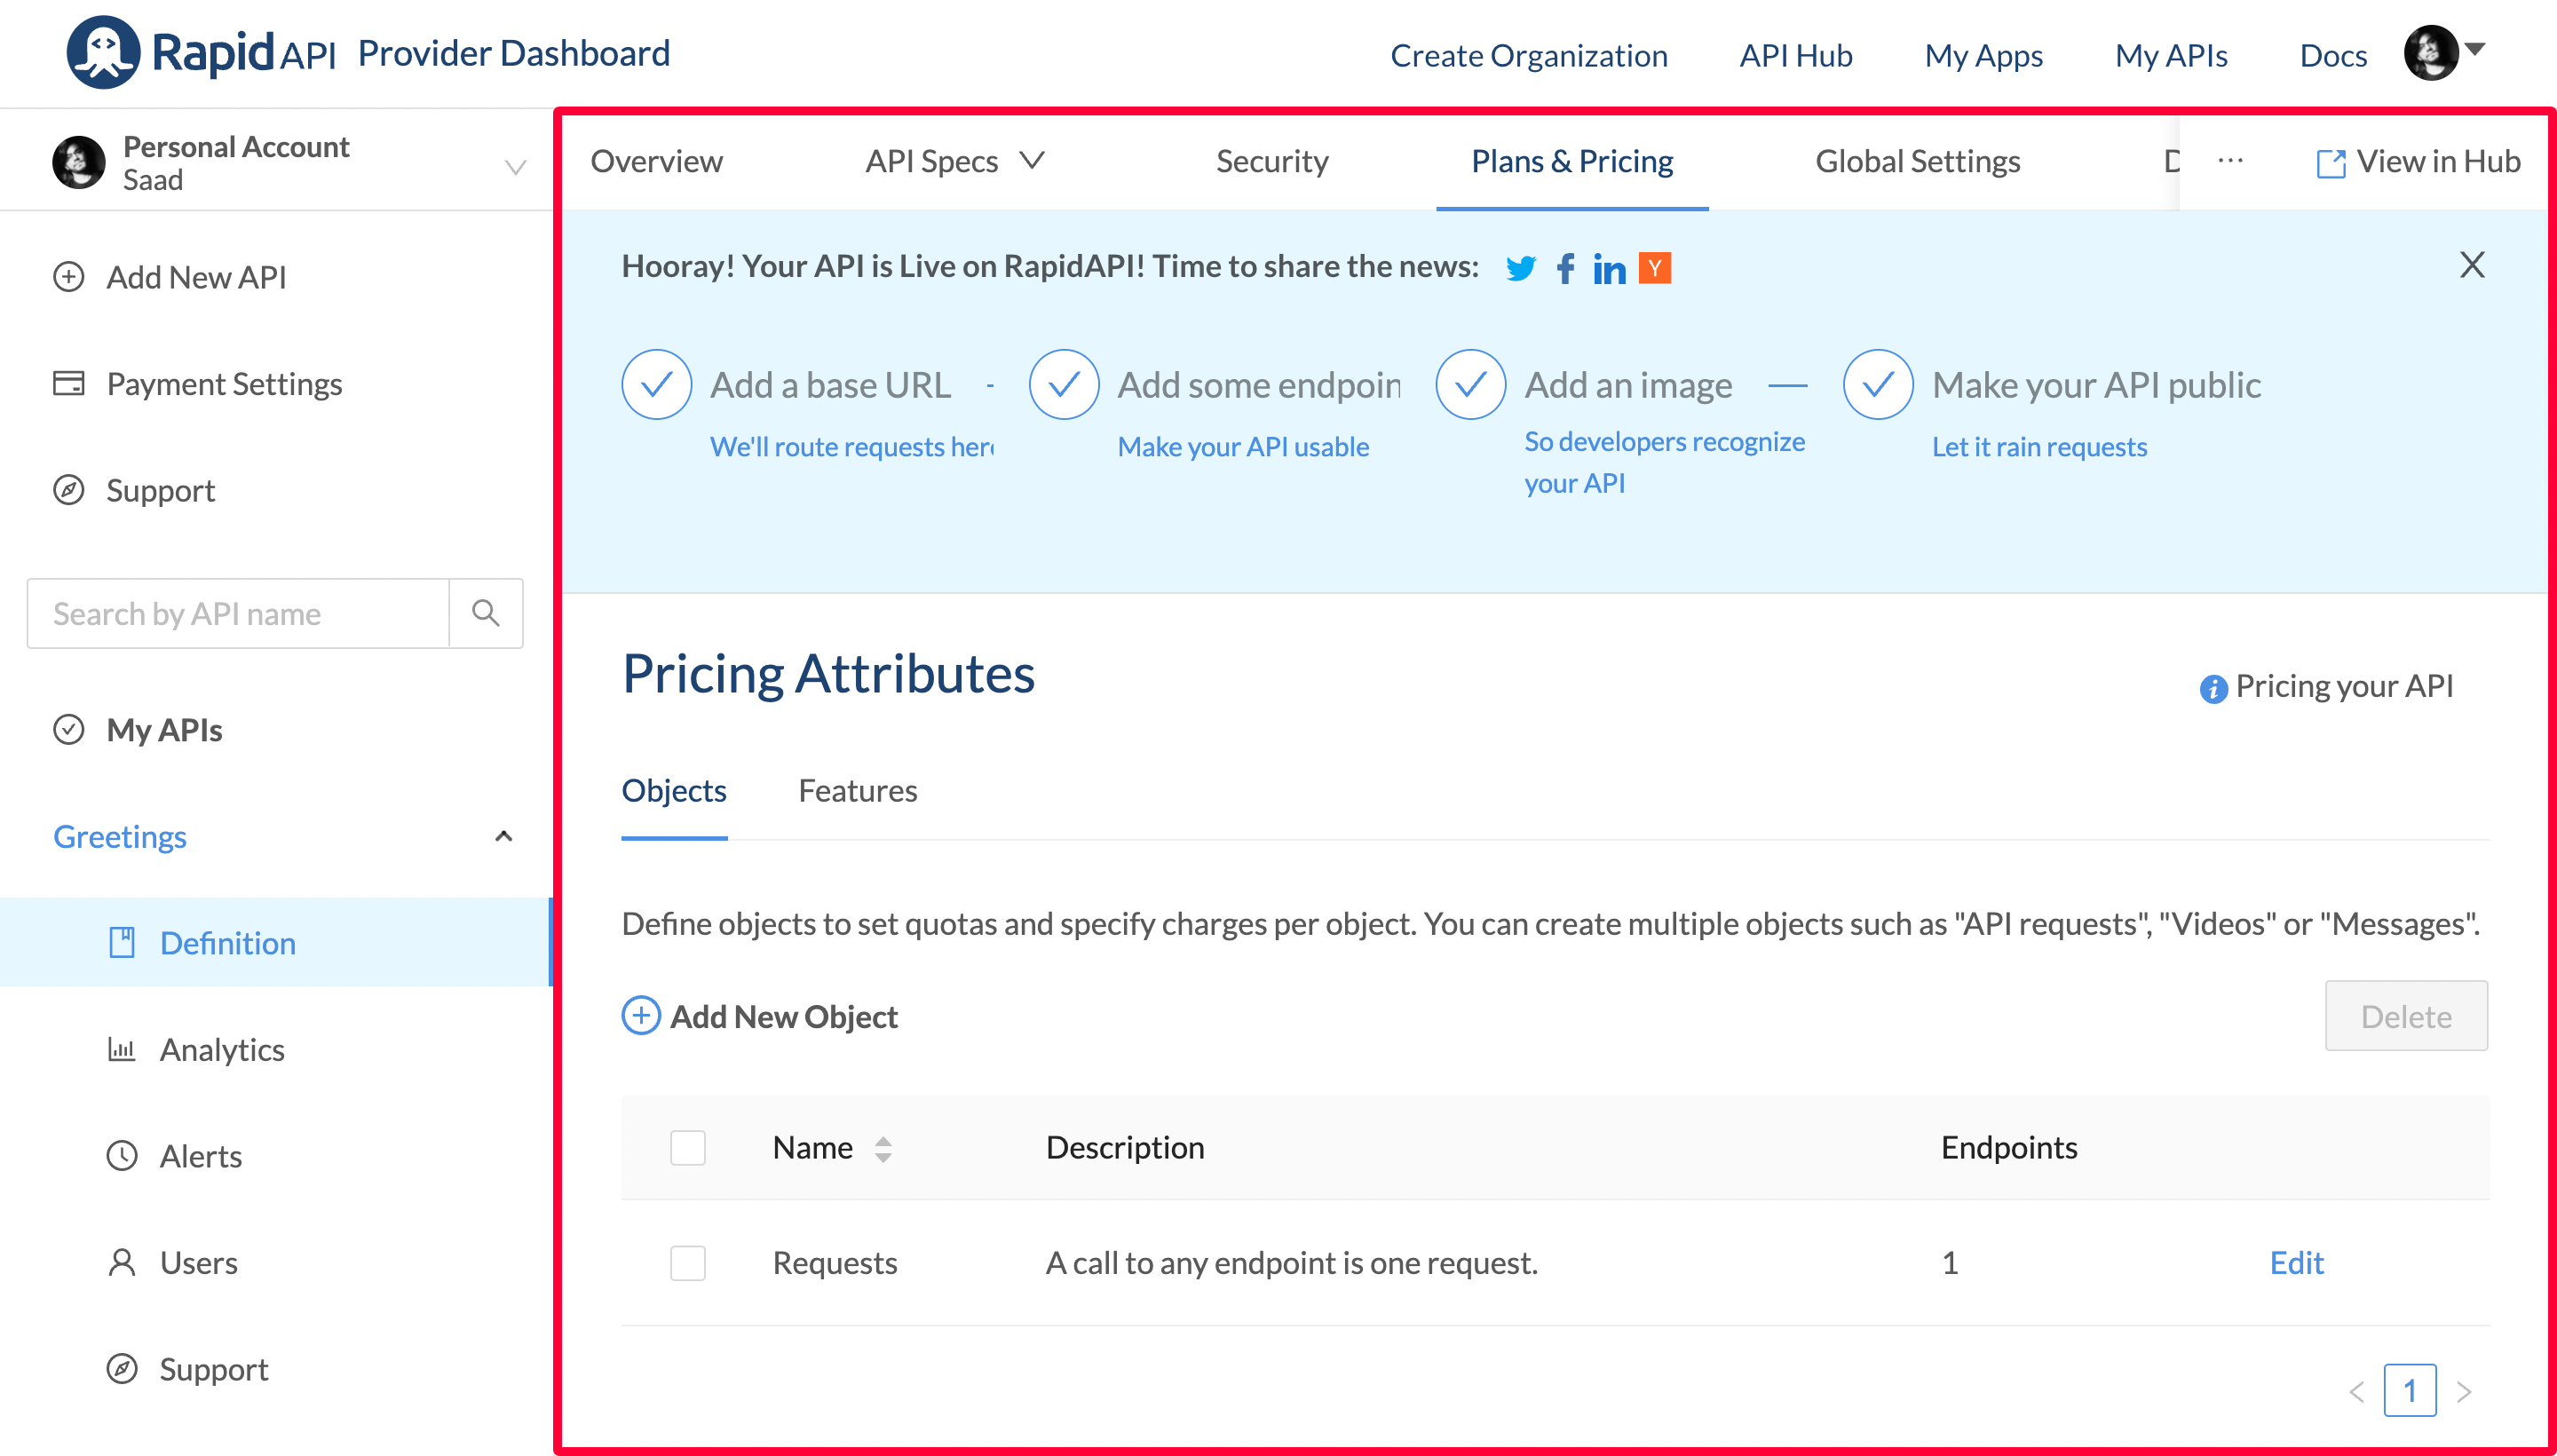
Scroll down, and you will see that you have different options to add different pricing plans for your API.
Wrap Up
That’s all, folks! We have successfully built an API, deployed it on Heroku, and published it on RapidAPI Hub. Now go ahead and try it yourself.