Develop and launch an enhanced Spotify 2.0 clone music app using React 18, Tailwind, Redux, and Rapid API Hub (Part 1)
In this first segment of the guide series, we'll discover the process of constructing and launching a modern React.js music player application.
The application will have a contemporary homepage featuring a visually appealing design that enables you to choose a genre and access the most popular songs in that category.
This music player, similar to Spotify in functionality, offers access to the top charts and top artists. It is fully equipped with features such as the ability to skip to the previous or next song, repeat tracks, shuffle playlists, fast forward through songs, adjust volume, and more.
In addition, the music player includes a comprehensive search feature and pages dedicated to showcasing the most popular songs in your country, trending artists, and global top charts. Clicking on a song title will take you to the song's detail page, where you can access official music videos and lyrics.
Lastly, clicking on an artist's name lets you view a list of their related songs. The application is fully optimized for mobile devices and provides an experience similar to that of a native mobile music player.

Building a single web application with me can equip you with the skills required to create any website you can conceive. Several tutorials out there guide you through the process of creating a website with a navigation bar, a few divs, and a footer, which can be mundane.
The series of these guides will teach you how to develop a professional web application using the most in-demand technologies. You will learn how to deploy your application to the internet so that you can share it with your friends and potential employers and add it to your portfolio.
Prerequisites for building Lyricks website
Before building a fantastic website, you may wonder about the prerequisites. While having a general understanding of the JavaScript language and the basics of React is helpful, everything else that we will cover in this course is beginner-friendly.
We will use some of the most in-demand technologies, including React, Tailwind CSS, Redux Toolkit, Shazam, and Geolocation APIs. These technologies are currently popular among web developers and are widely used in the industry.
We'll start with simple concepts and gradually move towards more complex ones. I will guide you through each step, explaining our actions and why.
In addition to building the application, you'll learn advanced React best practices in this guide. This includes understanding folder and file structure, as well as learning about hooks. These are essential concepts for any React developer to master.
You'll learn how to make all applications entirely mobile-responsive on various devices. Additionally, you'll gain a deep understanding of how to fetch data from unlimited sources using Rapid API Hub, allowing you to become a master of working with APIs.
Rapid API Hub
Before you begin coding, it's essential to visit Rapid API Hub, which is the cornerstone of this project.

Using Shazam core API
In this project, we're explicitly using the Shazam core API, which Rapid API Hub provides. This API allows us to identify songs and access metadata such as artist, title, and lyrics. Using this API, we can create a music player application that provides users with a seamless and intuitive experience.
You'll learn to use various endpoints of the Shazam core API. This API provides access to a wealth of music-related data, including information about songs, artists, and top charts.
By learning how to use these endpoints, you'll be able to create a powerful music player application that provides users with a wealth of information about their favorite music.

Rapid API Client
We'll use the Rapid API Client extension to interact with the Shazam core API provided by Rapid API Hub.
This powerful extension lets us easily consume different APIs from our front-end React applications. By using the RapidAPI Client, you'll gain a deeper understanding of how APIs work behind the scenes and be able to follow along with the examples presented in this guide.
Installing the Rapid API Client
To use the Rapid API Client, you'll need to install it first. This can be done by following the installation instructions on the Rapid API website. Once the client is installed, you can interact with various APIs, including the Shazam core API used in this guide. By mastering the RapidAPI Client, you can easily consume APIs from your own applications and build powerful, data-driven web experiences.

To utilize this API, you can register or sign in by accessing the top right corner. As I have already created an account, I will sign in. The login methods include Google, GitHub, Facebook, or a standard email.
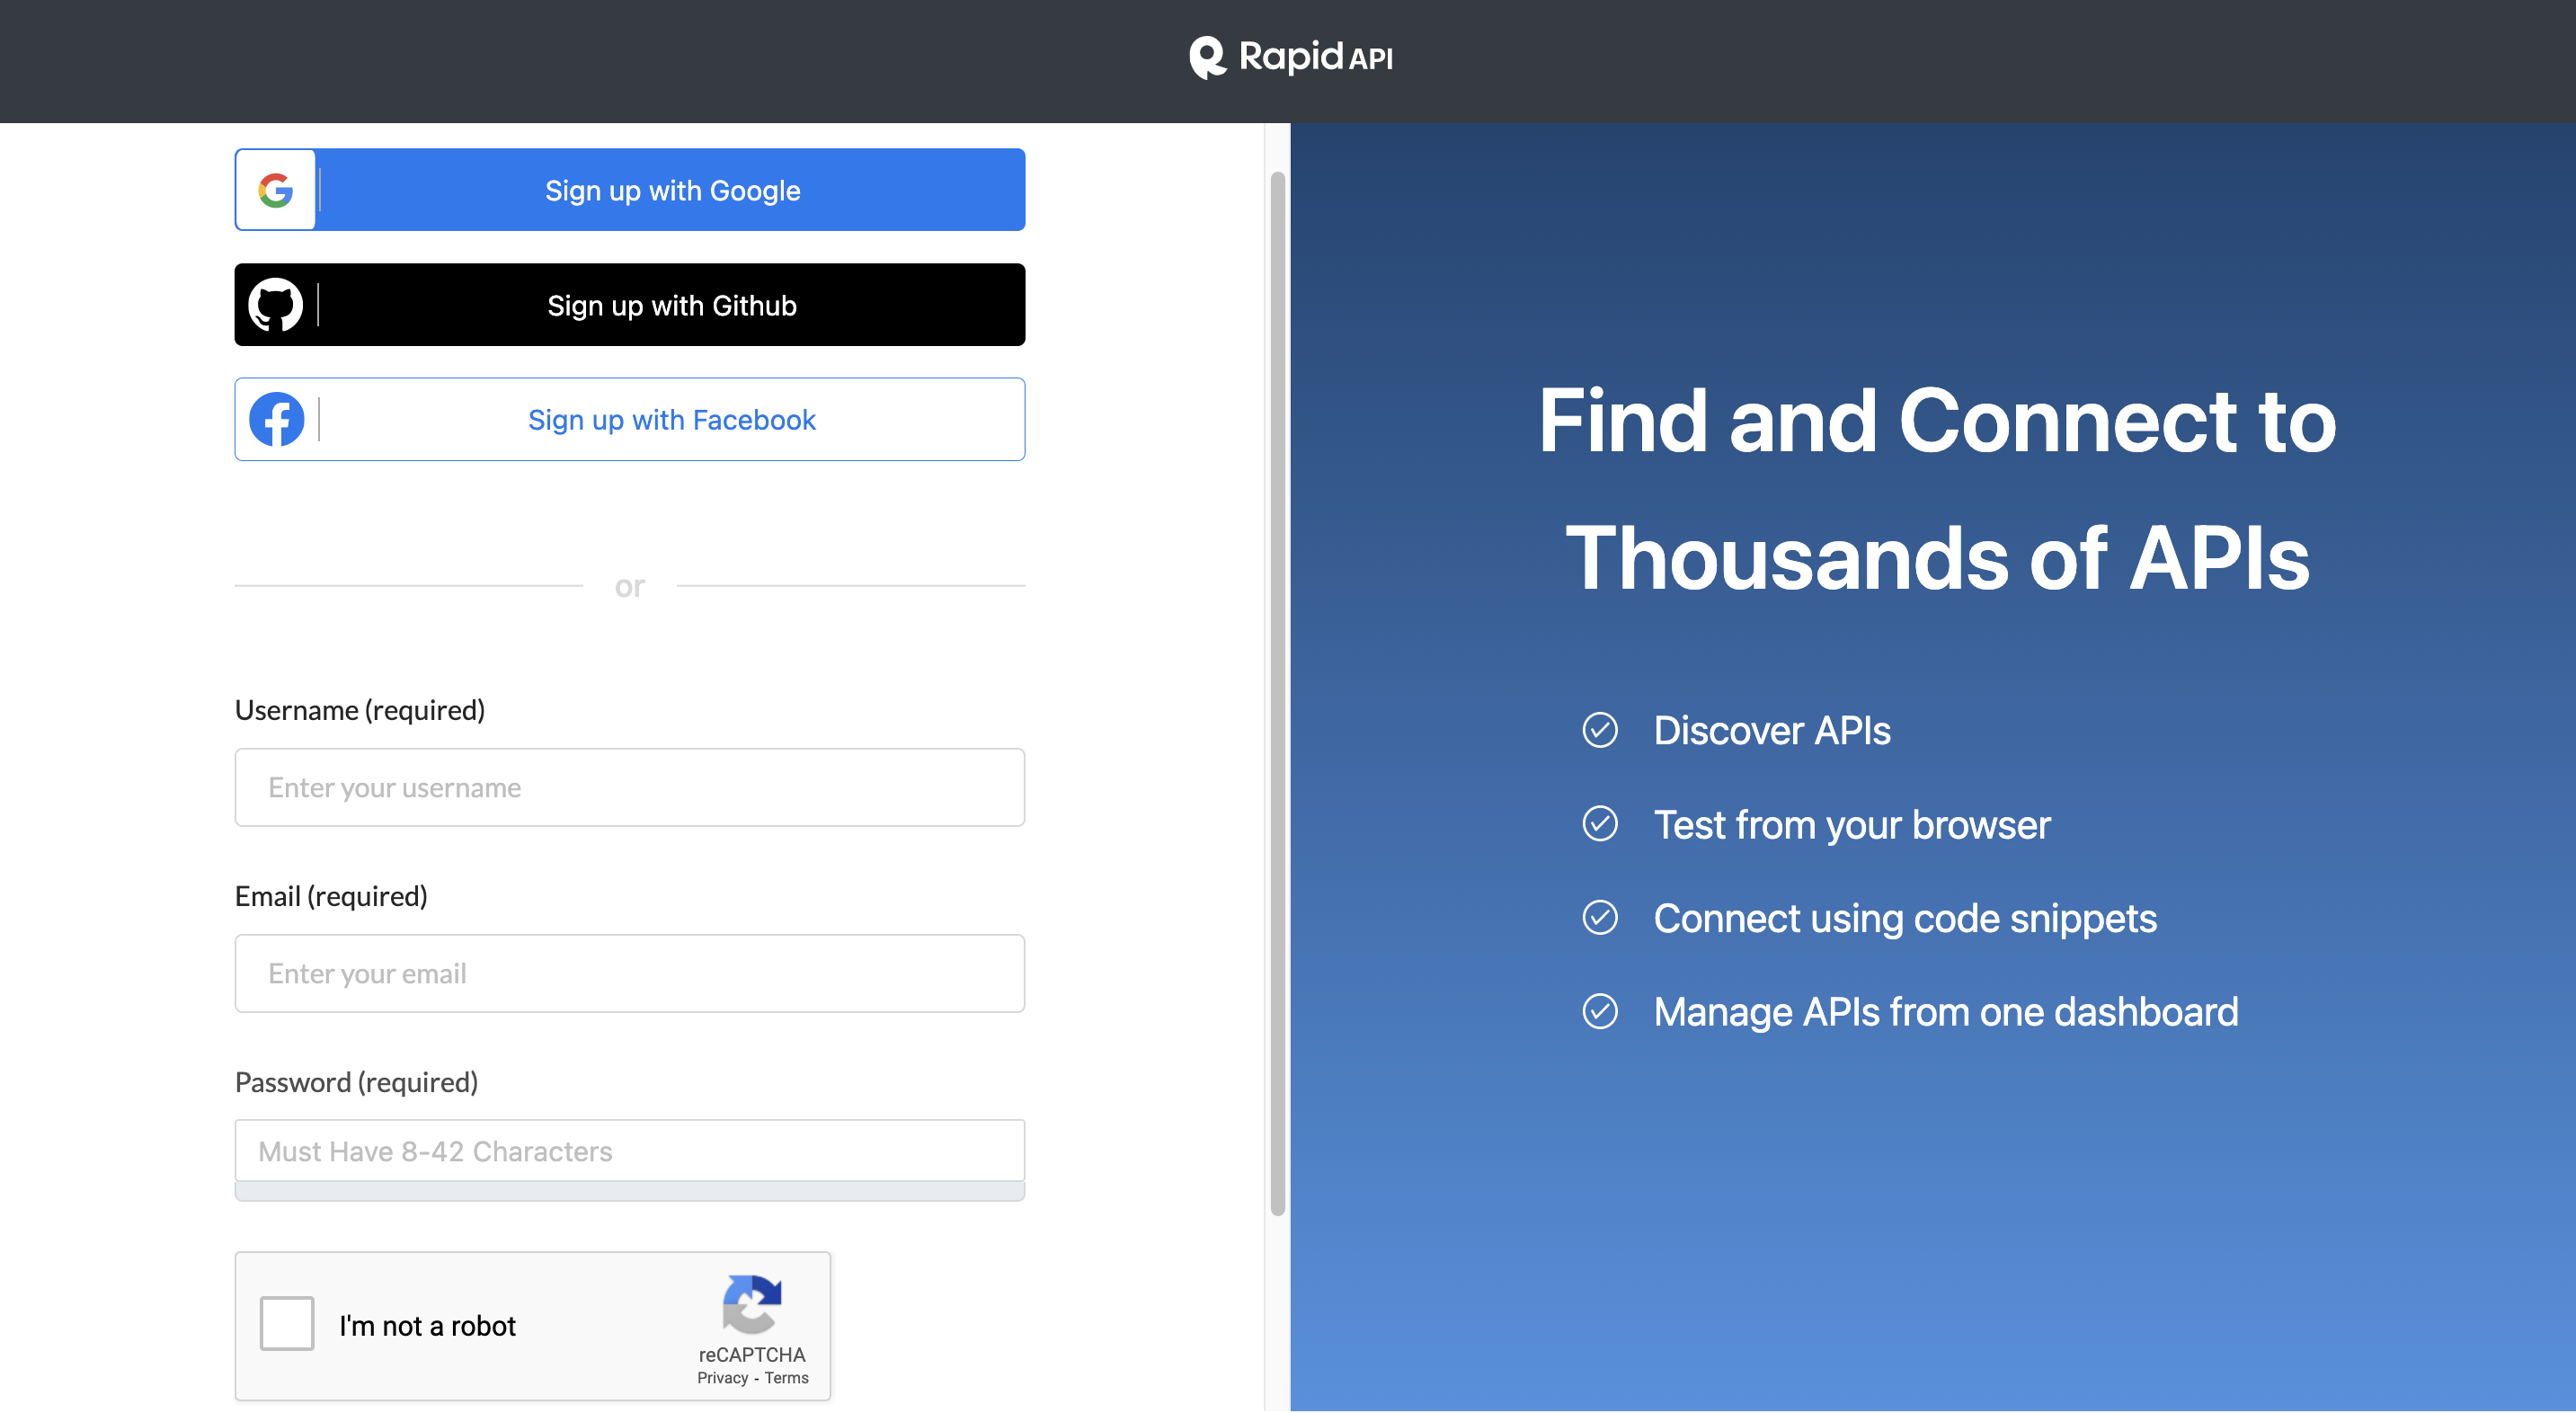
After successfully logging in, you will be directed to the Rapid API Hub. Later on, we will revisit this page and search for the Shazam core API in order to integrate it into our application.
Setting Up the project
To get started, we'll be using some starter code. This will make our coding journey much easier and allow us to focus on learning how to consume APIs from within our React application.
To set up the project, you'll need to download the starter code from the Google Drive link provided. Once you've downloaded the code, you can open it in your preferred editor and make changes. The starter code includes all the files and dependencies you'll need to get up and running quickly.

As this is a compressed zip file, please ensure to download it and then drag and drop it onto your desktop. Rename the file as desired, for example, "lyrics". Then, click on "Extract All" and extract it onto your desktop. Once completed, you can easily drag and drop the extracted folder into your Visual Studio project.
The Starter Code Overview
The starter code includes an src folder, a .env.example file, and a few configuration files, such as tailwind.config.js and vite.config.js. The tailwind.config.js file has predefined styles, and vite.config.js is a faster alternative to Create React App.

To install all dependencies mentioned in the package.json file, you can run the following command in the Terminal:
sh
This command will clear the terminal and install all the required packages and dependencies for the project.
Our project will use several packages, including reduxjs/toolkit, axios, react-router-dom, and swiper. Below is the package.json file, which lists all the dependencies and devDependencies used in the project.
perl
We have successfully installed the required dependencies and created a node_modules folder.
Composition of folders and files
Moving forward, we can now look into the contents of the src folder. The assets folder contains constants such as music genres and links for our navigation bar. Additionally, there are favicon.ico, loader.svg, and logo.svg files which provide assets that we may need later on, making it unnecessary to search for them.

In the components folder, you'll find empty files that we'll fill with logic to create our app. While it may seem like I gave you the entire app at once, that's not the case. We'll be starting from scratch and building the app step by step by filling in these empty files with the necessary code.

In the MusicPlayer folder, there are some files that contain predefined logic specifically for the music player component located at the bottom. These files are related to the seek bar, track bar, volume bar, and other music player features.

The logic used for the music player component is repetitive, and instead of having you spend a lot of time writing it out, I provided the code for it. This is so that you can focus on learning from this guide. However, all other components and pages you see here are empty and need to be written from scratch.
The redux folder contains a store.js file and a features folder. The music player logic is already provided in the features folder, which includes functions for setting the active song, playing the next or previous song, and so on.
The App.jsx file calls these empty components and sets up different routes using react-router. The index.css file contains some colour overrides and imports Tailwind, which will be used to build the project.
Finally, the index.js file imports the styles and sets up the router. During the guide, each line of code in these files will be explained.

We now understand our file and folder structure well, but there's much more to learn as we start creating the components ourselves.
To run our application on http://localhost:3000/, let's open the terminal and enter the following command:
sh
The URL http://localhost:3000/ opens the basic structure of our application. It includes a sidebar on the top left, a music player component on the bottom, which is currently not functional, a loader, and a discover component. In addition, there is a top play component on the top right, which is just a text placeholder.

Wrap up
As we come to the end of this guide, we have explored the file and folder structure of our React music player application and learned about some of the components that are already provided for us.
We have also run our application on a local server and see the basic structure of our app. While we have yet to start creating our own components, we have a solid foundation and understanding of what we're working with.
Moving forward, we will continue diving deeper into creating our components and adding functionality to our music player application in the guide's next part.